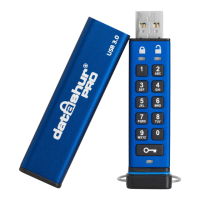
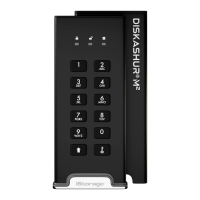
Instructions LED LED State
1. Press KEY button once
Red, Green & Blue LED’s will flash together once
and then the Red LED will continue to blink
(if Blue LED also blinks this indicates an Admin
PIN has been set up)
2. Within 10 seconds begin to enter the User PIN
(default User PIN 11223344)
Red LED will continue to blink
3. Press the KEY button once
Red solid LED changing to Green solid LED
indicating successful User PIN entry
4. Press KEY button twice (double-click)
Blue LED blinks
5. Within 10 seconds begin to enter New User PIN
Blue LED continues to blink
6. Press KEY button twice (double-click)
Green LED blinks
7. Within 10 seconds begin to re-enter New User PIN
Green LED continues to blink
8. Press KEY button twice (double-click)
Red solid LED changing to Green solid LED
indicating User PIN change successful
Note: If a mistake was made while defining a new PIN or the procedure was not completed, the drive will retain
the old PIN.
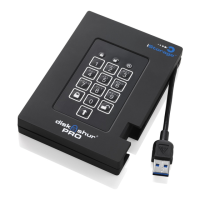
5. How to enable Options as User
Instructions LED LED State
1. Press KEY button once
Red, Green & Blue LED’s will flash together once
and then the Red LED will continue to blink
(if Blue LED also blinks this indicates an Admin
PIN has been set up)
2. Within 10 seconds begin to enter your User PIN
Red LED will continue to blink
3. Press the KEY button once
Red solid LED changing to Green solid LED
indicating successful User PIN entry
4. Press the KEY button 3 times - triple
click
&
Green and Blue LED’s blinking together
awaiting new instructions in OPTIONS mode.
The Options mode will allow the User to perform different functions such as enabling and disabling the datAshur Personal
2
as ‘Read-Only’, setting a ‘Timeout’ automatic lock and determining the version of the device.
The table below illustrates how to access the Options mode, sections 6 - 9 describe how to perform the various functions.