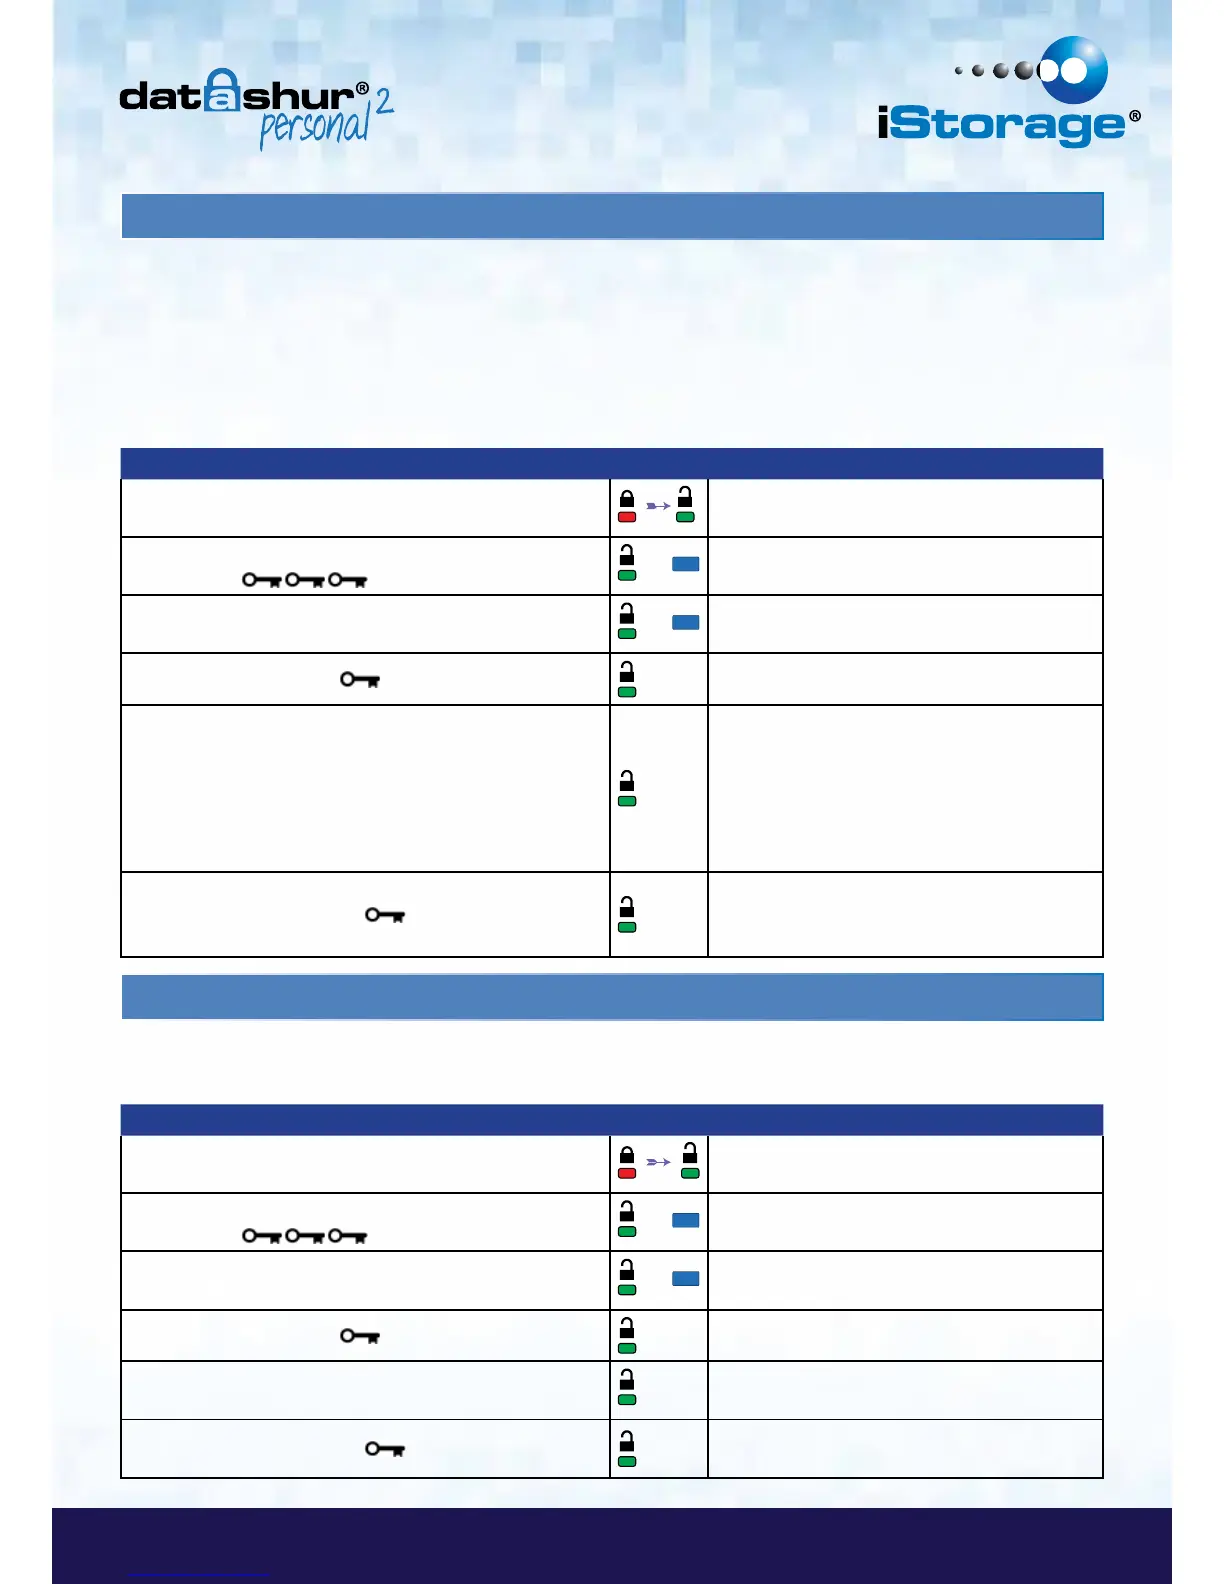
8. How to set the Timeout Lock in User mode
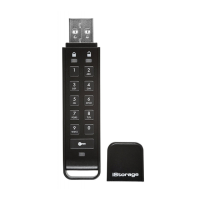
To protect against unauthorised access when the datAshur Personal
2
is connected to a host and unattended, the
datAshur Personal
2
can be set to automatically lock after a pre-set amount of time.
In its default state, the datAshur Personal
2
Timeout Lock feature is turned off. The Timeout Lock feature can be set to activate
(lock) anywhere between 1 and 99 minutes.
To set the Timeout Lock, please follow steps in the table below.
Instructions LED LED State
1. Unlock the datAshur Personal
2
with User PIN
Red solid LED changing to Green solid LED
indicating successful User PIN entry
2. Enable Options by pressing the KEY button 3 times -
triple click
&
Green and Blue LED’s blinking together
awaiting new instructions in OPTIONS mode.
3. Within 10 seconds begin to Press button number 8
(Tuv) followed by the number 5 (jkL) button - (85)
&
Green and Blue LED’s continue to blink together
4. Press KEY button once
Blinking Green LED
5. Within 10 seconds begin enter the length of User
Timeout in 2 digits:
00 = 0 minutes (default)
01 = 1 minute
99 = 99 minutes etc
Green LED continues to blink
6. Press the Key button once
Green LED becomes solid - Timeout Lock has
been set. Admin can override USER Timeout
Lock
9. How to disable the Timeout Lock in User Mode
Instructions LED LED State
1. Unlock the datAshur Personal
2
with User PIN
Red solid LED changing to Green solid LED
indicating successful User PIN entry
2. Enable Options by pressing the KEY button 3 times -
triple click
&
Green and Blue LED’s blinking together
awaiting new instructions in OPTIONS mode.
3. Within 10 seconds begin to Press button number 8
(Tuv) followed by the number 5 (jkL) button - (85)
&
Green and Blue LED’s continue to blink together
4. Press KEY button once
Blinking Green LED
5. Within 10 seconds begin to press the number 0 button
twice (double click) (zero,zero)-(00)
Green LED continues to blink
6. Press the Key button once
Green LED becomes solid - Timeout Lock has
been disabled
To disable the Timeout Lock, please follow steps in the table below.