Installation
12 CENTRON® Meter Technical Reference Guide
Unpacking
As with all precision electronic instruments, the meter should be handled with care in an
outdoor environment. Follow these precautions when handling the meter:
Avoid damaging the meter base, cover, reset mechanism (if supplied), and optical
connector (if supplied).
When handling personality modules, grip the circuit board by its edges. Do not touch
the liquid crystal display.
Selecting a Site
The meter is designed and manufactured to be installed in an outdoor environment, at
operating temperature ranges between -40° C and +85° C (-40° F to +185° F). Operation in
moderate temperatures increases reliability and product life.
When using a Demand, TOU, or Load Profile meter where the line frequency is not stable,
Itron recommends using either the C1ST or C1SL meter version with Crystal Time
synchronization if a clock is needed (TOU or Load Profile).
Installing the Meter into Service
Install the meter base using standard meter installation practices.
The current and potential terminals extend as blades, or bayonets, from the back of the
meter. The meter is plugged into the socket so that the bayonets engage the main socket
jaws that connect to the service lines. Clamping pressure on the bayonets is provided by the
heavy spring pressure of the socket jaws. In some heavy-duty sockets, jaw clamping
pressure is provided by a handle or wrench.
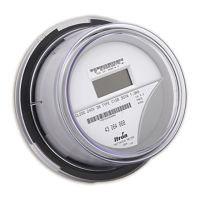
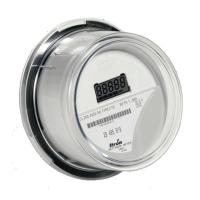
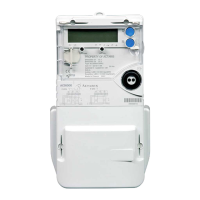
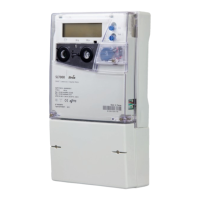
On meters equipped with LCD displays, verify register operations by observing the display:
LCD displays the correct number of digits (4 or 5).
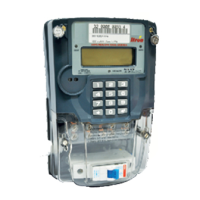
If the test mode annunciator is flashing, depress the Test mode button to return the
meter to the Normal mode (C1S D/T/L only).
If the register only displays a segment test (all items shown) and flashes "CNTRON",
"nordiSP", or "3BReset", then the register is not programmed.
Verify that no errors are displayed.