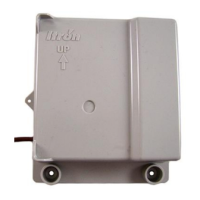
Installing the Leak Sensor
Installation of the Leak Sensor with a 500WERTModule requires the Leak Sensor with an
inline connector (Itron part number LDS-1601-001). The Leak Sensor connects to the
telemetry connector on the 500WERTModule. For the installation instructions, see
OpenWay
®
Riva™ Leak Sensor Installation Guide.
If the Leak Sensor five foot cable is not long enough to reach the 500WERTModule, an
extension cable is available from Itron (CFG-0151-404). The maximum cable length
between the Leak Sensor and the 500WERTModule should not surpass 30 feet.
Caution: If the 500WERTModule is installed to enable communications for the Leak Sensor but a
register is not connected, replace the register connector's cap with the environmental cap removed
from the blue telemetry connector to protect the register connector.
Installing the Itron Cable Armor
The Itron cable armor provides a layer or protection for the module's cable jacket. Itron
cable armor is available in five-foot sections.
This section describes the procedure for installing Itron cable armor in a field installation.
Warning!Use caution when you are installing the cable armor.
■
Itron cable armor is stainless steel and may have sharp edges.
■
If you remove the inline connector from the remote module to install the cable armor, you must use
an Itron handheld to reprogram the module using FDM Endpoint Tools.
■
Perform a Check ERT function (with FDM Endpoint Tools) after you reprogram the
500WERTModule to verify communication with the meter register.
Gen5 500WERTModule Remote Installation Guide 3 Setting up and Installing
December 5, 2022 LDI-0343 REV002 Itron, Inc. Page 31 of 48

 Loading...