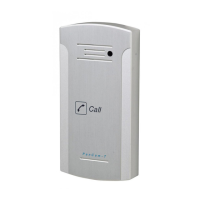
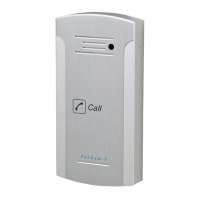
Pancode VoIP/Pantel VoIP Access Control Door Phones
Installation and Programming Manual
and ~DLR (this is recommended for safety purposes).
Device accomplished with the IP (Video over IP)
internal video camera and video server supplied
with the 12 V DC external power supply. Check
the power supply connections polarity. Incorrect
connectivity can destroy device.
Device accomplished with the analog internal
video camera supplied with the 12 V AC external
power supply.
For units with 12 V DC power supply and
N.C.LOCK connection architecture – the door lock
must support functionality with electrical current
up to 1.5 A (1500 mA)
The wiring connector can be a screw or insert connector type. In case when connector is wired type in order to
attach a wire, you must insert the stripped end of the wire into the proper terminal and tighten the terminal
screw. This will crimp the wire connection.
To Install the Pantel/Pancode VoIP:
a. Remove the cover from the Pantel VoIP/Pancode VoIP unit and disconnect the wire connector, found at the
base of the internal component.
b. Connect the two 12V lead wires from the 12V AC power adapter, one to each of the “~12V” terminals
(Figure
4-1).
c. Connect the two 12V lead wires from the 12V DC power adapter, one to each of the “12V” terminals
(Figure
4-2).
d. Connect the Ethernet cable to the RJ-45 “PORT 0” straight LAN socket (Figure
4-3 and Figure 4-4) by means
to program the unit using the Web-based GUI (see Section
5).
e. Connect the door-lock relay wires to the “DLR” and “~DLR” terminals
- Or -
If the door-lock relay is a powered-locked-state type lock, connect the door-lock relay wires to the “/DLR”
and “~DLR” (“-DLR”) terminals.
f. If a push button switch is used, connect the push button wires to the “SW” and the “/SW” terminals.
g. Plug the wire connector to the base of the unit’s inner component.
h. Switch on the power to the 12V adapter.
11