Pancode VoIP/Pantel VoIP Access Control Door Phones
Installation and Programming Manual
3. Installation
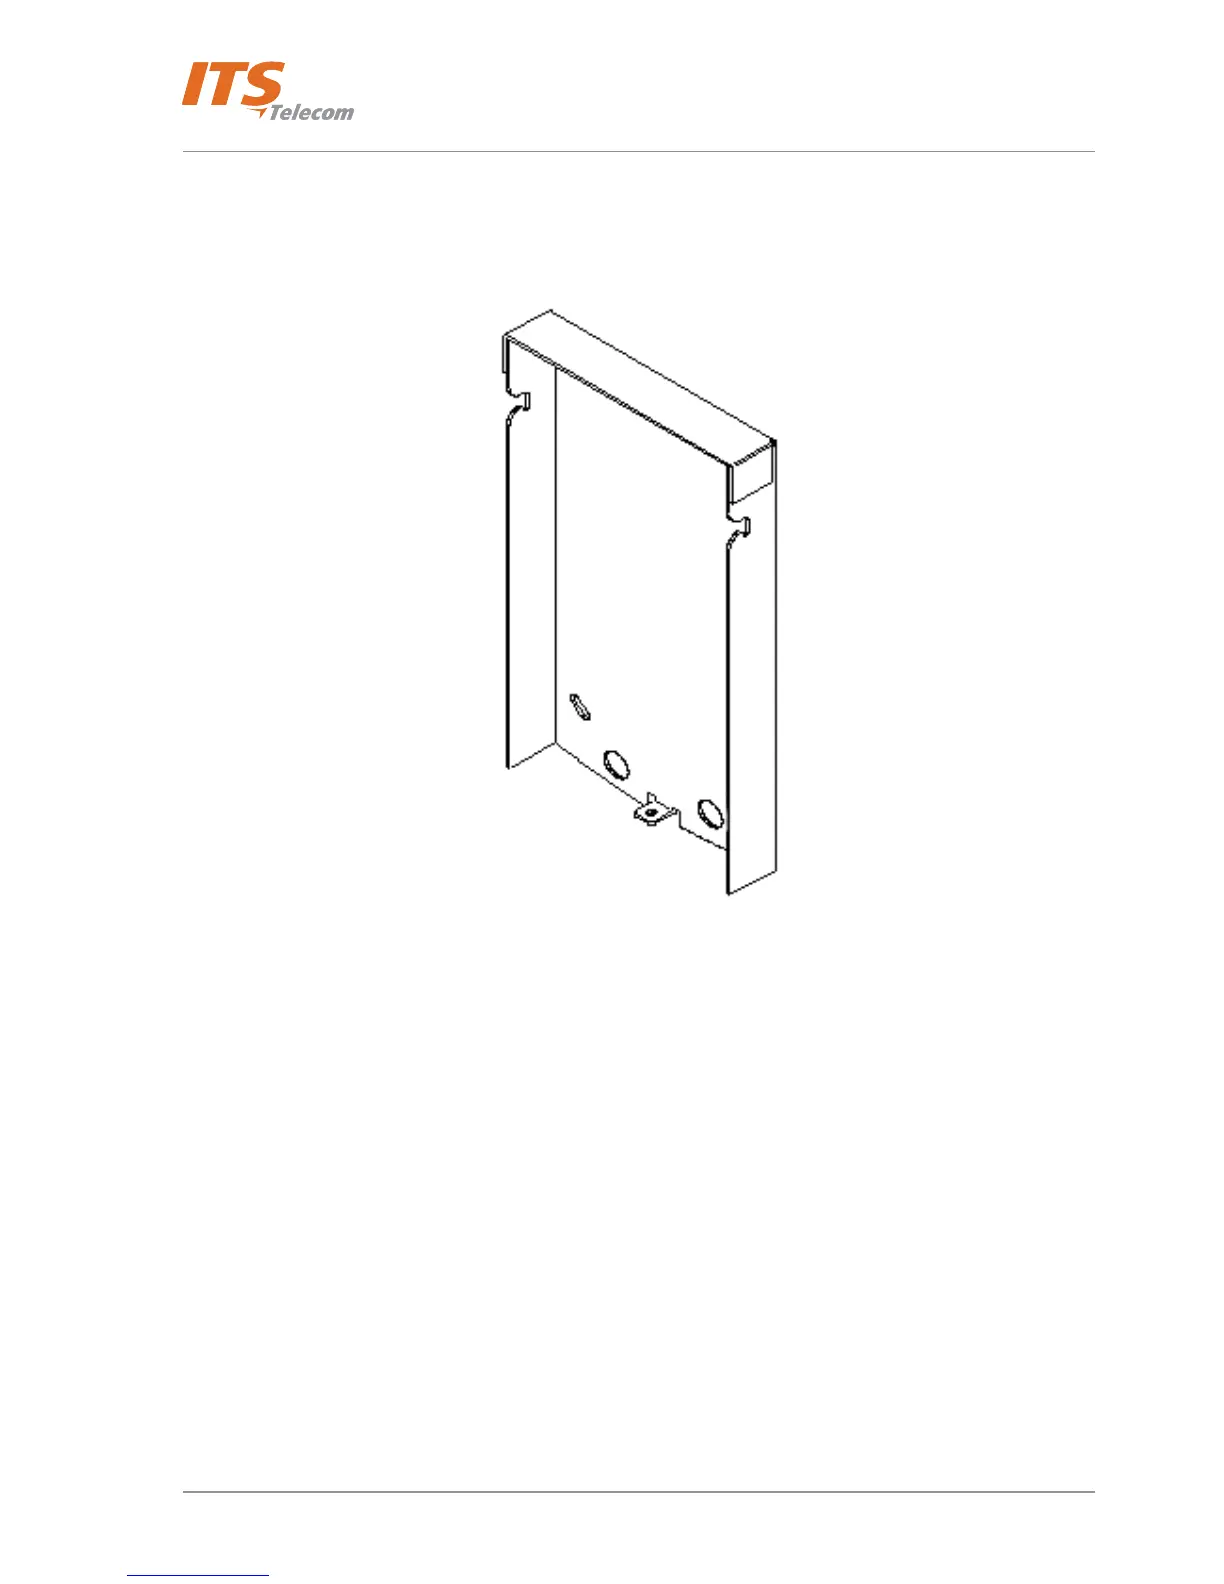
The Pantel VoIP/Pancode VoIP is mounted on the provided installation bracket. This mounting bracket should be
installed as shown in Figure
3-1.
Figure 3-1. Installation Bracket
To install the wall bracket:
a. Measure and mark the location on the wall where the holes will be drilled for the mounting bracket.
b. Drill the holes and insert the wall anchors into the holes.
c. Attach the mounting bracket using the provided wall screws.
If your Pantel/Pancode unit is equipped with a designated flush mounting adaptor (See Figure
3-2 ), install the
unit as follows:
• Carve a 2.5 cm cavity in the wall.
• Insert the adaptor into the cavity and screw it with four screws to the wall.
• Place the adapter into the cavity.
• Place the unit into the adaptor and attach it to the frame using four screws, as displayed in Figure
3-3.
Make sure that the screwing holes are clean of wall dust, because it will make the unscrewing of the
unit very difficult.
6