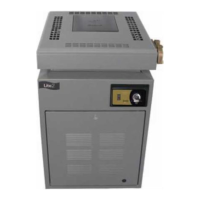
Page 16
are outside the heater jacket. Fasten the top
assembly with the hex-head screws.
27. Install plastic tie wraps on wiring in the vestibule
(controls compartment).
28. Install heater door.
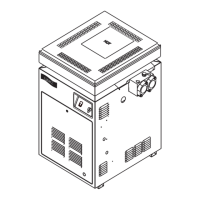
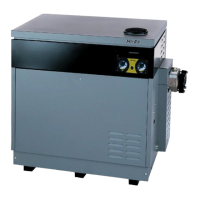
5.5 Connections at Heater
The heater has 2" NPT universal header cou-
plings. You can connect threaded 2" NPT iron pipe or
unthreaded 2" copper pipe using the seals included
with this heater (see Figure 13). Unthreaded 1 1/2"
iron or copper pipe may be used with special seals
available from your Jandy distributor. However, by
installing the appropriate pipe adapters, other sizes
may also be used.
Plastic piping (PVC Schedule 40) can be con-
nected to the heater if local codes allow it, by using the
CPVC nipples included with your heater.
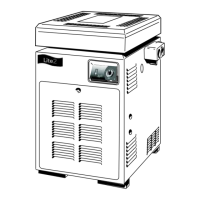
To install plastic piping (see Figure 14):
1. Remove CPVC nipples from plastic bag.
2. Screw CPVC nipples into metal flange until tight,
using Teflon® tape on plastic threads.
3. Prepare the end of the pipe with the proper
adapter, PVC/CPVC primer and glue. Follow the
manufacturer’s instructions provided with the
primer and glue for preparation procedures and
curing times.
5.6 Pressure Relief Valve
A pressure relief valve (PRV) is recommended
in all installations and is mandatory in any installation in
which the water flow can be shut off between the
heater outlet and the pool/spa.
A pressure relief valve is not supplied with the
heater. However, it may be required by local codes.
The pressure rating of the valve should be at or below
the lowest working pressure of any component in the
filter system. Any pressure relief valve installed must
comply with provisions of the Standard described in
ANSI Z21.22 for the United States, or CAN1-4.4 in
Canada.
To install a pressure relief valve, do the following:
1. Remove the 3/4 inch (19 mm) brass plug located
on the top of the inlet/outlet header (see Figure
14).
2. Install the pressure relief valve in the threaded
hole from which the plug was removed.
3. Be sure that the exhaust port of the PRV is
plumbed so that any hot water is directed safely
away from any public areas and away from any
area occupied during servicing.
5.7 Auxiliary Components, Chlorinators,
Ozone Generators, and Sanitizing
Chemicals
The Lite2 heater is manufactured with materials
that are not compatible with high concentrations of
ozone, chlorine, bromine, or other sanitizing chemicals.
Heater damage caused by excessive chemicals or
improper ozonization is not covered by the Jandy Pool
Products, Inc. warranty. Be sure to adhere to the
following:
• When ozone is injected upstream of the heater,
install an offgas mixing chamber, or an ozone
bypass system between the heater and the ozone
injector to prevent ozone and air from entering
the heater.
• When chemical feeders are used, plumb the
feeder downstream of the heater and install an
in-line check valve between the heater and the
feeder (a minimum of 18" is required between
the heater and the check valve).
Figure 14. Plastic piping connections
Figure 15. Thermometer and pressure relief valve