Page 6
ENGLISH
Jandy
®
Pro Series VS FloPro™ Series Variable-Speed Pump
|
Installation & Operation Manual
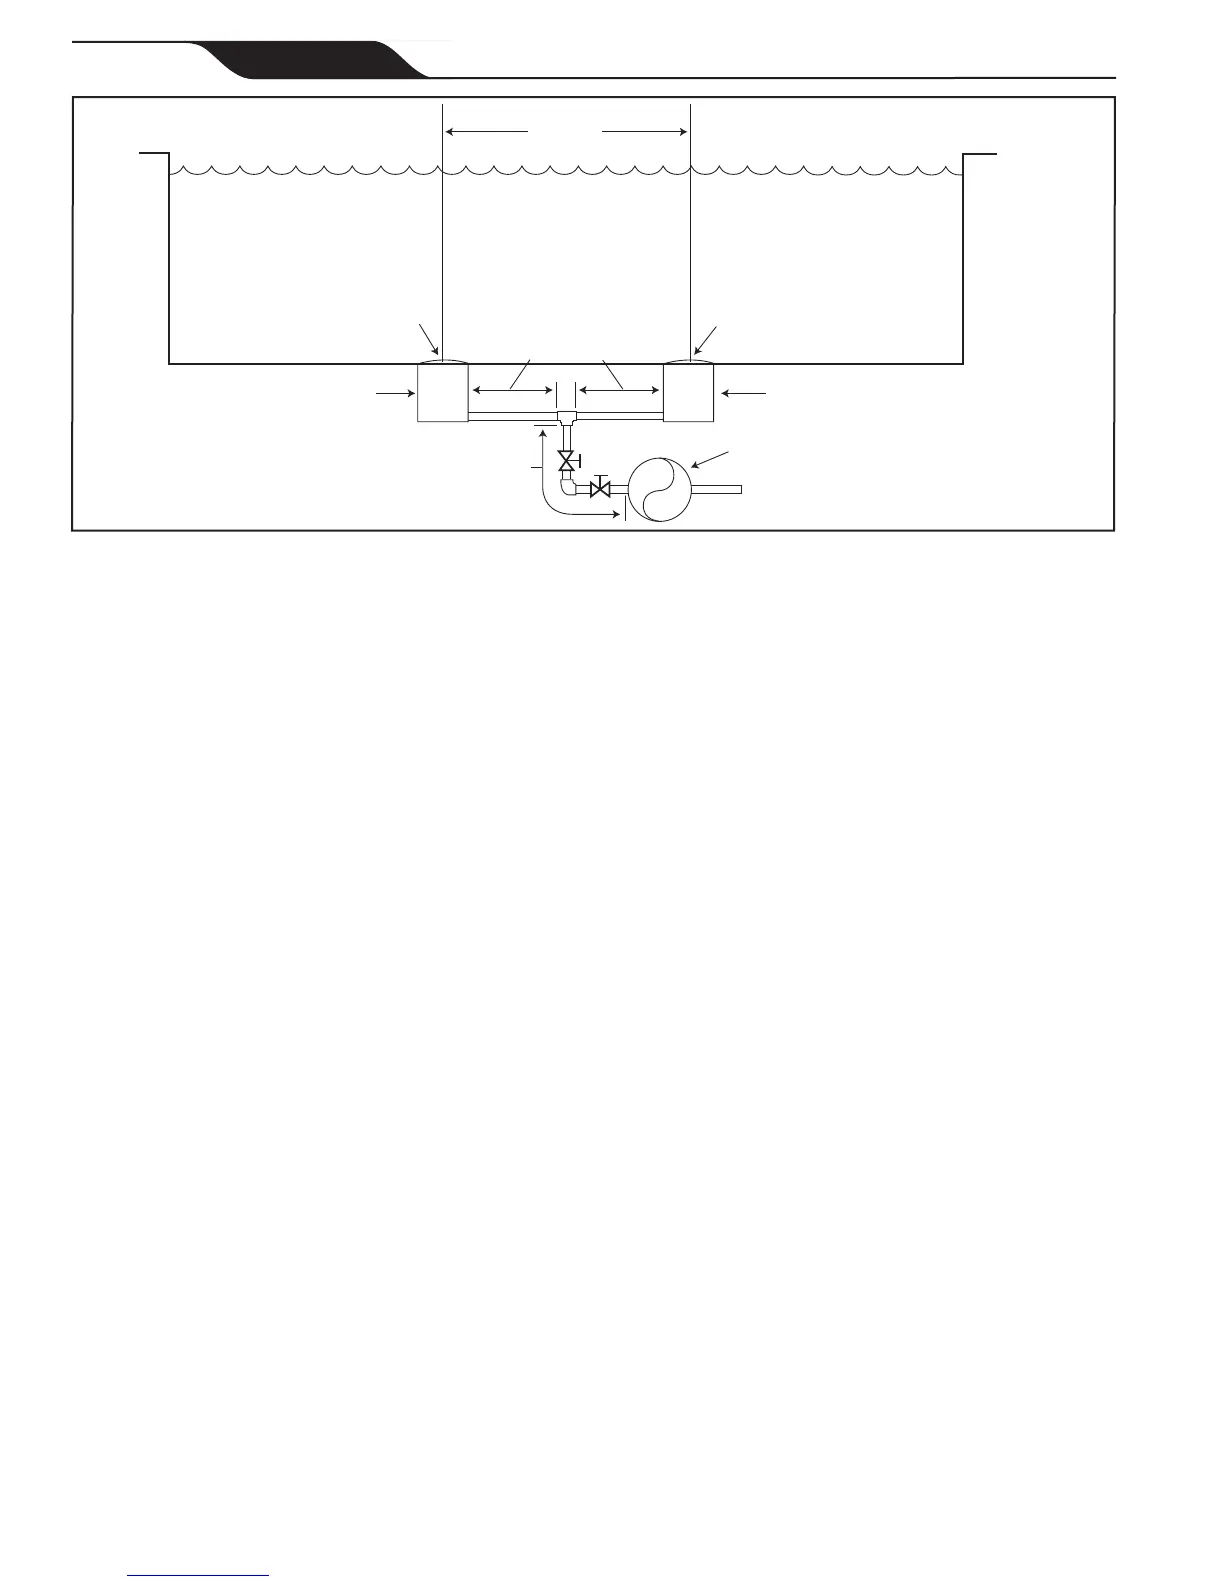
At Least
3 Feet
Suction Outlet
(Main Drain)
Suction Outlet
(Main Drain)
No Valves between
Tee and Main Drains
Listed/Certified to latest
published edition of ANSI/ASME
A112.19.8, or its successor
standard, ANSI/APSP-16.
Anti-entrapment
Cover/Grate or Suction Fitting,
Screw-fastened to
Main Drain Sump
Listed/Certified to latest
published edition of
ANSI
®
/ASME
®
A112.19.8, or its
successor standard,
ANSI/APSP-16.
Anti-entrapment
Cover/Grate or Suction Fitting,
Screw-fastened to
Main Drain Sump
Valves OK between
Pump and Tee
Pump
Figure 1. Number of Suction Outlets Per Pump
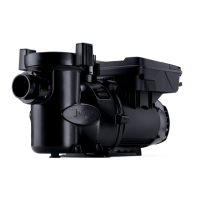
Section 2. General Description
2.1 Introduction
This manual contains information for the proper
installation, operation, and maintenance of Jandy Pro
Series VS FloPro variable-speed pumps. Procedures
in this manual must be followed exactly. To obtain
additional copies of this manual, contact Zodiac
®
Customer Service at 800.822.7933. For address
information, see the back cover of this manual.
2.2 Description
The VS FloPro is a variable-speed pump that can be
run from 600 RPM to 3450 RPM. When connected to
the JEP-R controller, up to eight (8) speed settings may
be programmed and recalled. This allows you to select
the most appropriate speed for your application. Even
more versatile programming is possible when you use
an AquaLink
®
RS, AquaLink PDA, or AquaLink Z4
controller.
The pump is driven by a variable speed ECM
(Electronically Commutated Motor) directly attached to
the pump impeller. The motor spins the impeller which
forces water to ow through the pump. As the speed of
the motor is varied the ow through the pump is also
varied. The adjustable ow rate allows for optimization
of ow during the varying pump cycle requirements. As
a result the energy efciency of the pump is maximized
resulting in cost savings to the pool owner while also
helping to save the environment.
Section 3.
Installation Information
3.1 Plumbing
Preparation Information
1. Upon receipt of the pump, check the carton for
damage. Open the carton and check the pump for
concealed damage, such as cracks, dents or a bent
base. If damage is found, contact the shipper or
distributor where the pump was purchased.
2. Inspect the contents of the carton and verify that all
parts are included, see Section 7.1, Replacement
Parts List and Exploded View.
Pump Location
1. Zodiac Pool Systems, Inc. recommends installing
the pump within one (1) foot (30 cm) above water
level. The pump should not be elevated more than
ve (5) feet above the water level of the pool.
NOTE The pump is NSF-certified as being able to prime at
heights up to 10 ft above the water level. However, to
achieve better self-priming, install the pump as close as
possible to the water level of the pool.
2. If the pump is located below water level, isolation
valves must be installed on both the suction and
return lines to prevent back ow of pool water
during any routine or required servicing.
NOTE When the pool equipment is located below the
pool surface a leak can result in large scale water
loss or flooding. Zodiac Pool Systems, Inc., cannot be
responsible for such water loss or flooding or damage
caused by either occurrence.
3. Install the pump such that any disconnecting means
and/or junction boxes for power connection are
within sight of the pump and at least ve (5) feet
horizontally from the edge of the pool and/or spa.
Choose a location that will minimize turns in the
piping.
 Loading...