93
attempt to operate a slide-out, awning, stabilizer jack, landing gear, etc
from the handheld remote and a corresponding switch (at the command center)
at the same time. Doing so can blow one or more fuses on the multi-function
receiver.
Immediately after operation of motor-reversing components using the handheld
remote, there is an 8 to 10 second delay where all redundant switches for motor-
reversing components are non-functional.
The “Light” button on the handheld remote will only control the awning light.
This circuit does have “soft start” functionality; if turned “ON” with the re-
mote, it must be turned “OFF” with the remote. Likewise, if turned on at the
command center panel, it must be turned OFF with the same switch. The handheld
remote will enter “Sleep Mode” after 60 seconds of inactivity. Press the “HOME”
button to wake it up.
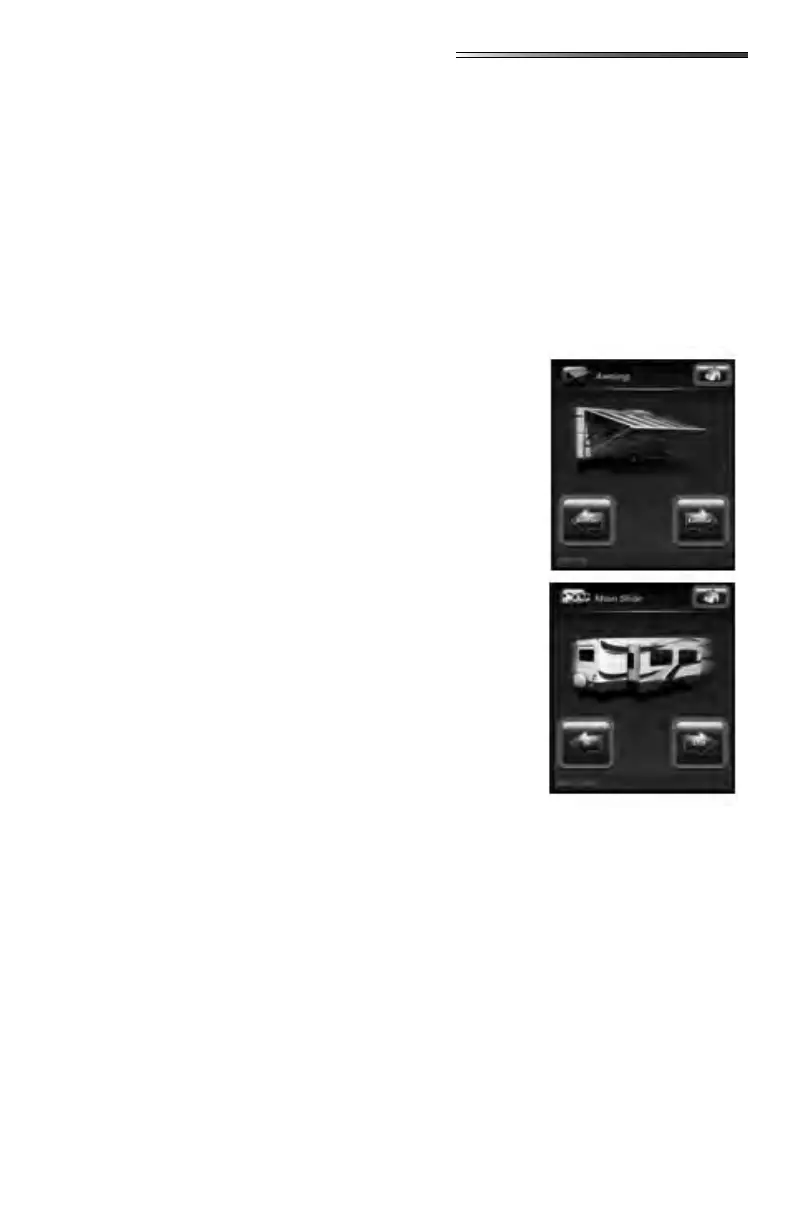
Select the AWNING 1 switch; the
screen opens showing the awning function screen. If there
are multiple awnings, there will be a selection for each aw-
ning at the left of the screen. Select the awning you want to
control, then press and hold the right arrow (extend) or left
arrow (retract) buttons. Select the HOME icon to return to
the previous screen.
Slide-out switches may be labeled
with the slide name, or a number. A list of the slide-outs on
your RV will appear on the left side of the screen. Select the
appropriate slide-out switch, which opens the slide-out func-
tion screen. Press (and hold) the right arrow button to extend
the slide, or the left arrow button to retract it. Repeat this
action on the remaining slide-outs. Select the HOME icon to
return to the previous screen.
If you have electric stabilizers
but not an automatic leveling system on your RV, the remote
may have stabilizer selections. There may be (2) stabilizer
switches; one for front and one for rear jacks (if so equipped).
Selecting a stabilizer switch opens the stabilizer function
screen. Press and hold the left arrow (Retract) or the right
arrow (Extend) to operate the jacks. Select the HOME icon
to return to the previous screen.
This procedure aects the location on the screen where the device perceives the screen was
touched and where it actually “clicks”. Using a stylus will provide the device with a more
accurate point and may ease operation. If it is not accurately responding, use the following
procedure:
1. Press the “HOME” button (10) times ().
2. Press the (3) crosshair targets as accurately as possible ()
3. Press (3) more conrmation cross hair targets as accurately as possible ().
4. If all crosshairs are tapped accurately the screen will display “Good Stability” ().
Press the “HOME” button to return to the main screen.
5. If the crosshairs are not tapped accurately the screen will display a message stating
“Bad Calibration Tap to Restart” (). If this happens press anywhere on the screen
to restart the procedure.