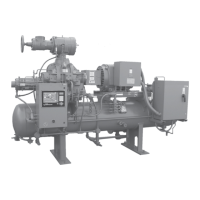
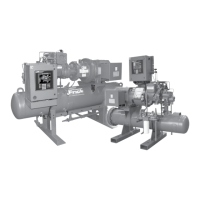
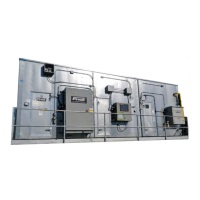
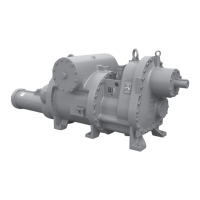
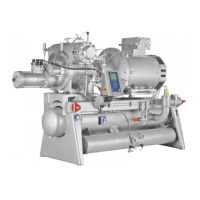
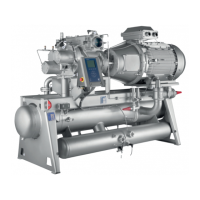
RWF II ROTARY SCREW COMPRESSOR UNITS
MAINTENANCE
070.610-IOM (JUN 11)
Page 58
RWF II COMPRESSOR PRESTART CHECKLIST
The following items MUST be checked and completed by the installer prior to the arrival of the Frick Field Service Supervisor.
Details on the checklist can be found in this manual. Certain items on this checklist will be reveried by the Frick Field
Service Supervisor prior to the actual start-up.
Mechanical Checks
__ Package installed according to Frick publication
S70210 IB, Screw Compressor Foundations.
__ Conrm that motor disconnect is open
__ Isolate suction pressure transducer
__ Pressure test and leak check unit
__ Evacuate unit
__ Remove compressor drive coupling guard
__ Remove coupling center and DO NOT reinstall
(motor rotation must be checked without center)
__ Check for correct position of all hand, stop, and check
valves PRIOR to charging unit with OIL or REFRIGERANT
__ Charge unit with correct type and quantity of oil
__ Lubricate electric drive motor bearings PRIOR to
checking motor rotation
__ Check oil pump alignment (if applicable)
__ Check for correct economizer piping (if applicable)
__ Check separate source of liquid refrigerant supply (if
applicable, liquid injection oil cooling)
__ Check water supply for watercooled oil cooler (if ap
plicable, water cooled oil cooling)
__ Check thermosyphon receiver refrigerant level (if ap
plicable, thermosyphon oil cooling)
__
Check for PROPER PIPE SUPPORTS and correct foundation
__ Check to ensure ALL piping INCLUDING RELIEF VALVES
is completed
Electrical Checks
__ Package installed according to Frick publication
090400 SB, Proper Installation of Electrical
Equipment In An Industrial Environment.
__ Conrm that main disconnect to motor starter and micro
is open
__ Conrm that electrical contractor has seen this sheet,
ALL PERTINENT WIRING information, and drawings
__ Conrm proper power supply to the starter package
__ Conrm proper motor protection (breaker sizing)
__ Conrm that all wiring used is stranded copper and is
14 AWG or larger (sized properly)
__ Conrm all 120 volt control wiring is run in a separate
conduit from all high voltage wiring
__ Conrm all 120 volt control wiring is run in a separate
conduit from oil pump and compressor motor wiring
__ Conrm no high voltage wiring enters the micro panel
at any point
__ Check current transformer for correct sizing and instal
lation
__ Check all pointtopoint wiring between the micro and
motor starter
__ Conrm all interconnections between micro, motor
starter, and the system are made and are correct
__ Ensure all electrical panels are free from installation
debris, METAL PARTICLES, and moisture
After the above items have been checked and veried:
__ Close the main disconnect from the main power supply to the motor starter
__ Close the motor starter disconnect to energize the micro
__ Manually energize oil pump and check oil pump motor rotation
__ Manually energize compressor drive motor and check motor rotation
__ Leave micro energized to ensure oil heaters are on and oil temperature is correct for startup
Summary: The Frick Field Service Supervisor should arrive to nd the above items completed. He should nd an uncoupled
compressor drive unit (to verify motor rotation and alignment) and energized oil heaters with the oil at the proper standby
temperatures. Full compliance with the above items will contribute to a quick, efcient and smooth start-up.
The Start-up Supervisor will:
1. Verify position of all valves
2. Verify all wiring connections
3. Verify compressor motor rotation
4. Verify oil pump motor rotation
5. Verify the % of FLA on the micro display
6. Verify and nalize alignment (if applicable)
7. Calibrate slide valve and slide stop
8. Calibrate temperature and pressure readings
9. Correct any problem in the package
10. Instruct operation personnel
NOTE: Customer connections are to be made per the electrical diagram for the motor starter listed under the
installation section and per the wiring diagram listed under the maintenance section of the IOM.
Please complete and sign this form & fax to 717-762-8624 as conrmation of completion.
Frick Sales Order Number: ______________________
Compressor Model Number: _____________________
Unit Serial Number: ____________________________
End User Name: _______________________________
Address of Facility: _____________________________
City, State, Zip: ________________________________
Print Name: ___________________________________
Company: _____________________________________
Job Site Contact: _______________________________
Contact Phone Number:_________________________
Signed: ______________________________________
 Loading...
