14
XF631 MANUAL • CHAPTER 1: Transmitter Controls
CHAPTER 1: Transmitter Controls continued
For proper DSC hook-up and operation:
1. Leave the transmitter power switch off. The
transmitter will not transmit any radio
frequency (RF) in this position.
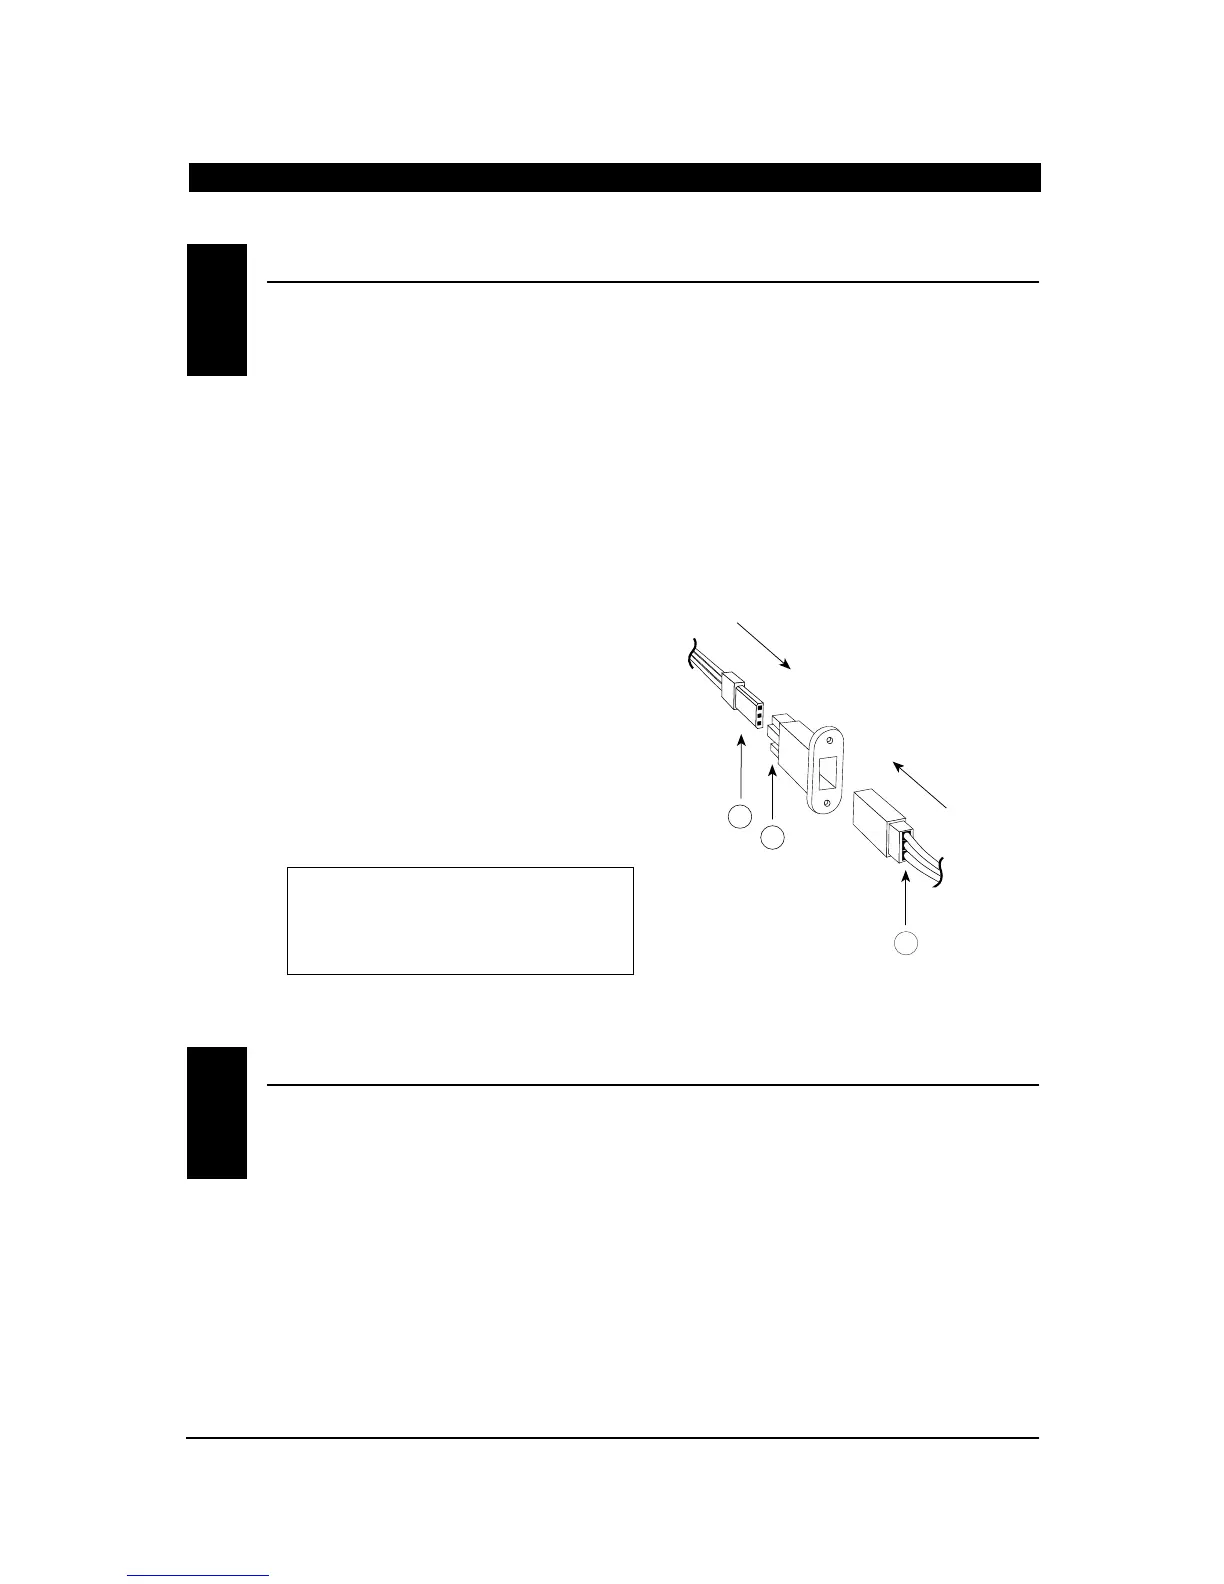
2. Plug the optional DSC cord (JRPA132) into
the DSC port in the rear of the transmitter.
3. The encoder section of the transmitter will now
be operational and the LCD display will be lit.
4. Plug the other end of the DSC cord into
the receiver charge receptacle. Turn on the
switch harness.
Note: When installing the optional charging
jack (JRPA024), be sure to hook the charging jack
receptacle securely into the switch harness
charge cord.
Why you should use the DSC function:
1. The DSC enables you to check the control
surfaces of your airplane without drawing the
fully operational 200mAh from your transmitter
battery pack. Instead, you will only draw 70mAh
when using the DSC function.
Note: You will need to purchase (separately)
both the DSC cord (JRPA132) and the JR Deluxe
Switch Harness (JRPA001) to make use of the
XF631 DSC function.
2. The DSC function allows you to make final
adjustments to your airplane without
transmitting any radio signals. Therefore, if
another pilot is flying on your frequency, you
can still adjust your aircraft and not interfere
with the other aircraft.
Note: Under no circumstances should you
attempt to fly your aircraft with the DSC cord
plugged in! This feature is for bench checking
your aircraft only.
There is an eye hook on the front of the transmitter
for attaching an optional neck strap (JRPA023). The
eye hook is precisely positioned (see Section 1.1)
so that the transmitter will be perfectly balanced when
a neck strap is used.
DIRECT SERVO CONTROL (DSC)1.5
 Loading...