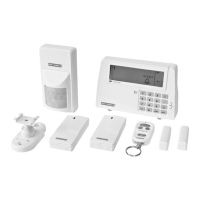
When you have switched to the mode for checking
remote controls, the total number of remote controls that
are currently activated in the system flashes on the
display (e.g. if there are three activated remote controls,
03 flashes on the display).
In this mode, you can check the remote control’s ID
number by pressing any button on the remote control
(e.g. if 02 flashes on the display, this is the remote
control’s ID number).
4
Press to complete
the check.
Complete the check and reset the Smart Panel to standby
mode by pressing .
Setting the house code
In most cases, the factory settings for the house code do NOT need to be changed. In some cases,
however, the Smart Panel and the sensors may only work occasionally, or not at all, due for example to
interference from other systems. This problem can be resolved by changing the house code. You can
change the house code by performing the steps described below on all the system modules.
1. There are four jumpers or DIP switches on each unit. You will find them by removing the battery
cover.
2. Change the house code by placing the jumpers as shown below (ON = inserted/OFF = removed).
Check that the jumpers on the Smart Panel and associated sensors correspond exactly with each
other AND with the DIP switches on the remote control.
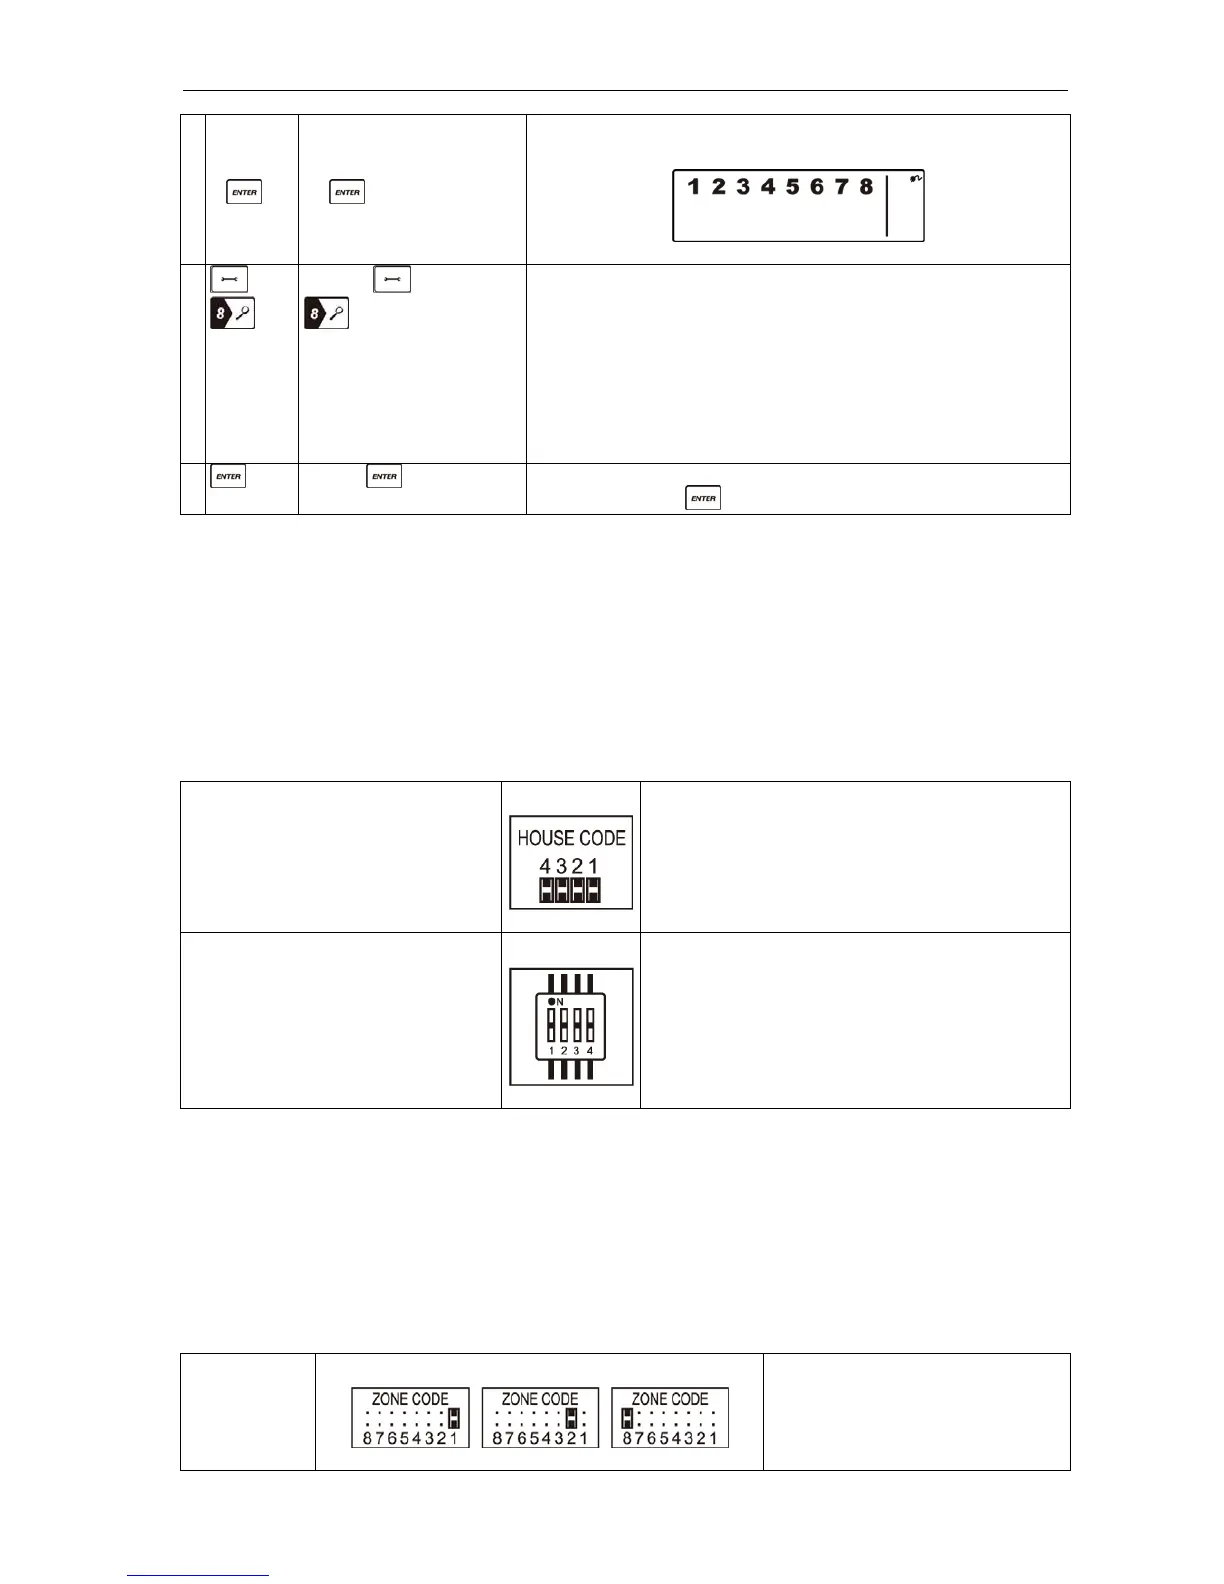
Jumpers for house code
Smart Panel
All sensors
Default house code:
1: ON, 2: ON, 3: ON, 4: ON
*Jumper: ON = inserted, OFF = removed
DIP switch for house code
Remote control
Default house code: 1: ON, 2: ON, 3: ON, 4: ON
Code settings for zone allocation
The sensors are supplied with factory-set zone settings, which simplifies the setting work. The
door/window sensors are factory-set to zones 1 and 2, and the motion sensor is factory-set to zone 8.
A sensor can be allocated to another zone as instructed below.
1. Each sensor has a zone code jumper that can be accessed by removing the cover of the jumper
compartment.
2. Allocate the sensor to a new zone (1 to 8) by moving the jumper in accordance with the diagram
below.
3. Refit the cover and screw into place when you have set the zone code.
Jumper for
zone code
Factory default zone code:
Door/window sensor – zone 1
Door/window sensor – zone 2
Motion sensor – zone 8