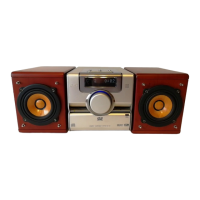
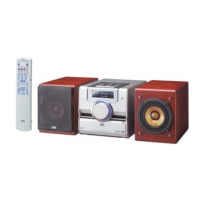
Preparation
10
To view an image on the TV screen, select the
video signal type correctly according to the TV
after connecting the main unit to the TV.
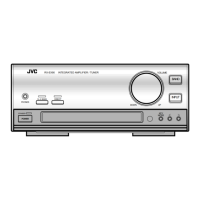
1 Turn on the main unit.
• Refer to “Connecting the power cable” on
page 13 and “Turning on the main unit” on
page 14.
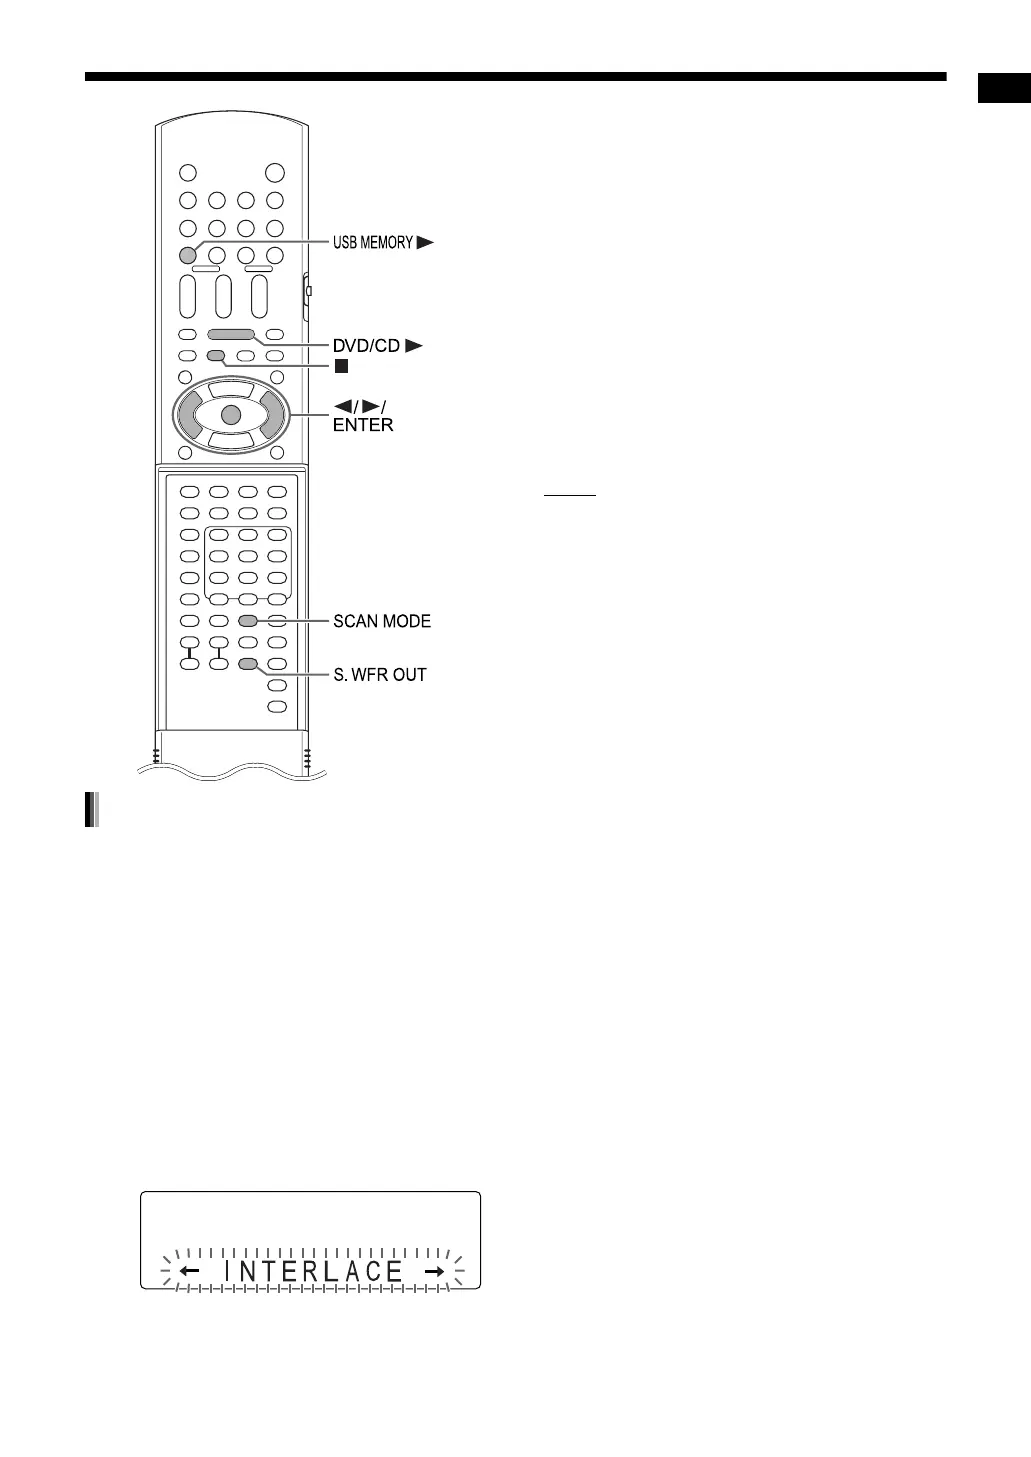
2 Press [DVD/CD 3].
• When a disc is loaded, press 7 to stop
playback.
3 Press [SCAN MODE].
• The current video signal type flashes.
4 Press 2 or 3 to select the video
signal type suitable for the TV.
• You can select “INTERLACE” or “PRO-
GRESSIVE”. You can obtain better picture
quality in “PROGRESSIVE” mode than in
“INTERLACE” mode.
• Select “INTERLACE” when connecting to a
TV that is only compatible with interlaced
video signals.
• Select “PROGRESSIVE” when connecting
to a TV that is equipped with a component
terminal and is compatible with progressive
video signals.
5 Press [ENTER].
NOTE
• To check the compatibility of your TV, contact
your local JVC customer service center.
• All JVC-manufactured progressive TVs and
high-definition TVs are fully compatible with this
system.
• Even if the power cable of the main unit is dis-
connected from the AC outlet or the power is
interrupted, the video signal type setting is
stored.
Selecting the video signal type
EX-A3[J_C]-03.fm Page 10 Wednesday, January 24, 2007 3:03 PM