15
Basic operations
You can set the clock when the main unit is on or
off.
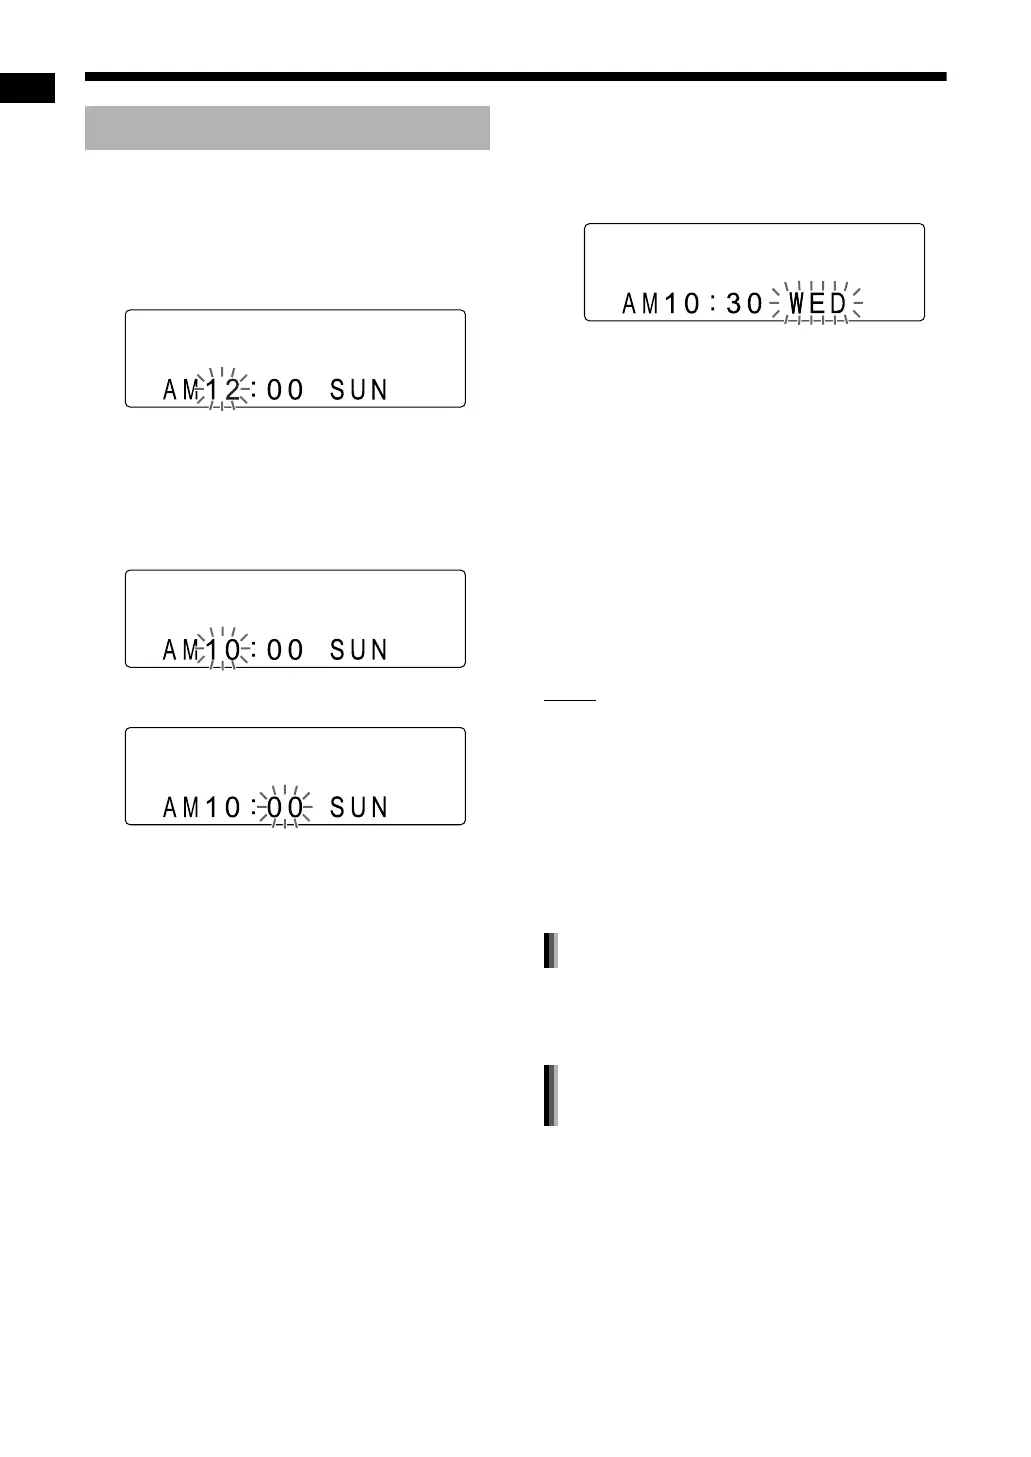
Example: To set the clock to 10:30 a.m. on
Wednesday
1 Press [CLOCK/TIMER].
2 Press 2 or 3 to select the hour.
• Hold down 2 or 3 to incrementally increase
the hour setting.
• You can also use the number buttons to
specify the hour.
3 Press [ENTER].
4 Press 2 or 3 to select the minute.
• Hold down 2 or 3 to incrementally
increase the minute setting.
• You can also use the number buttons to
specify the minute.
5 Press [ENTER].
6 Press 2 or 3 to select the day of
the week.
• Hold down 2 or 3 to change the setting for
the day of the week.
• Abbreviations are used for the days of the
week.
SUN→Sunday
MON→Monday
TUE→Tuesday
WED→Wednesday
THU→Thursday
FRI→Friday
SAT→Saturday
7 Press [ENTER].
• The clock starts from 0 seconds in the
minute you set.
NOTE
• While setting the clock, you can return to the
previous step by pressing [CANCEL].
• The time display on the main unit is a 12-hour
clock.
• The clock gains or loses approximately 1 minute
per month.
• If the power cable of the main unit is discon-
nected from the AC outlet or the power is inter-
rupted, the clock setting is stored for
approximately 1 minute.
Press [CLOCK/TIMER] repeatedly to
display the clock, and then adjust the
clock starting from step 2.
Press [DISPLAY].
• Refer to “Changing the display in the display
window”. (Refer to page 26.)
Setting the clock
Adjusting the clock
Displaying the clock when using this
system
Basic operations (continued)
EX-A3[J_C]-04.fm Page 15 Thursday, February 1, 2007 1:48 PM