Copying to Windows PC
Copy the files to a computer using the following method.
1
Remove the AC adapter and battery pack from this unit.
2
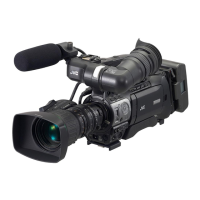
Connect the USB cable and the AC adapter.
.
1
2
Computer
To USB Connector
To DC Connector
AC Adapter To
AC Outlet
USB Cable (Provided)
A Connect using the provided USB cable.
B Connect the AC adapter to this unit.
3
Set the “STANDBY/ON OFF” switch to “ON”.
.
0
When this unit is turned on, the “SELECT DEVICE” screen appears.
4
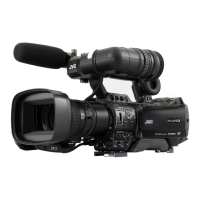
Tap “CONNECT TO PC”.
.
CONNECT TO PC
TYPE TO CONNECT
SELECT DEVICE
SELECT DEVICE
0
The following screen is displayed after the camera operation is
completed.
.
0
Operations are to be performed on the computer after the screen
switches.
5
Select “Computer” (Windows Vista)/“My Computer” (Windows XP)/
“Computer” (Windows 7) from the “Start” menu, then click on the
“JVCCAM_SD” icon.
0
Open the folder with the desired files.
“List of Files and Folders” (A p. 94)
6
Copy the files to any folder in the computer (desktop, etc).
Memo :
0
To edit/view
the files, use a software that supports AVCHD (video)/JPEG
(still image) files.
0
The above operations on computer may vary with the system used.
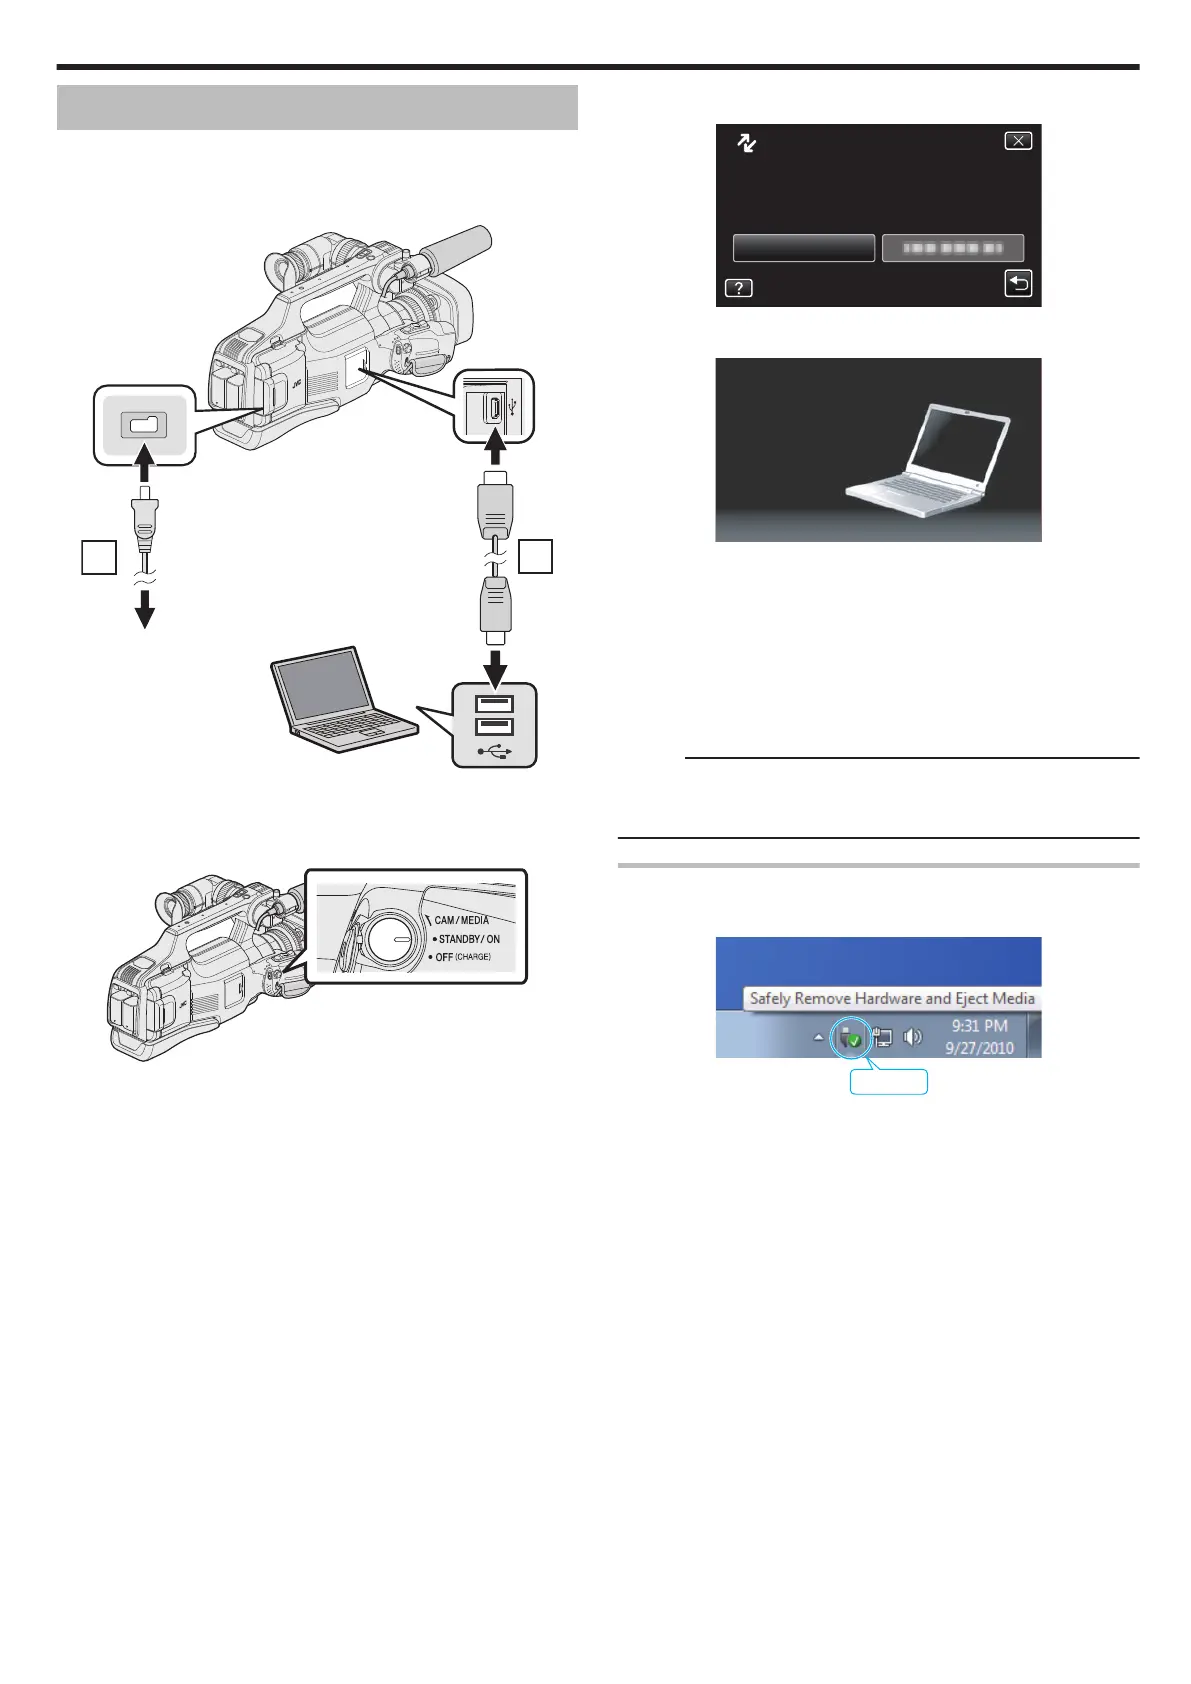
Disconnecting this Unit from Computer
1
Click “Safely Remove Hardware and Eject Media”.
.
2
Click “Safely Remove USB Mass Storage Device”.
3
(For Windows Vista) Click “OK”.
4
Disconnect the USB cable from the computer.
Copying
93
 Loading...