COPYRIGHT KEMPPI OY
16 / Kempomat 2500, Kempomat 3200, Kempomat 4000 / 0340
Kempomat 2500, Kempomat 3200, Kempomat 4000 / 0340 / 17
COPYRIGHT KEMPPI OY
SS
Fe
ø
Al
1
10
8
6
5
4
3
2
7
9
BURN-
BACK
WIRE INCH
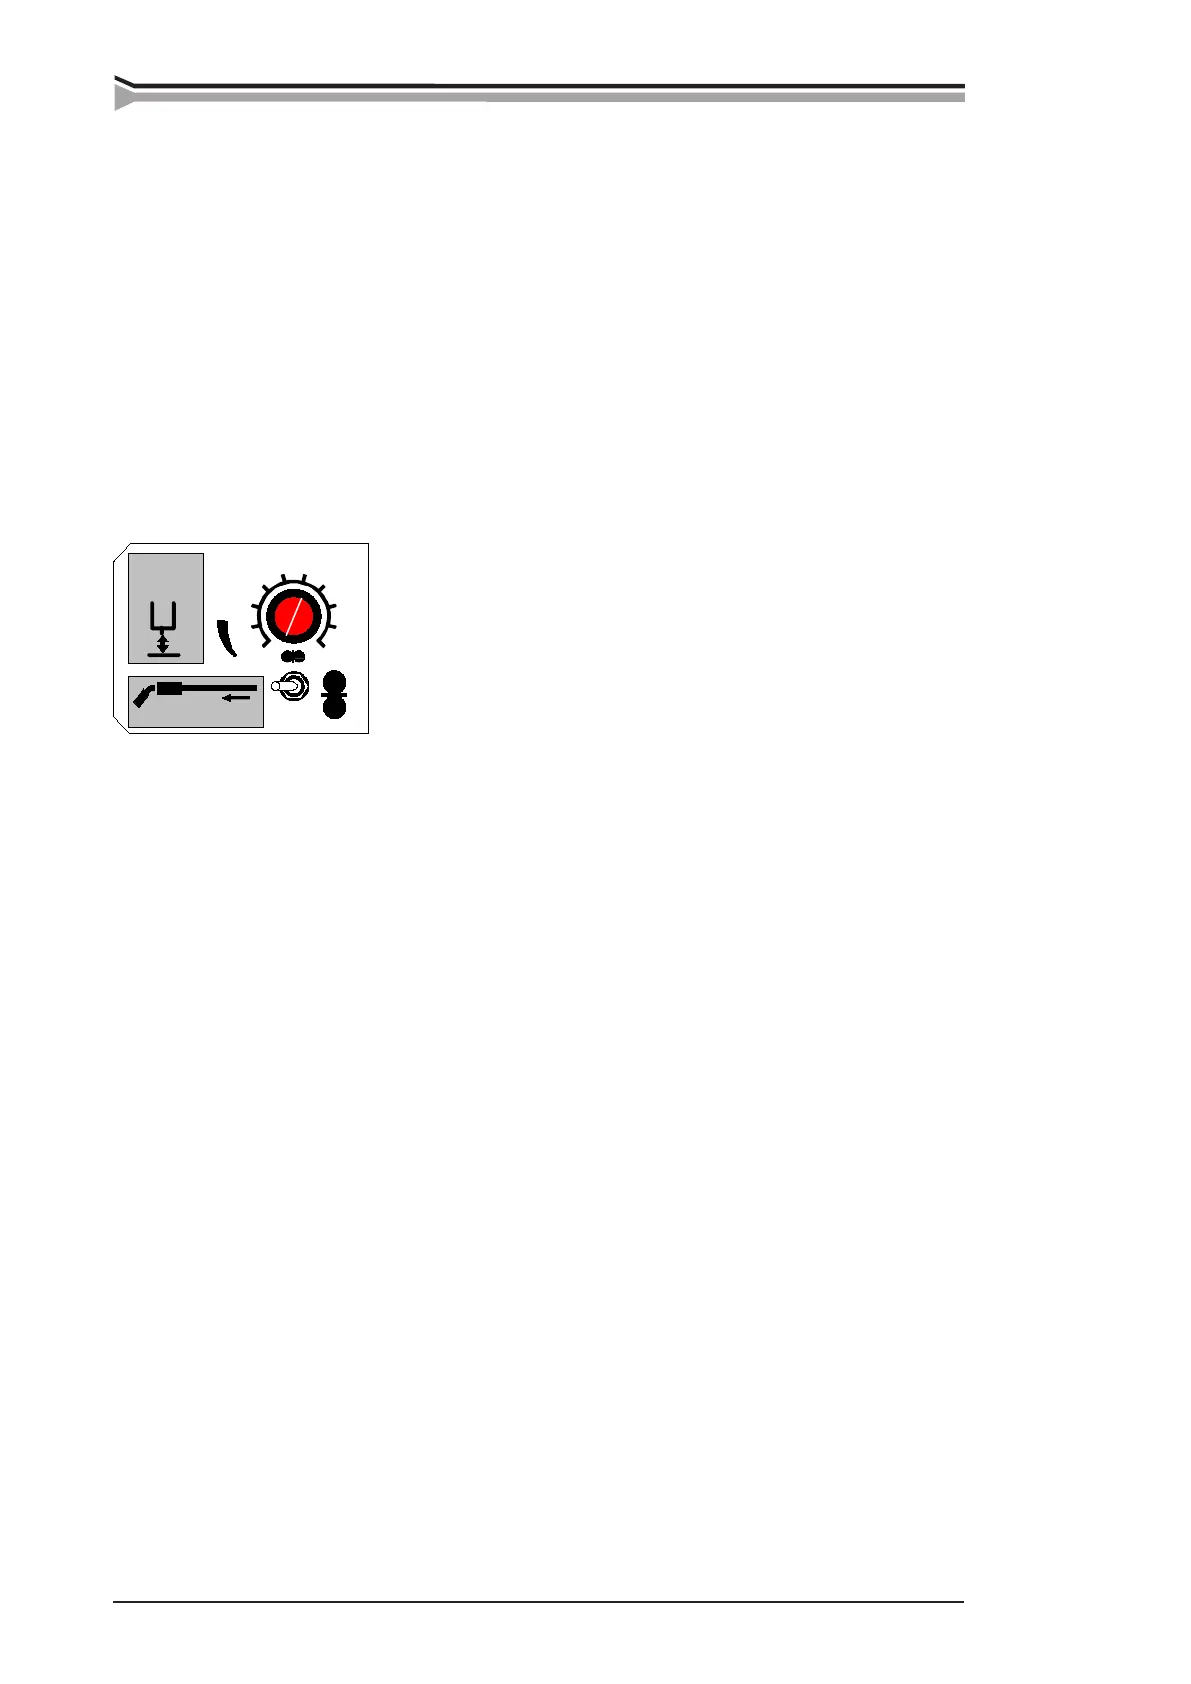
Factors inuencing on the delay:
The wire feed speed has a signicant inuence on required burn back time. By low wire feed
speeds always select the short burn back time.
- Melting of aluminium is much quicker than by steel-base materials, so that the burn
back time is clearly shorter.
- Steel and especially ller wires require longer time than the stainless materials.
- Thicker ller wires require longer time. Also by increase of wire feed speed the required
time should be longer. In the instruction label are given starting points for adjustment.
The ne-adjustment should be carried out according to each case in question.
- Memory scale for adjustment potentiometer
- The wire inch switch starts the wire feed motor and mechanism, but not the power
source.
The ller wire can be driven to the wire feeder unit, gun and interconnection cable also with
the welding gun´s switch, but then also the power source will get started and the wire becomes
live (gets voltage), and this can cause a danger situation by accidental contact to surrounding
objects.
5.3. KMW TIMER
The standard control includes the welding with the closed-open operation of the gun trigger, this is
called the 2-sequence procedure. The KMW timer also has the 4-sequence procedure, with which you
can release the trigger for the time of welding, as well as the wire feed timer, which helps you to control
the spot or cycle arc welding.
2 / 4-sequence procedure
2-sequence procedure The welding with the 2-sequence trigger procedure of the gun.
1. Switch pressed: welding starts
2. Switch open: welding stops
4-sequence procedure The welding with the 4-sequence trigger procedure of the gun.
1. Switch pressed: shielding gas is owing
2. Switch open: welding starts
3. Switch pressed: welding stops
4. Switch open: gas ow stops after the post gas time
Spot, cycle arc and continuous welding (is operating only in the 2-sequence procedure position)
Spot welding
1. Set the spot time with the potentiometer.
2. The gun switch pressed: welding starts
3. Welding ends automatically after the set time
Cycle arc welding - - -
1. Set the welding cycle time with the potentiometer. The pause time is constant ca. 0.3 s.
The pause time length can be adjusted from the control card trimmer as 0.2 - 1.0 s.
2. The gun switch pressed: welding is started and continued for so long as the switch is pressed.
 Loading...