COPYRIGHT KEMPPI OY
4 / Kempomat 2500, Kempomat 3200, Kempomat 4000 / 0340
Kempomat 2500, Kempomat 3200, Kempomat 4000 / 0340 / 5
COPYRIGHT KEMPPI OY
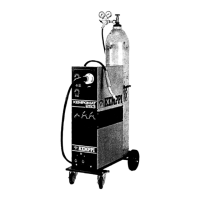
Kempomat 2500
Rated voltage 230 V 400 V
Fuses, delayed 16 A 10 A
Connection cable 4 x 2.5 S mm
2
4 x 2.5 S mm
2
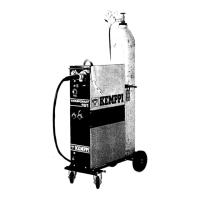
Kempomat 3200 Kempomat 4000
Rated voltage 230 V 400 V 230 V 400 V
Fuses, delayed 20 A 16 A 25 A 16 A
Connection cable 4 x 2.5 S mm
2
4 x 2.5 S mm
2
4 x 6.0 S mm
2
4 x 2.5 S mm
2
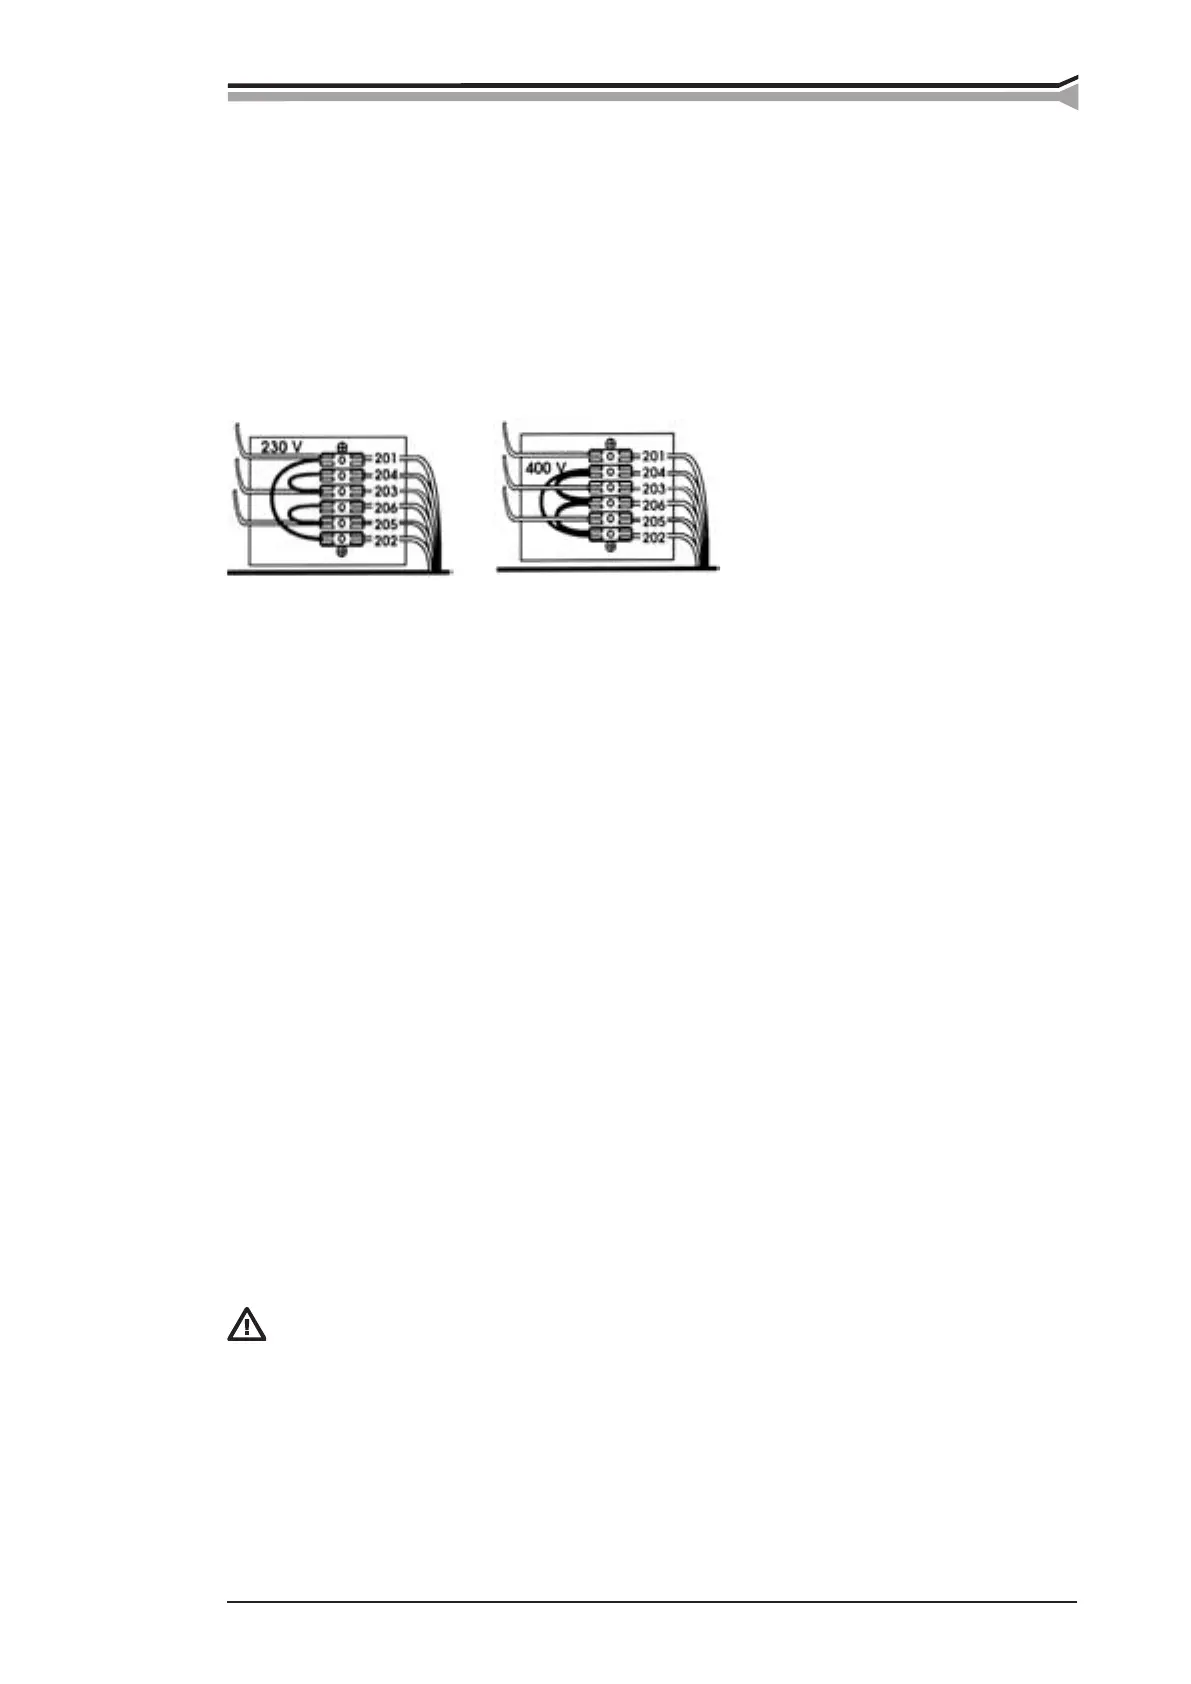
Change of mains voltage / Kempomat 2500, 3200
Connection and change of the mains cable and the plug must be carried out only by a competent
electrician.
Connection 3~ 230 or 3~ 400 V of mains voltage
By delivery from the factory the Kempomat 3200 and 2500 machine has been connected for
mains voltage 3~ 400 V. In order to change the mains voltage in the Kempomat 2500/3200
machine, remove the side plate of the machine. Change the connections according to the
enclosed diagram. You nd the corresponding wiring diagram on the instruction label, which
is under terminal block.
Note! The Kempomat 4000 machine has the connection for only one mains voltage!
2.5. WELDING AND RETURN CURRENT CABLES
Use only copper cables with cross-sectional area of at least 50 mm
2
.
In enclosed table are shown typical loading capacities of rubber insulated copper cables, when
ambient temperature is 25 °C and conductor temperature is 85 °C.
Kempomat 2500
Cable cross-section Duty cycle ED Voltage loss / 10 m
Cu 100 % 60 % 30 % for 100 A
25 mm
2
180 A 230 A 330 A 0.7 V
35 mm
2
225 A 290 A 410 A 0.5 V
Kempomat 3200, 4000
Cable cross-section Duty cycle ED Voltage loss / 10 m
Cu 100 % 60 % 40 % for 100 A
50 mm
2
285 A 370 A 450 A 0.35 V
70 mm
2
355 A 460 A 560 A 0.25 V
Don´t overload welding cables over permissible values due to voltage losses and
heating.
Fasten the earthing press of the return current cable carefully, preferably direct
onto the piece to be welded.
The contact surface area of the press should always be as large and steady as pos-
sible. Clean the contact surface from paint and rust.
 Loading...