Operating Instructions 3
Keysight 11683A Operating and Service Manual 29
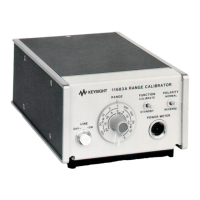
Operating and Hookup Instructions
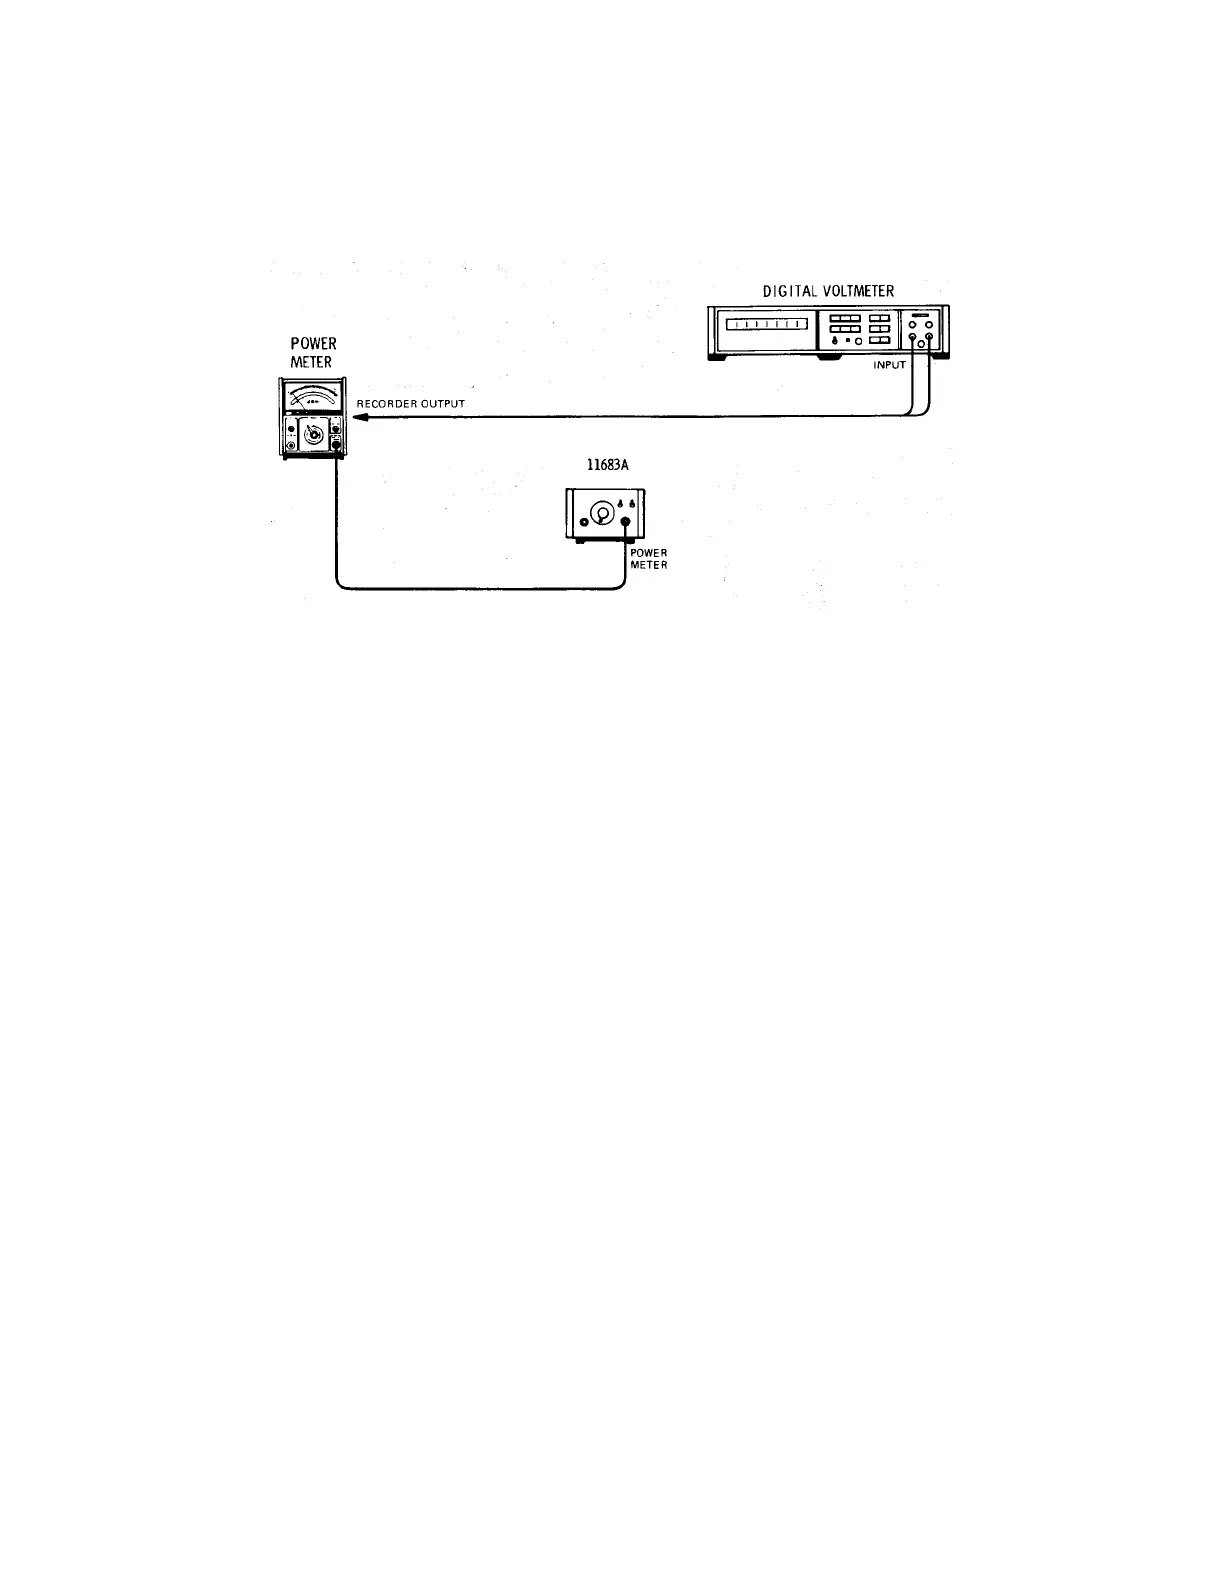
Figure 3-2 provides operating and hookup instructions with a compatible Power Meter.
Figure 3-2 Operating and hookup
Turn on
1 Verify that the power transformer primary of the 11683A is matched to the line voltage. See
Figure 2-1.
2 Check the fuse, contained in the Power Module Assembly, for the correct rating. The voltage
and amperage are shown on the rear panel. If necessary, change the fuse. See Figure 2-1.
3 Connect the equipment together as shown in Figure 3-2.
4 Connect the Power Cable to the power outlet and Power Module receptacles. Press the LINE
switch and release. The switch should remain in, the lamp within the plastic lens should be
illuminated, and the cursor on the curved portion of the switch should indicate ON.
Power meter performance test and adjustments
Refer to the Power Meter manual for Performance Test and Adjustment Procedures.
Power meter troubleshooting
The 11683A may be used as a test signal source which is capable of a full scale meter reading in
any range. The POLARITY switch increases the ease of Auto-Zero circuit troubleshooting, and the
11683A may be substituted for the Power Sensor in order to isolate a malfunction to the Power
Meter/Power Sensor Cable or the Power Sensor. Troubleshooting information is found in the
Power Meter Operating and Service Manual.