6-9
TEST #3a Temperature Sensor
The machine control electronics monitors the
exhaust temperature using the temperature
sensor, and cycles the heater relay on and off
to maintain the desired temperature.
Begin
with an empty dryer and a clean lint
screen.
1.
Plug in dryer or reconnect power.
2. Set the following configuration:
Door – must be firmly closed.
Select Timed Dry cycle.
Press Cycle End Tone and select
Loud.
Press Start.
3.
If after 60 seconds, E1 or E2 flashes in
the display and the dryer shuts off, the
temperature sensor or wire harness is ei-
ther shorted or open.
Unplug dryer or disconnect power
.
Check wire connections at the machine
control electronics and temperature
sensor. See Accessing & Removing
the Electronic Assemblies, page 6-12,
and Figure 5 for temperature sensor
location.
If
wire connections are good, remove
the two wires from the temperature
sensor and replace the temperature
sensor. See Figure 12.
Plug in dryer or reconnect power.
•
•
•
•
•
•
•
•
4.
If E1 or E2 does not flash in the display,
the connections to the temperature sen-
sor are good. Therefore, check the tem-
perature
sensor’s resistance value at any
or all of the temperature levels in ques-
tion,
using the Timed Dry cycle, and the
following process:
Hold a glass bulb thermometer capable of
reading from 90° to 180°F (32° to 82°C)
in the center of the exhaust outlet.
The correct exhaust temperatures are as
follows:
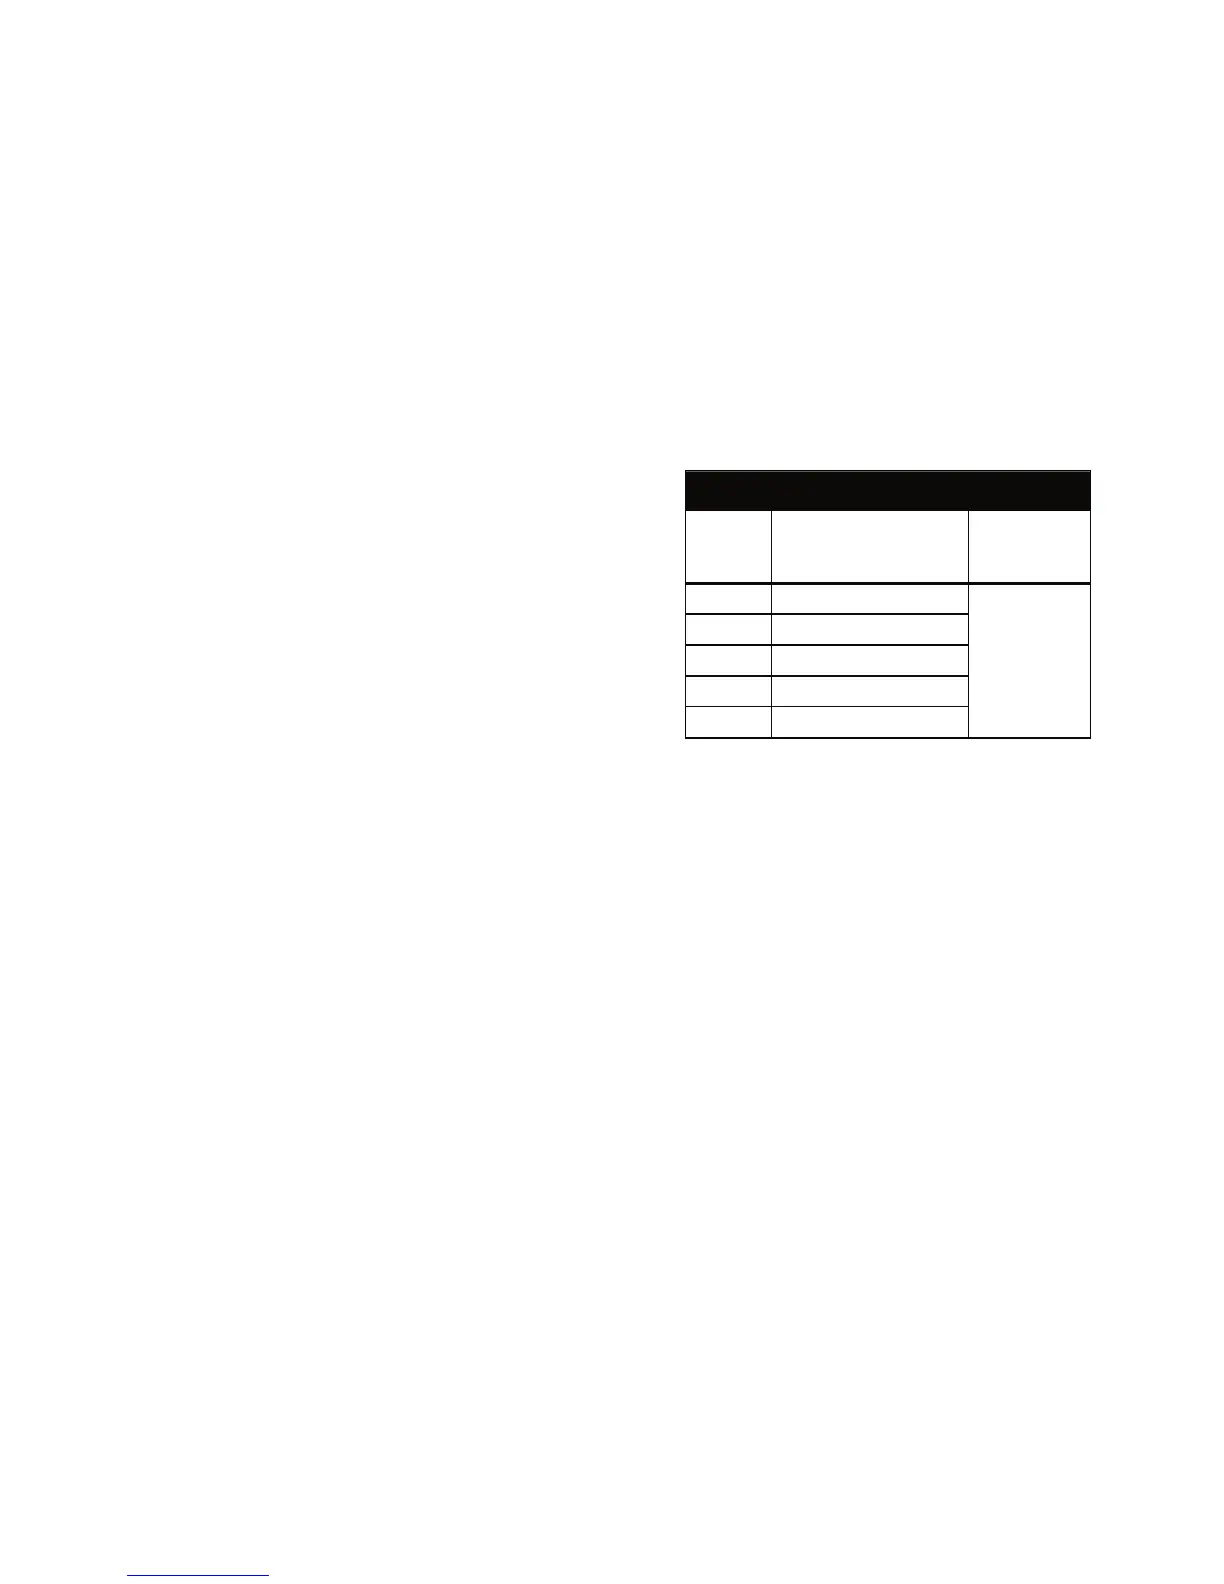
EXHAUST TEMPERATURES
TEMP.
SETTING
HEAT TURNS
OFF*
°F (°C)
HEAT TURNS
ON
°F (°C)
Extra High 165° ± 5° (73.9° ± 3°)
10–15° (6–8°)
below the heat
turn off
temperature
High 160° ± 5° (71.1° ± 3°)
Medium 150° ± 5° (65.6° ± 3°)
Low 135° ± 5° (57.2° ± 3°)
Extra Low 120° ± 5° (48.9° ± 3°)
* The measured overshoot using the glass-
bulb thermometer in the exhaust outlet can
be 30°F (17°C) higher.
5. If the exhaust temperature is not within
specified limits, go to the Operational Test
to verify the temperature sensor is func-
t
ional.



 To Next Page