2-1
INSTALLATION INFORMATION
INSTALLATION INSTRUCTIONS
TOOLS AND PARTS
Gather the required tools and parts before
starting installation. Read and follow the safe-
ty
instructions provided with any tools listed
here.
Electric Models
Flat-blade screwdriver
Phillips screwdriver
9
/16˝ (14 mm) open-end wrench (for
adjusting dryer feet)
Wire stripper (direct wire installations)
Level
V
ent clamps
Caulking gun and compound (for installing
new exhaust vent)
T
in snips (new vent installations)
1/4˝ nut driver (recommended)
T
ape measure
Wood block (for adjusting dryer feet)
Gas Models
8˝ or 10˝ pipe wrench
8˝ or 10˝ adjustable wrench (for gas
connections)
Phillips screwdriver
Flat-blade screwdriver
9
/16˝ (14 mm) open-end wrench (for
adjusting dryer feet)
1/4˝ nut driver or socket wrench
(recommended)
Level
V
ent clamps
Caulking gun and compound (for installing
new exhaust vent)
T
in snips (new vent installations)
Pipe-joint compound resistant to LP gas
Pliers
T
ape measure
•
•
•
•
•
•
•
•
•
•
•
•
•
•
•
•
•
•
•
•
•
•
•
•
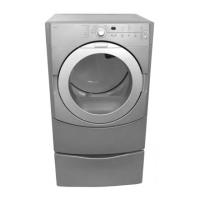
Attach Door Handle
1.
Insert the 2 screws through the holes in
the door.
2. Place the plastic washers onto the
screws.
3.
Attach the handle by hand-tightening the
screws, first the top then the bottom.
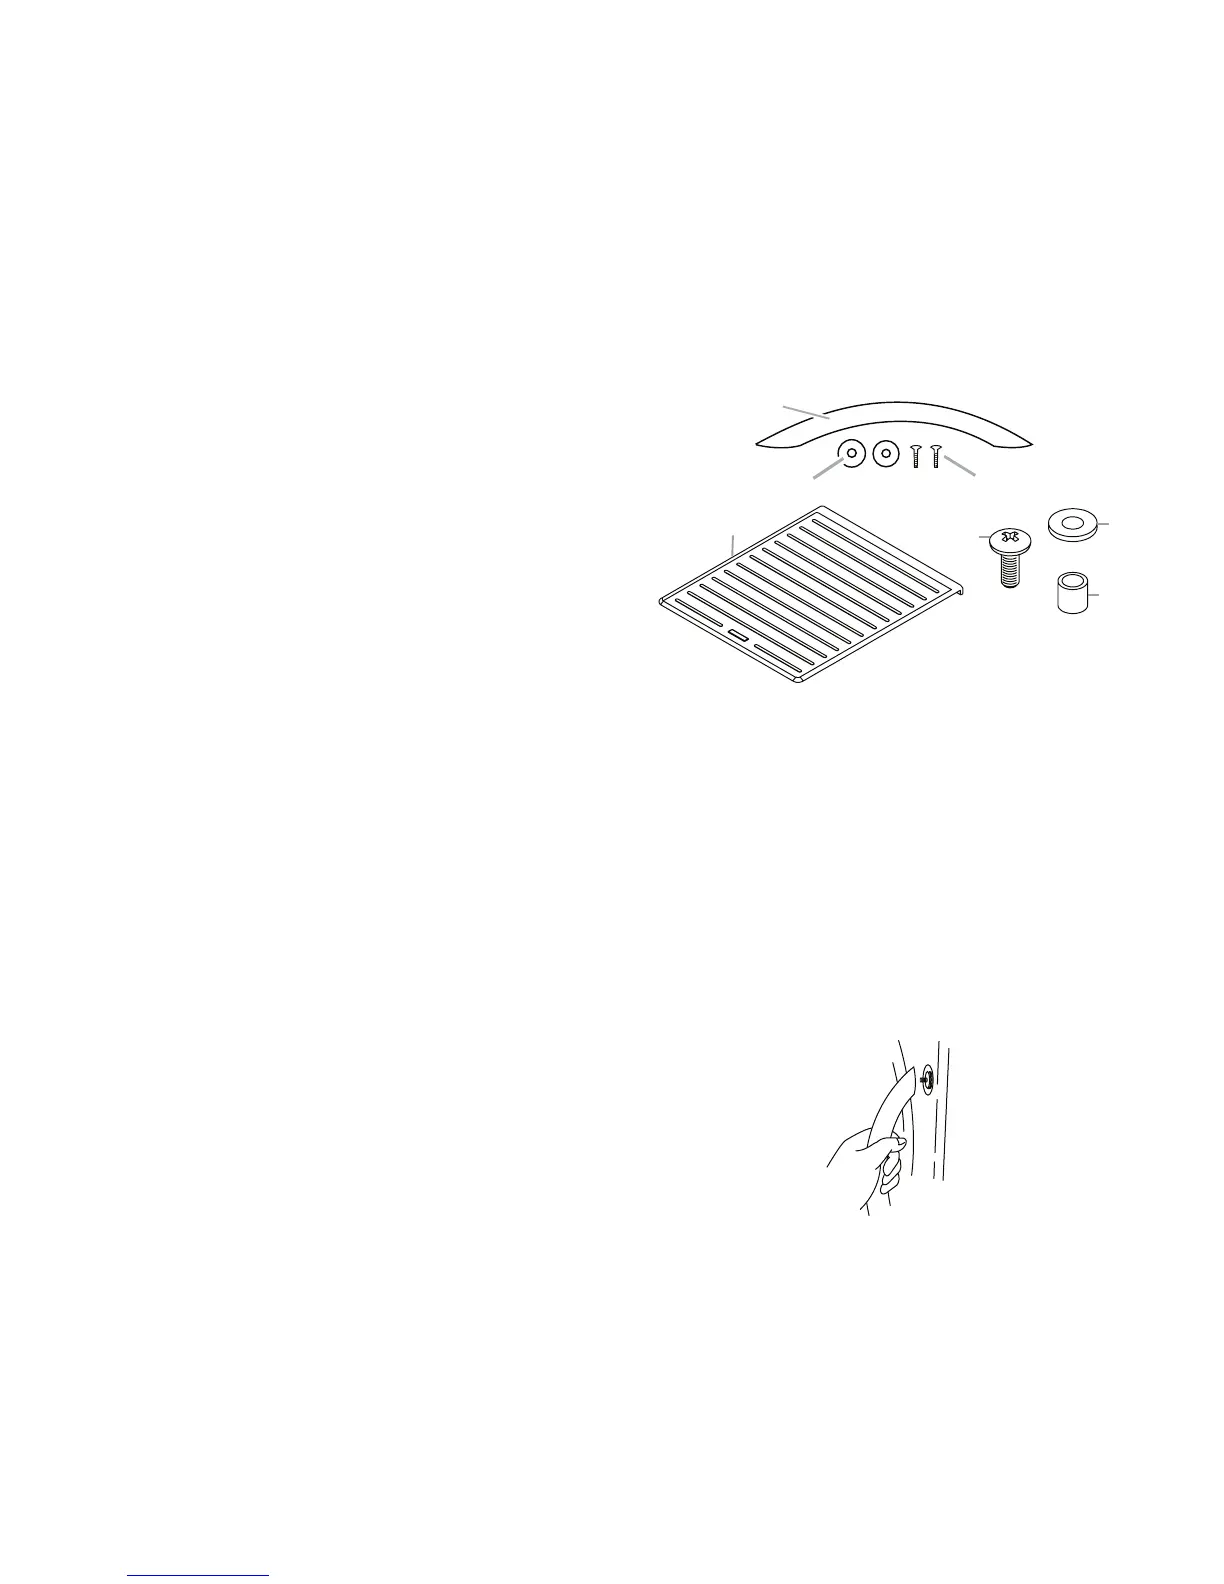
Parts Supplied
Remove
parts package from dryer drum.
Check that all parts are included. Remove the
optional decorative mat (included) from the
top of the dryer and set aside.
A. Door handle
B. Plastic washers (2)
C
. Scr
ews (2)
D. Decorative mat
E
. Mounting screws (2)
F
. Spacers (2)
G
. Flat washers (2)
A
C
B
D
E
F
G
4. Push the handle against the door. Using a
Phillips screwdriver, tighten the screws.
NOTE: Do not overtighten.