Acquiring a 3D Image
KODAK 9000 3D Extraoral Imaging System_User Guide (SM710)_Ed 01 5–7
Acquiring a 3D Image
Before acquiring a 3D image, check that you have:
• Reset the Unit rotative arm in start position for patient entry
• Selected the patient record
• Accessed the Imaging Window
• Accessed the 3D Acquisition Window
Preparing the Unit and Setting the Acquisition
Parameters
To set the acquisition parameters, follow these steps:
1. In the 3D Acquisition Window, click the Program button to access the Program pane.
Select the region of interest and click to validate the selection, or click
to
cancel the modifications.
2. Click the Patient button to access the Patient pane.
Select the patient:
• Corpulence
• Dental arch morphology (optional)
• Incisors orientation (optional)
3. Click the Parameter button to access the Parameter pane. Select the appropriate
parameters.
4. Position the 3D head rest and 3D standard bite block and cover the bite block with a
hygienic barrier.
Preparing and Positioning the Patient
To prepare and position the patient, follow these steps:
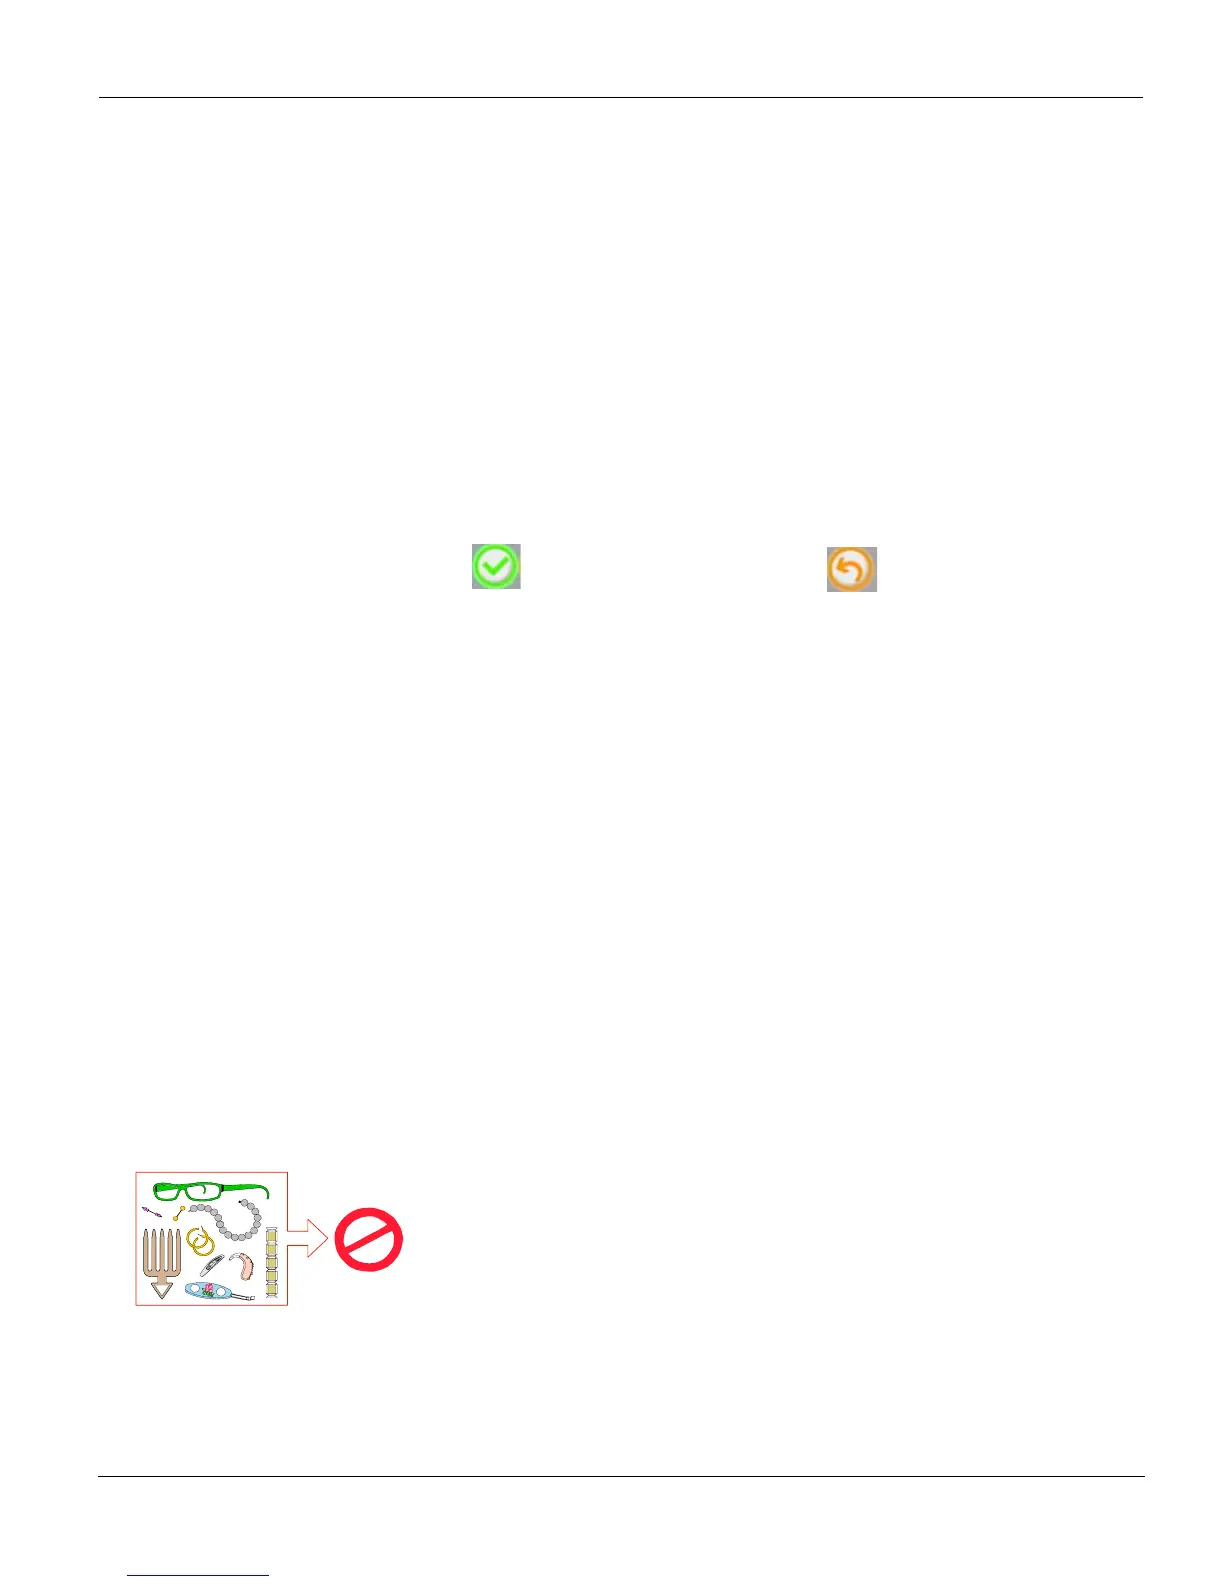
1. Ask the patient to remove all metal objects.
2. Ask the patient to wear a lead apron. Ensure that the apron lays flat across the patient
shoulders.
 Loading...