A-61560 January 2010 2-1
2 Installation
Contents Installing the scanner......................................................................2-1
Install the Kodak Driver Software - Windows..............................2-1
Install the Kodak Driver Software - Linux....................................2-2
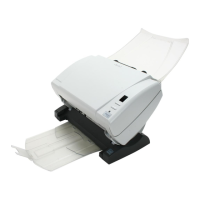
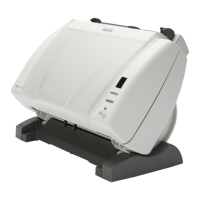
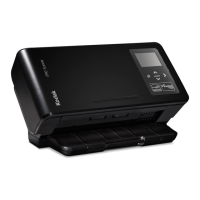
Attach the standard output tray...................................................2-3
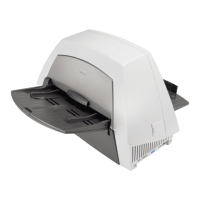
Attach the optional output tray kit ...............................................2-4
Connect the power cord and USB cable.....................................2-7
Turning on the scanner ................................................................... 2-8
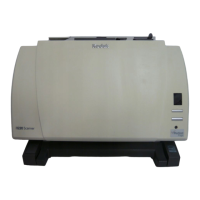
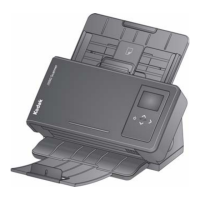
Installing the scanner This section provides detailed information of the Installation Guide that
is provided with your scanner. Follow these steps in the order they are
provided to install your scanner.
NOTE: If you have already performed all of the steps in the Installation
Guide, skip this section.
Installing the Kodak Driver
Software - Windows
operating systems
1. Insert the Kodak i1200/i1300 Plus Series Scanners Installation CD
in the CD-ROM drive. The installation program starts automatically.
NOTE: The i1200/i1300 Plus Series Scanners have separate
Installation CDs. Be sure you select the correct CD for your
scanner.
2. Select Install Scanner Software.
NOTES:
• If the CD does not start automatically, open the My Computer
icon on your desktop. Double-click the icon indicating your CD-
ROM drive, then double-click on setup.exe.
 Loading...