3. Press the [ ]/[ ] button to
select「USB」and press the button to
enter the menu.
4. Press the [ ]/[ ] button to
select「Printer」and press the button
to confirm.
After the camera is reset, it will switch to
PC mode automatically from USB mode.
See “Using the PictBridge Menu“ section
on page 112.
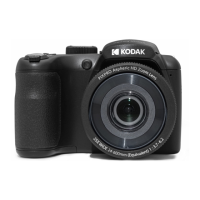
PictBridge technology allows
printing of the photos saved in the
memory card by the printer.
To find out if a printer is PictBridge
compatible, simply look for the
PictBridge logo on the packaging or check the
owner's manual for specifications. With the
PictBridge function on your camera, you can
print the captured photos directly to a PictBridge
compatible printer using the supplied Micro USB
cable, without the need for a PC.
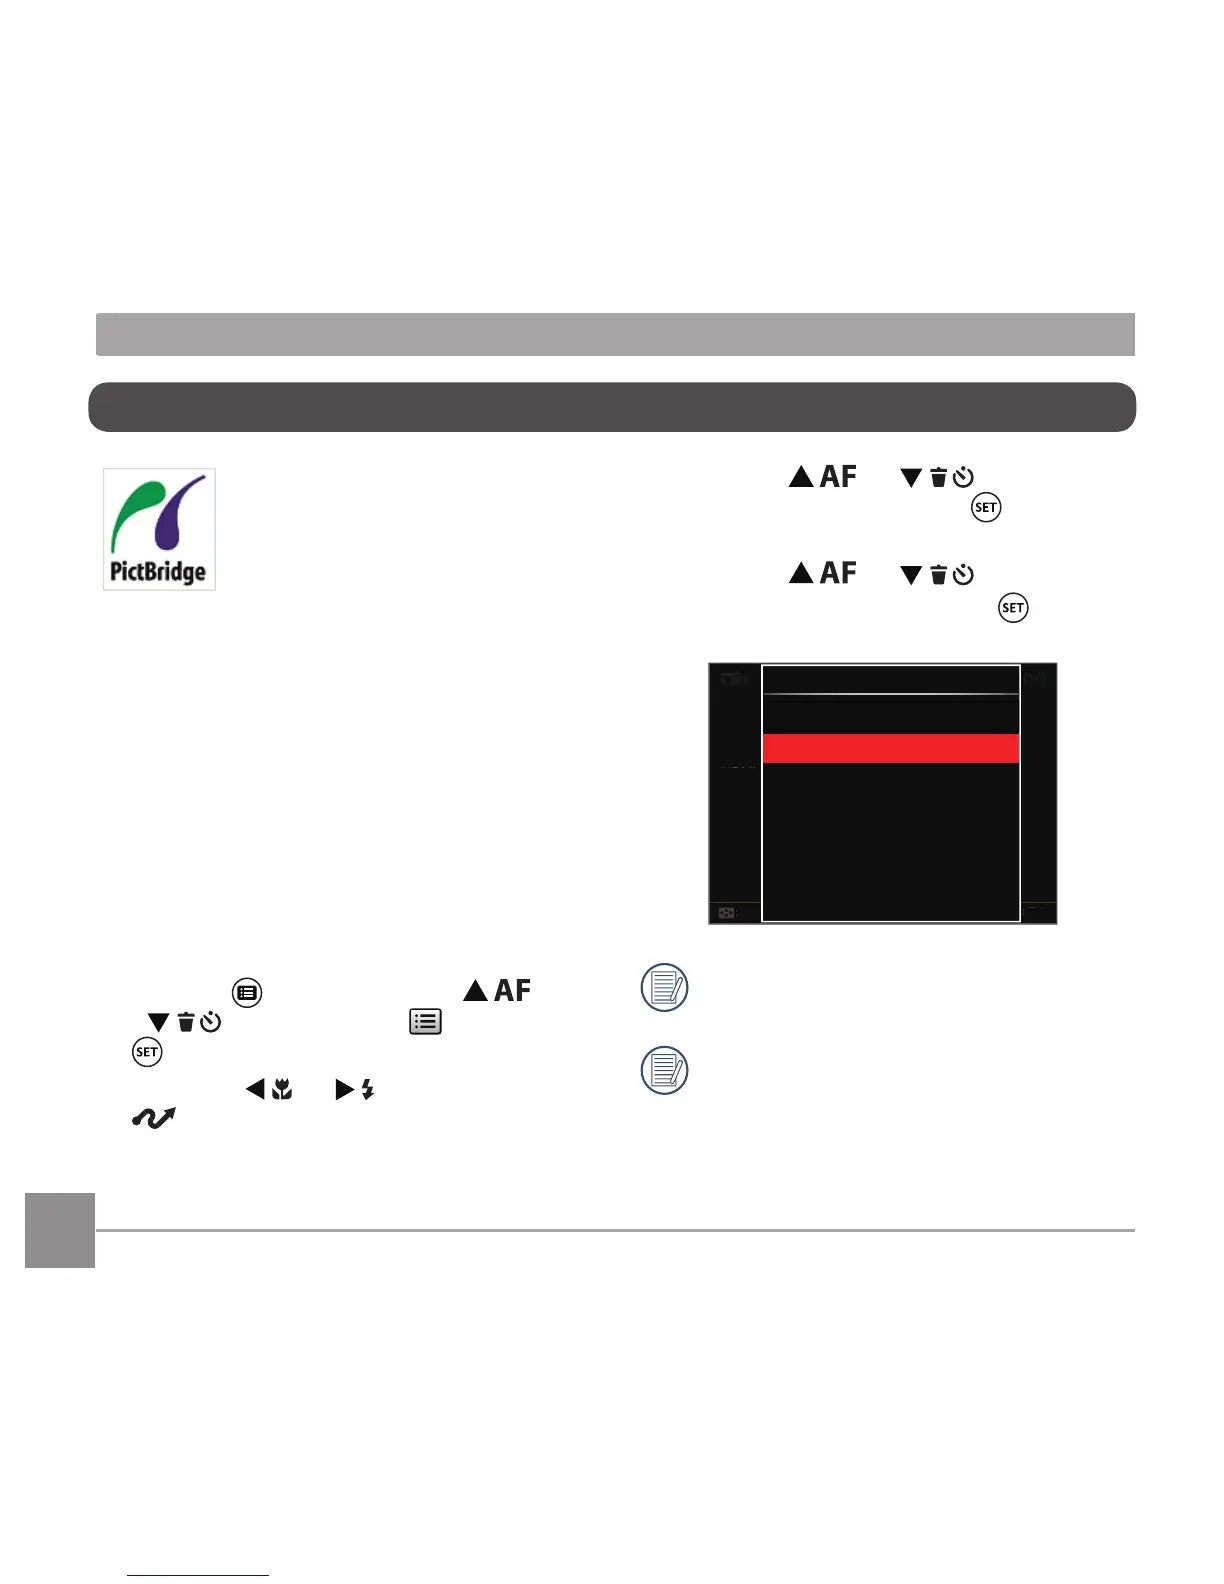
Setting the USB Mode
The camera’s Micro USB port can be set to
connect with either a PC or a Printer, the
following steps will ensure that the camera is
correctly configured to connect with a Printer.
1. Press the button, press the [ ]/
[ ] button to select and press the
button to enter the menu.
2. Press the [ ]/[ ] button to select
.
Connecting to a PictBridge Compatible Printer
 Loading...