bizhub 42/36 4-29
4.10 [Maintenance Menu]
4
[Leading Edge Adjustment]
Adjust the starting print position at the leading edge of each type of paper (with respect to the paper feed
direction).
0 Only 8-1/2 e 11 v (A4 v) paper can be used to adjust the Bypass Tray.
1 Press the Utility/Counter key ö [Admin Settings] ö [Maintenance Menu] ö [Printer Adjustment] ö
[Leading Edge Adjustment].
% To adjust the starting print position at the leading edge of the second side for 2-sided printing (with
respect to the paper feed direction), press [Leading Edge Adj. Side 2 (Dx)].
2 Select a paper type to be adjusted.
3 Load the paper into the Tray 1 (Bypass Tray).
4 Press the Start key.
A test pattern is printed.
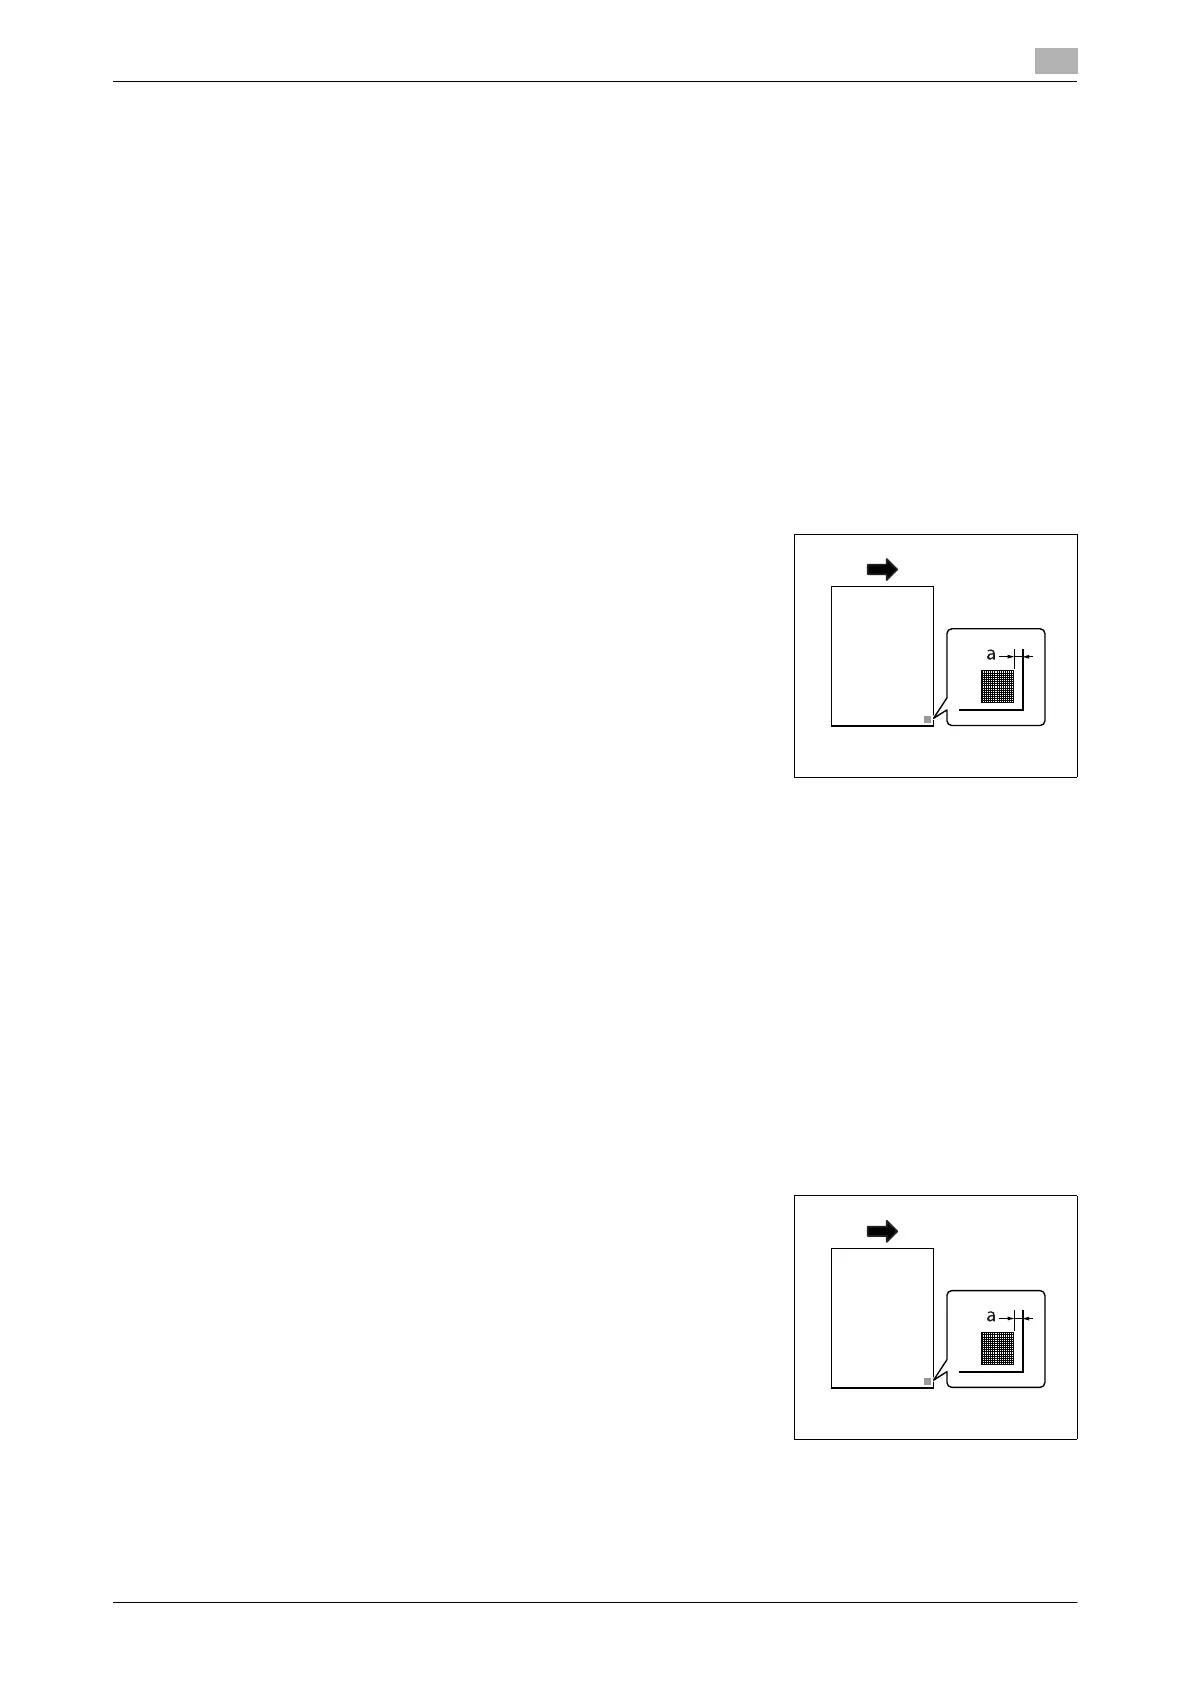
5 Check that the distance from the starting print position of the test
pattern to the edge of the paper (a) is 3/16 inches (4.2 mm).
% Press [+] or [-] to adjust the width.
Press the Start key to print a test pattern.
6 Press [OK].
[Leading Edge Adjustment Tray]
Adjust the starting print position at the leading edge of each paper tray (with respect to the paper feed direc-
tion).
0 Only 8-1/2 e 11 v (A4 v) paper can be used to adjust the each tray.
1 Press the Utility/Counter key ö [Admin Settings] ö [Maintenance Menu] ö [Printer Adjustment] ö
[Leading Edge Adjustment Tray].
2 Select a paper tray to be adjusted.
3 Load the paper into the selected paper tray.
4 Press the Start key.
A test pattern is printed.
5 Check that the distance from the starting print position of the test
pattern to the edge of the paper (a) is 3/16 inches (4.2 mm).
% Press [+] or [-] to adjust the width.
Press the Start key to print a test pattern.
6 Press [OK].
a: 4.2 mm
a: 4.2 mm
 Loading...