30
Connect your external audio device and
make input settings
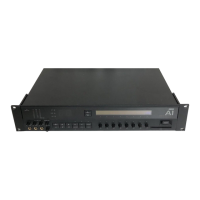
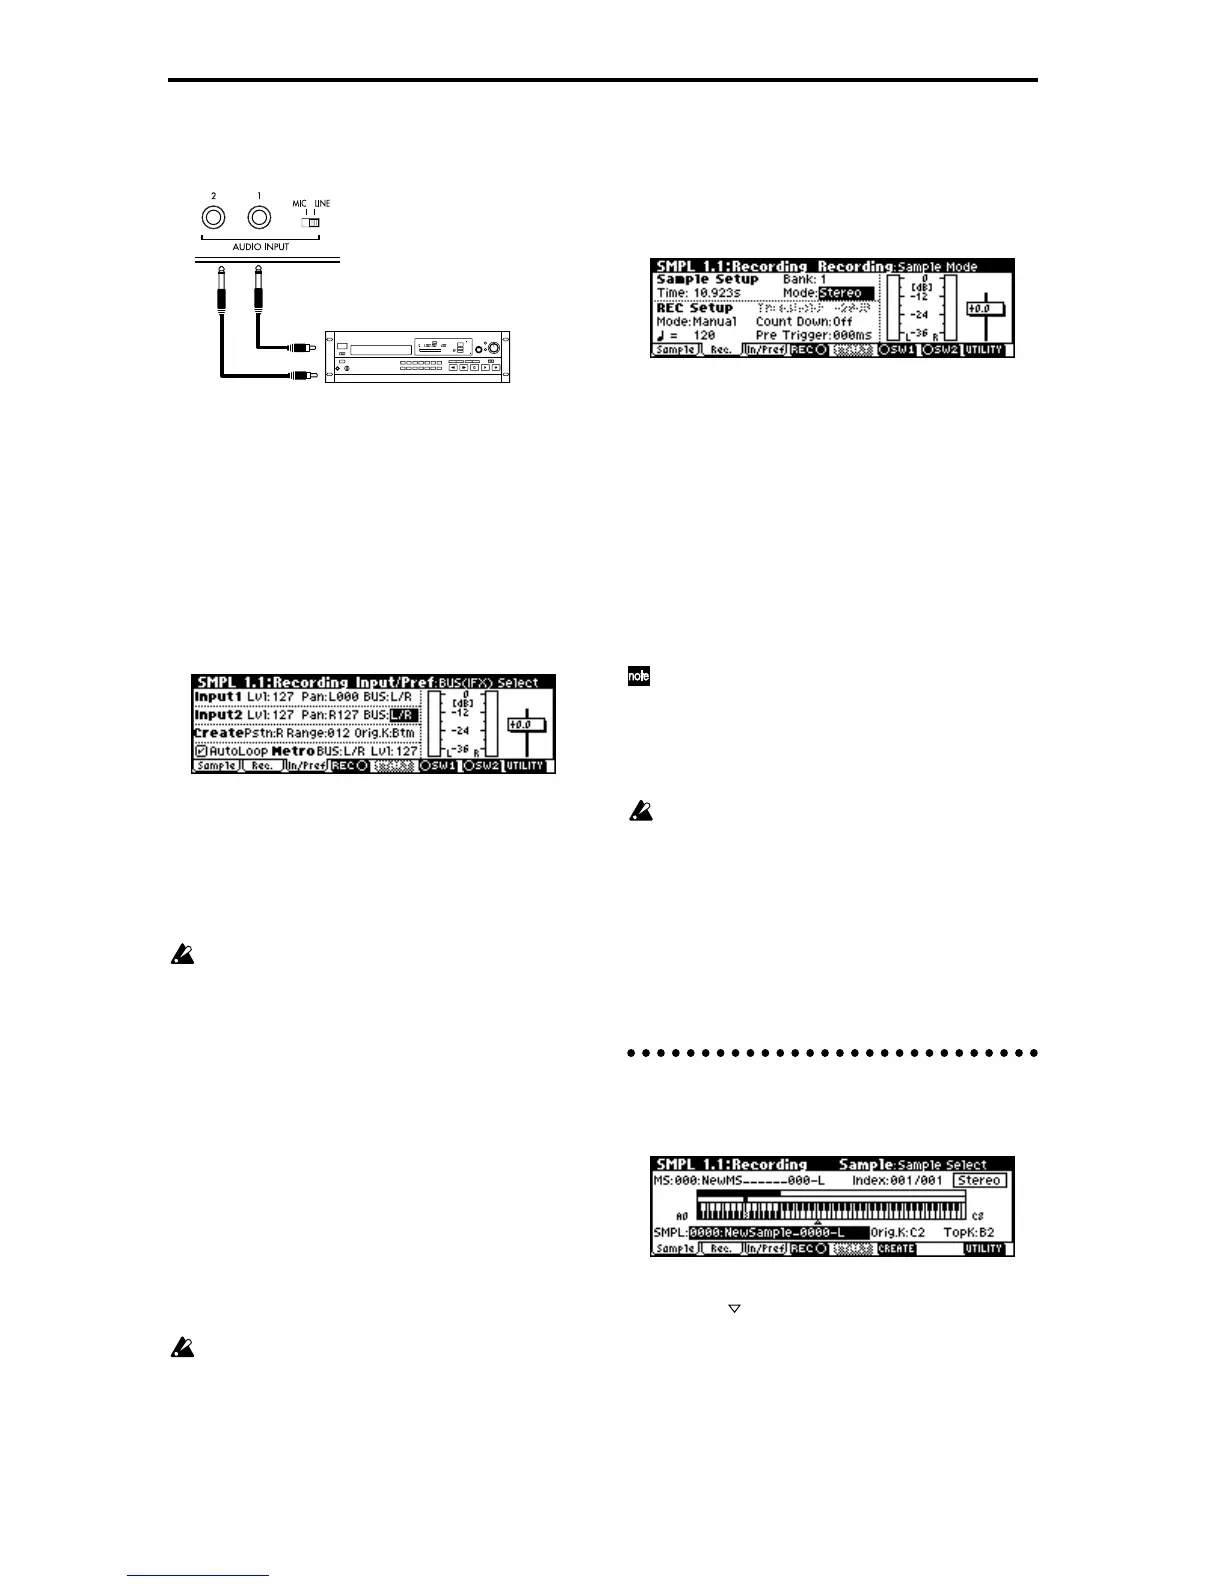
1 Connect the AUDIO INPUT 1, 2 jacks on the rear
panel of the TRITON-Rack to the AUX OUT L and
R jacks of your CD player.
2 Set the AUDIO INPUT [MIC/LINE] switch to the
LINE position.
3 Press the [SAMPLING] key (LED lit) to enter Sam-
pling mode.
If SMPL 1.1: Recording is not selected, press the
[EXIT] key.
4 Press the [F3] (“In/Pref”) key to select the Input/
Pref page.
5 Set various parameters so that the signal from the
AUDIO INPUT jacks will be input to the TRI-
TON-Rack.
Make the following settings.
• Input 1: “Lvl” 127, “Pan” L000, “BUS” L/R
• Input 2: “Lvl” 127, “Pan” R127, “BUS” L/R
When you change the setting from Off to L/R or
IFX1–5, the volume level of the AUDIO OUT L/
MONO and R jacks or the headphone volume may
rise abruptly. Please use caution.
With these settings, the sound from the AUDIO
INPUT 1 and 2 jacks will be output in stereo from
the AUDIO OUTPUT L/MONO and R jacks, and
from the headphones. The sound from AUDIO
INPUT 1 will be output from the L side, and 2 from
the R side.
6 Adjust the [INPUT] knob to set an appropriate
input level.
Adjust the [INPUT] knob or the output level of the
external audio device so that the level just avoids
triggering the “ADC OVER!” display (i.e., the high-
est possible level that does not produce an over-
load).
If an overload occurs in the input stage of the TRI-
TON-Rack, an indication of “ADC OVER!” (AD
converter input overload!) will appear at the right
of the level meter.
Manual sampling
There are two ways to record a sample: manual and
auto. In this example we will use manual sampling.
7 Press the [F2] (“Rec.”) key to access the Recording
page.
8 Set “Mode (REC Mode)” to Manual
This will select manual recording mode.
9 Set “Mode (Sample Mode)” to Stereo.
0 Press the [F4] (“REC”) key.
When an input sound is present, the “Recording
Level” L and R meters will move. The TRITON-
Rack is in recording standby condition.
Set “Recording Level” to +0.0.
A At the moment that you wish to start sampling,
press the [F5] (“START”) key.
Sampling will start.
It is a good idea to allow a bit of extra time before
you start and after you stop sampling.
B At the moment that you wish to stop sampling,
press the [F5] (“STOP”) key.
Sampling will stop.
Sampling will stop automatically if the remaining
amount of memory reaches zero.
C Listen to the sound you sampled.
Press the [AUDITION] key or play the C2 note on a
connected MIDI keyboard, and you will hear the
sound that was sampled.
This completes sampling for the 140 BPM drum
phrase. Now repeat steps 0–B to sample the 100
BPM drum phrase.
2. Assign samples to a multisample
1 Press the [F1] (“Sample”) key to access the Sample
page.
2 Assign the first sample in “SMPL.”
Press the [ ] key to select “SMPL,” and use the
[DEC] key to select 0000:NewSample_0000-L (the
140 BPM drum phrase).
LINE OUT
L
R
CD player
TRITON-Rack

 Loading...