8 Connection
8.4 Connecting the pulse output
3. Pull the connection cable of the pick up through the cable inlet and connect it to the connection
panel7, see Ä Technical data,Page5.
4. Replace the front cover of the electronic unit.
5. Make sure that the front cover and cable entries are properly sealed.
8.4 Connecting the pulse output
Personnel qualification: o Electrician
Personal protective equipment: o Work clothing
Aids: o Wire stripper
o Wire cutter
o Screwdriver
CAUTION
Damage to the equipment due to faulty wiring of the pulse output.
► Do not overload pulse output (max. 30 V and 300 mA).
The pulse output signal can be used for external processing purposes on the customer side.
1. Use one of the openingsA,B orC of the electronic unit as the cable input for the pulse output
connection.
Note: OpeningA is only available in the wall-mounted version.
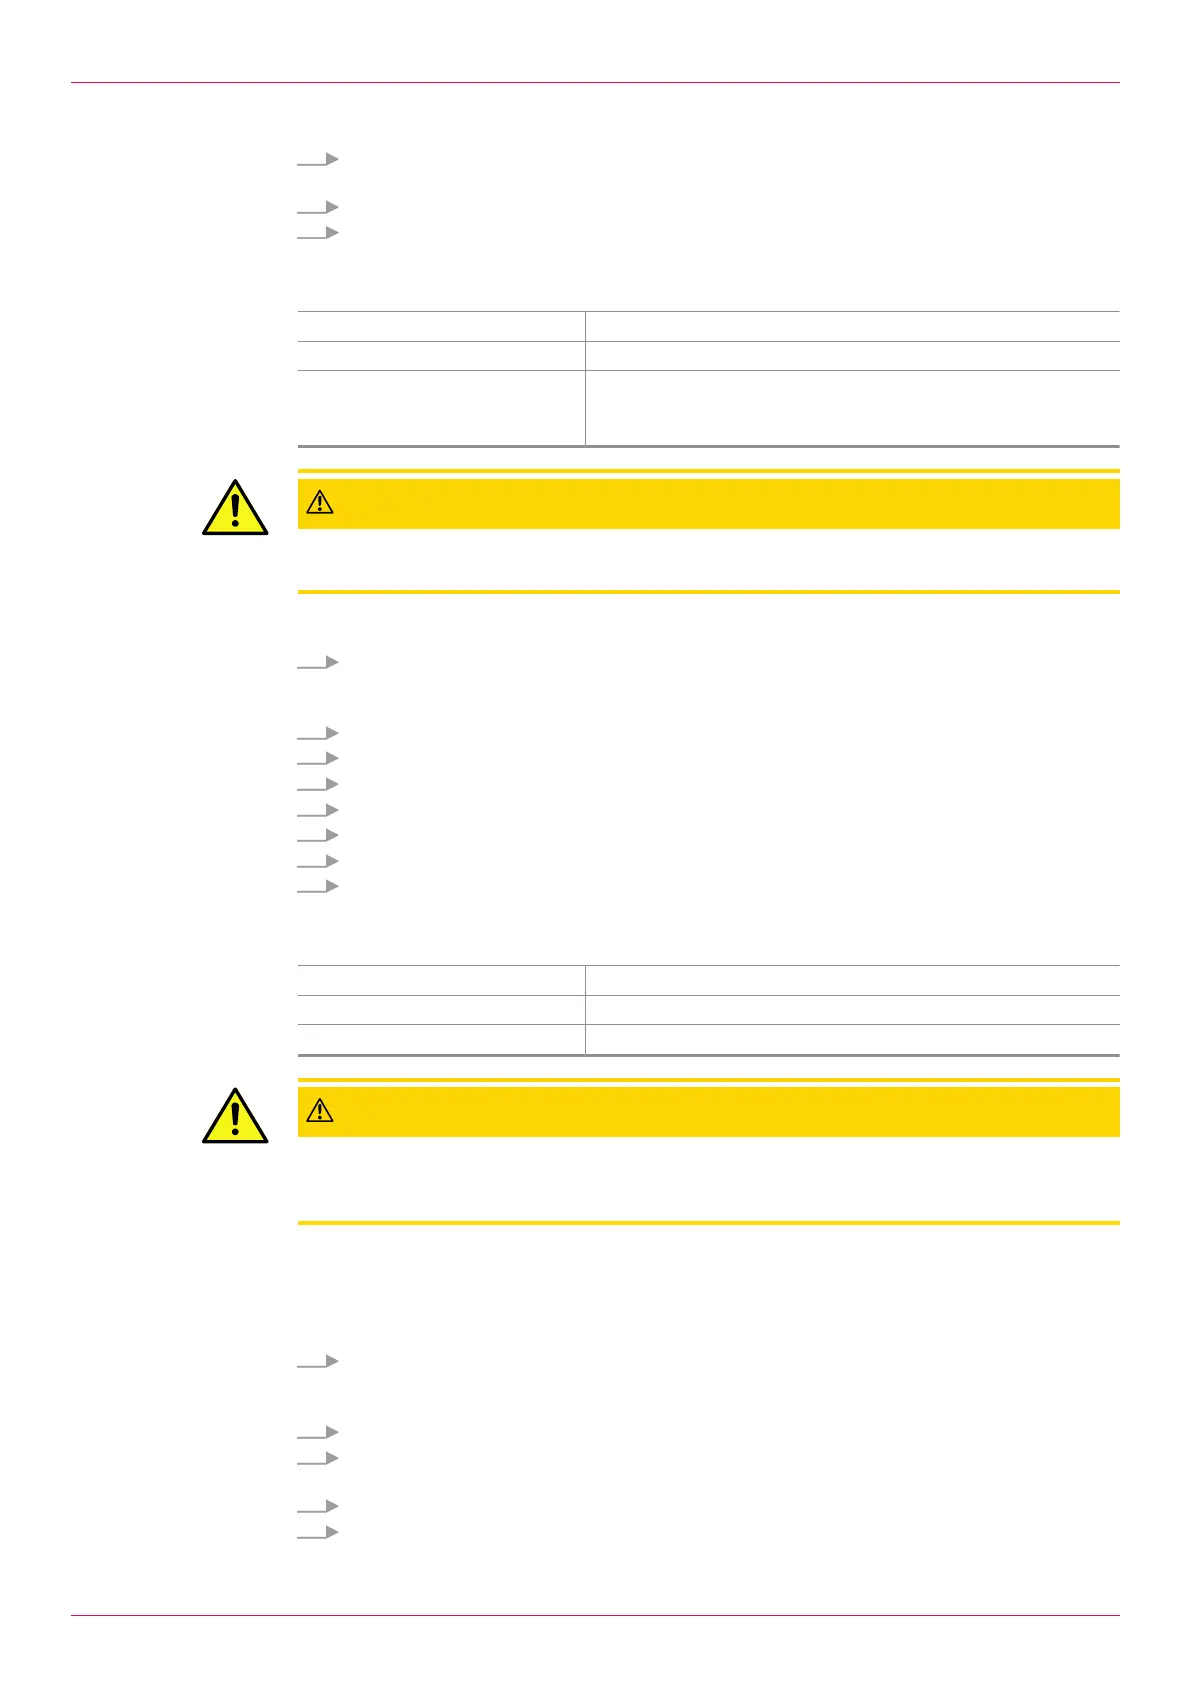
2. Unscrew the Phillips screws6 and remove the front cover5 of the electronic unit,
3. Pull the cable for the pulse output through the cable input.
4. Connect the cable for the pulse output to the connection panel, Ä Technical data,Page5.
5. Pull the cable for the pulse output towards the external device on the customer side.
6. Connect the external device.
7. Replace the front cover of the electronic unit.
8. Make sure that the front cover and cable entries are properly sealed.
8.5 Connecting the power supply
Personnel qualification: o Electrician
Personal protective equipment: o Work clothing
Aids: o Diagonal cutter
CAUTION
Damage to the equipment due to faulty wiring of the pick up or pulse output.
► Before connecting the electronic unit to the power supply, make sure that the pick up and the pulse
output are properly connected. Ä Technical data,Page5
Requirement:
ü Pick up properly connected
ü Pulse output correctly connected if used on customer side
ü System is de-energised
1. Use one of the free openingsA, B orC of the electronic unit as a cable input for connecting the
power supply.
Note: OpeningA is only available in the wall-mounted version.
2. Unscrew the Phillips screws6 and remove the front cover5 of the electronic unit.
3. Pull the power supply cable (10 - 30 V DC) through the cable inlet and connect it to the connec-
tion panel7. Ä Technical data,Page5.
4. Connect the supply cable (10 - 30 V DC) 8 to the power supply of the system.
5. Replace the front cover of the electronic unit.
Operating instructions
OIE 24en-GB Edition 2022-01
13