2PG/2PH
1-4-10
(1) Completely blank printout.
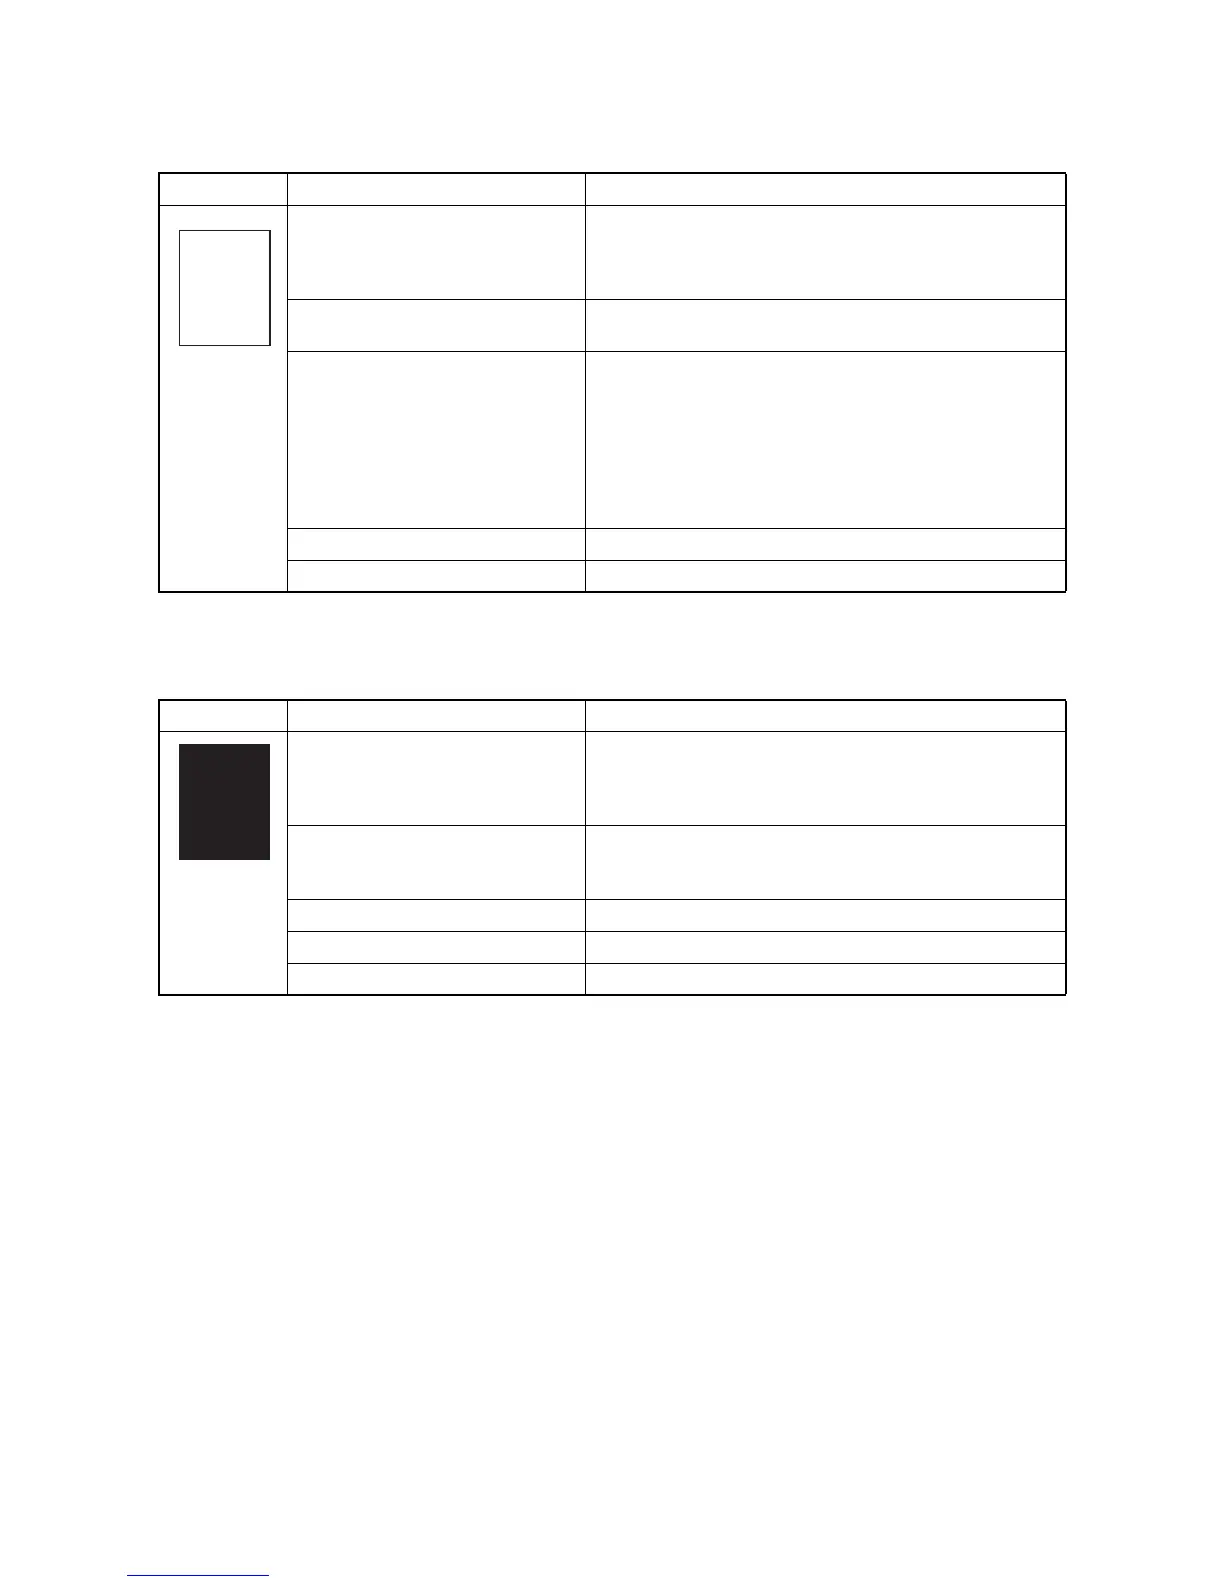
(2) All-black printout.
Print example Causes Check procedures/corrective measures
Defective drum unit or developing
unit.
Open the top cover and check that the drum unit and develop-
ing unit are correctly seated. Investigate that the terminals
between the main charger unit and the drum unit are not in
loose contact (See page 1-5-12 and 1-5-12).
Defective transfer bias output or
developing bias output.
Replace the high voltage PWB (See page 1-5-25).
Poor contact of developing bias termi-
nal (spring) and high voltage output
terminal B (J401, J402, J403) on the
high voltage PWB.
Poor contact of transfer bias terminal
(spring) and transfer bias terminal T
(J201, J202, J203) on the high volt-
age PWB.
Check the high voltage PWB visually and correct or replace if
necessary (See page 1-5-25).
Defective laser scanner unit. Replace the laser scanner unit (See page 1-5-30).
Defective control PWB. Replace the control PWB (See page 1-5-19).
Print example Causes Check procedures/corrective measures
Defective main charger unit. Open the top cover and check that the drum unit and develop-
ing unit are correctly seated (See page 1-5-11).
Investigate that the terminals between the main charger unit
and the drum unit are not in loose contact.
Poor contact of main charger terminal
(spring) and main charger output ter-
minal M on the high voltage PWB.
Check the high voltage PWB visually and correct or replace if
necessary (See page 1-5-25).
Defective main charging output. Replace the high voltage PWB (See page 1-5-25).
Broken main charger wire. Replace the main charger unit (See page 1-5-13).
Defective control PWB. Replace the control PWB (See page 1-5-19).
 Loading...