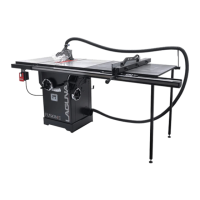
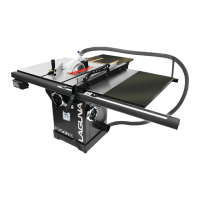
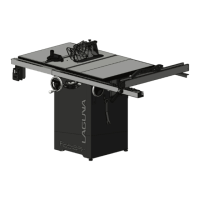
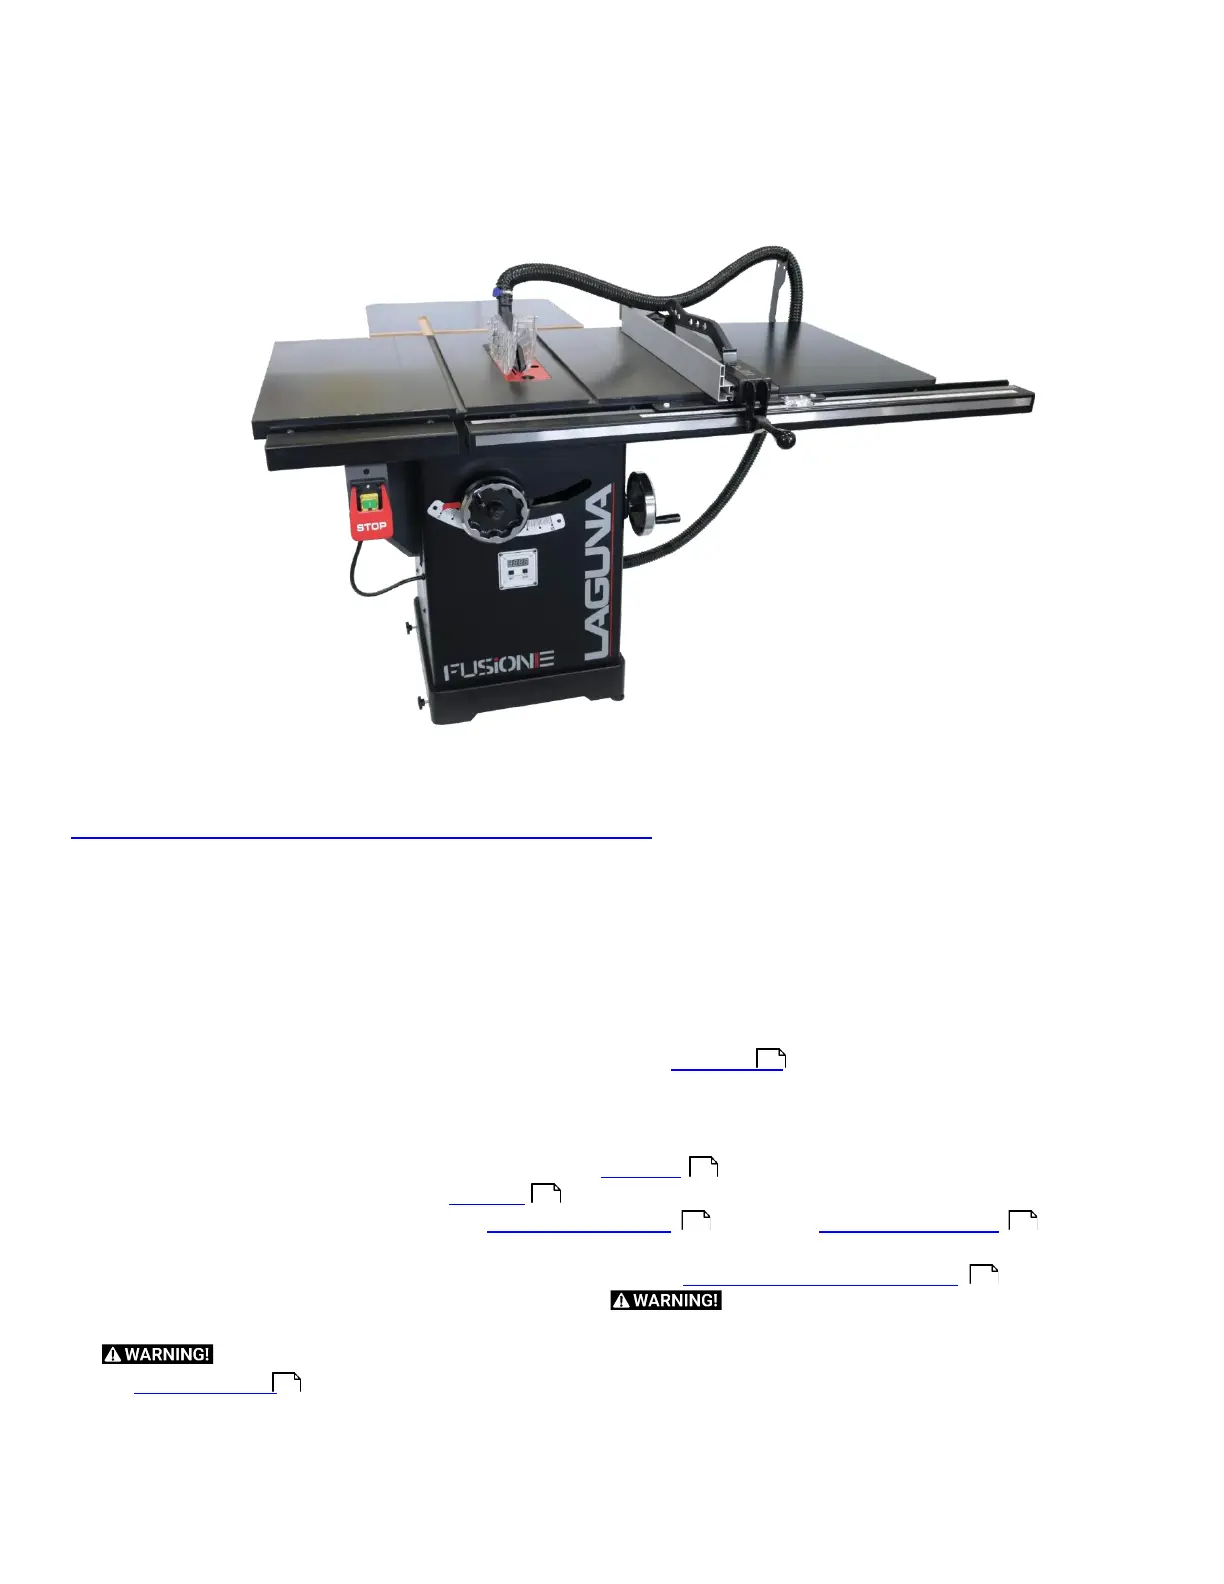
Fusion 3 Table Saw \ Setup \
Setup
Expand any section above to view help sections created. If you are reading this manual or viewing an electronic PDF
version, You may want to check out our interactive manual available here:
https://lagunatools.com/classic/tablesaws/f3/manual
All videos and sections will be current on this website.
Setup Overview (MUST READ)
When setting up your Fusion F3 Table saw, please take a moment to read this overview prior to starting.
1.
Carefully un-box the saw.
2.
Gather all loose parts and organize them first. Keep all hardware close to the installation location and be sure not to mix
the hardware up after removing it from the packaging. A detailed Inventory list
section has be made to aid
organization and simplify set up.
3.
Level the saw to the ground first. If you begin to the level the saw to a non level ground, everything will be off. Start from
the ground up. The saw can easily be leveled to the floor with the integrated foot pads on the right side of the base.
4.
After leveling the base to the foundation, begin to follow the Front Rail
Section.
5.
After the Front Rail is attached, follow the Rear Rail
Section.
6.
After both rails are installed begin to install the Right Extension Table
32
, and then the Rear Extension Table
34
. Be sure
to level all the rails and tables to the cabinet (which is level to the floor).
7.
Once all the tables and rails are installed, finish setup by installing the Front Rail and the Control Switch
37
.
8.
Now that the Setup is complete, all that is left is to plug it in.
Fusion table saws all have magnetic
switches, but make certain the blade is tight and nothing is in the way of the blade prior to turning on the machine.
Be sure wiring is correct according to local electric code. All needed electrical information can be found in
the Electrical Safety
Section.
After Setup, there may be a few adjustment to be made. All of these adjustments are done prior to shipping the saw, but if
one is found to need adjustment please follow the adjustment guides.
 Loading...