Fusion 3 Table Saw \ Setup \ Front Rail Pt.
2 & Control Switch
Front Rail Pt. 2
& Control Switch
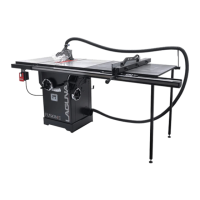
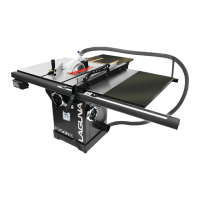
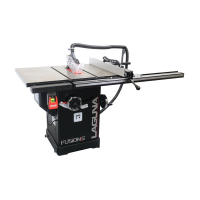
The Fusion F3 table saw’s front rail houses the control switch and front rail/guide ruler. The control switch allows the user
to quickly turn the machine on/off before and after making cuts. The front rail assembly provides the user with a guide to
measure the distance between the fence and the blade.
Add.
Required Tools:
Level
General Wrench
13mm socket wrench (optional)
Troubleshooting/Tips:
Be sure to attach the control switch to the left front rail from
underneath the front left rail bracket. This will allow the left
front rail block to fit properly on the left front rail bracket.
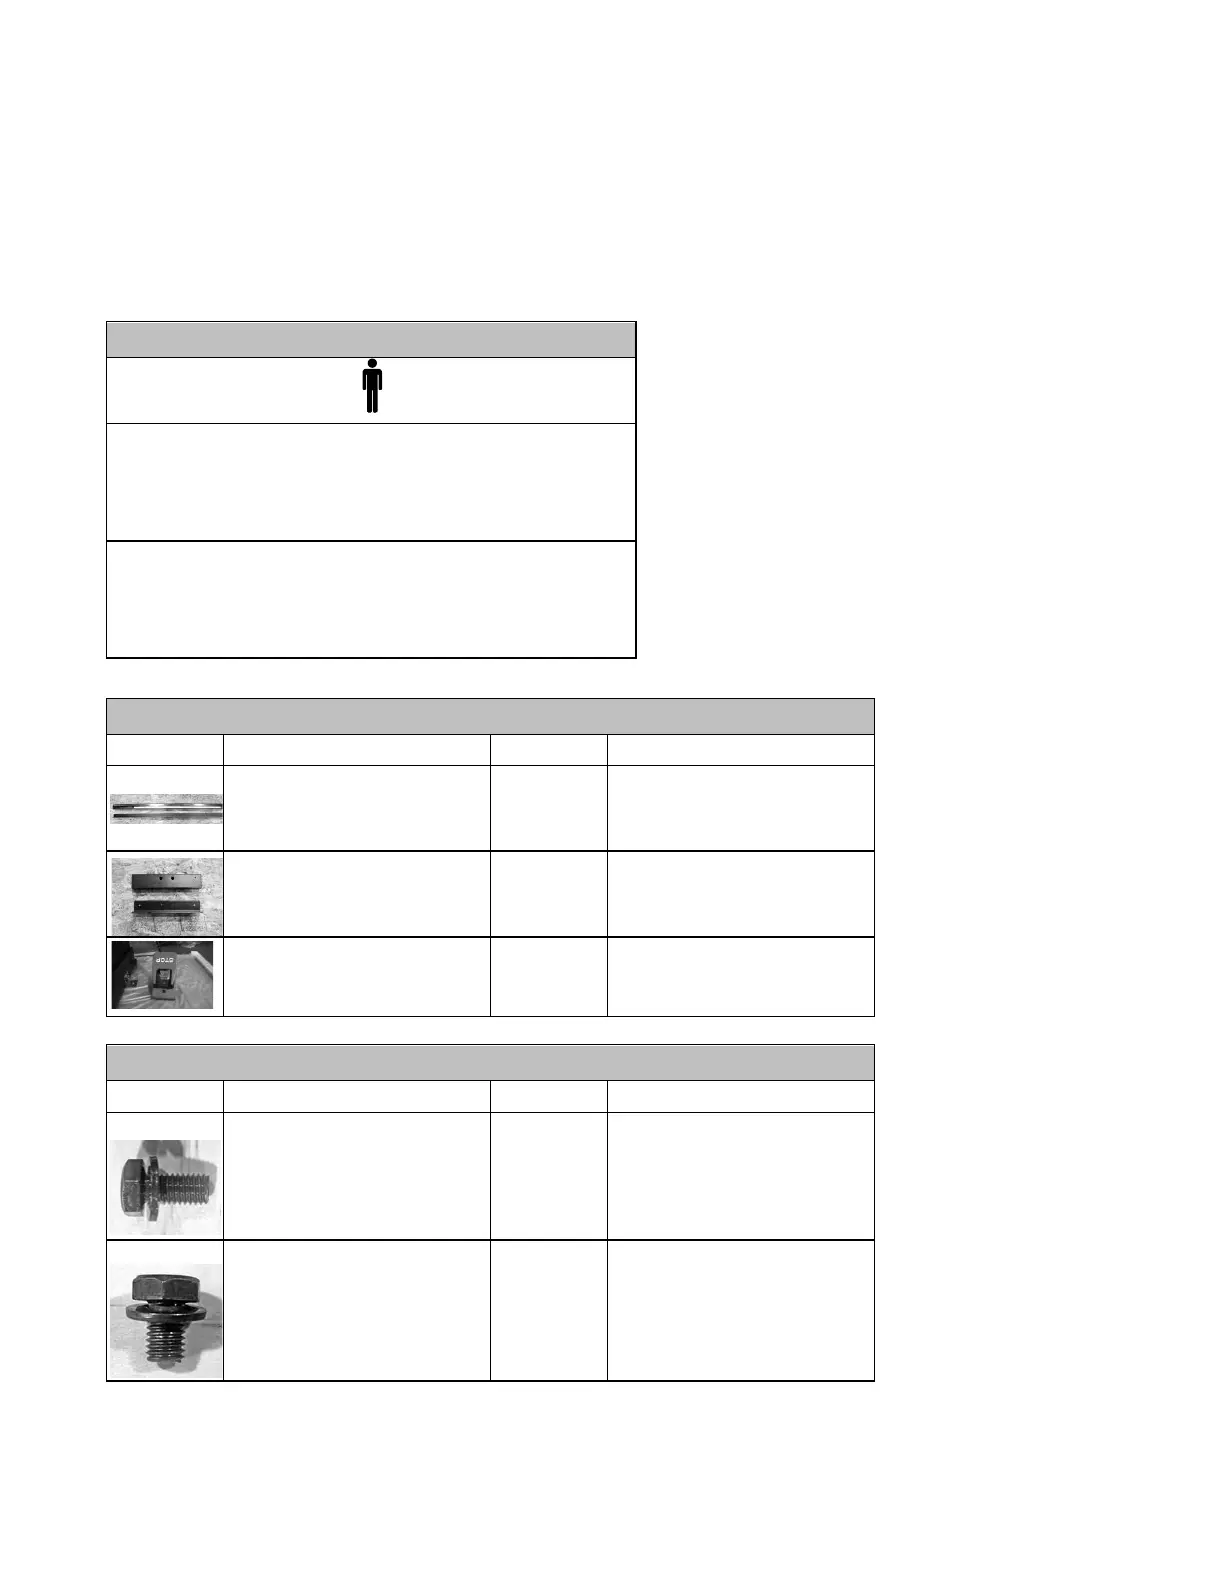
Front Rail Assembly
(Rails previously assembly,
body is needed)
Left Side Front Body (Rails
previously assembly, body is
needed)
Bolts onto Left side Rail
Hex Cap Screw w/ Flat Washer
(longer)
Control Switch, Left Front Rail
Hex Cap Screw w/ Flat Washer
(shorter)
Front Body to Front Rail (left &
right side)
Mounting
the
Control
Switch
to
the
Left
Front
Rail:
1.
Align the bolt holes on the top of the control switch with the bolt holes on the bottom of the left front rail bracket.
 Loading...