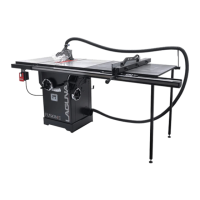
Fusion 3 Table Saw \ Setup \ Front Rail Pt.
2 & Control Switch
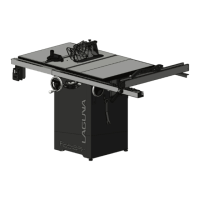
2.
Thread the 2 longer hex cap screw and flat washer through the control switch’s bolt holes.
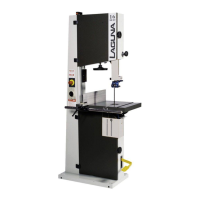
3.
Tighten the bolts using either the general wrench or a 13 mm socket wrench to secure the control switch to the left front
rail bracket.
NOTICE! Ensure that the head of the hex bolts are threaded from underneath the left front rail. The ends of each the bolts
should be visible from the top of the left front rail.
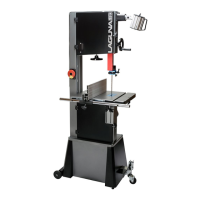
Pre-
Installation:
Control Switch Placement:
Mounting Control Switch with 2 longer hex bolts and
flat washers
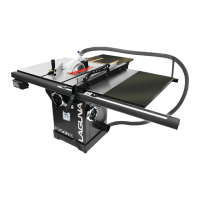
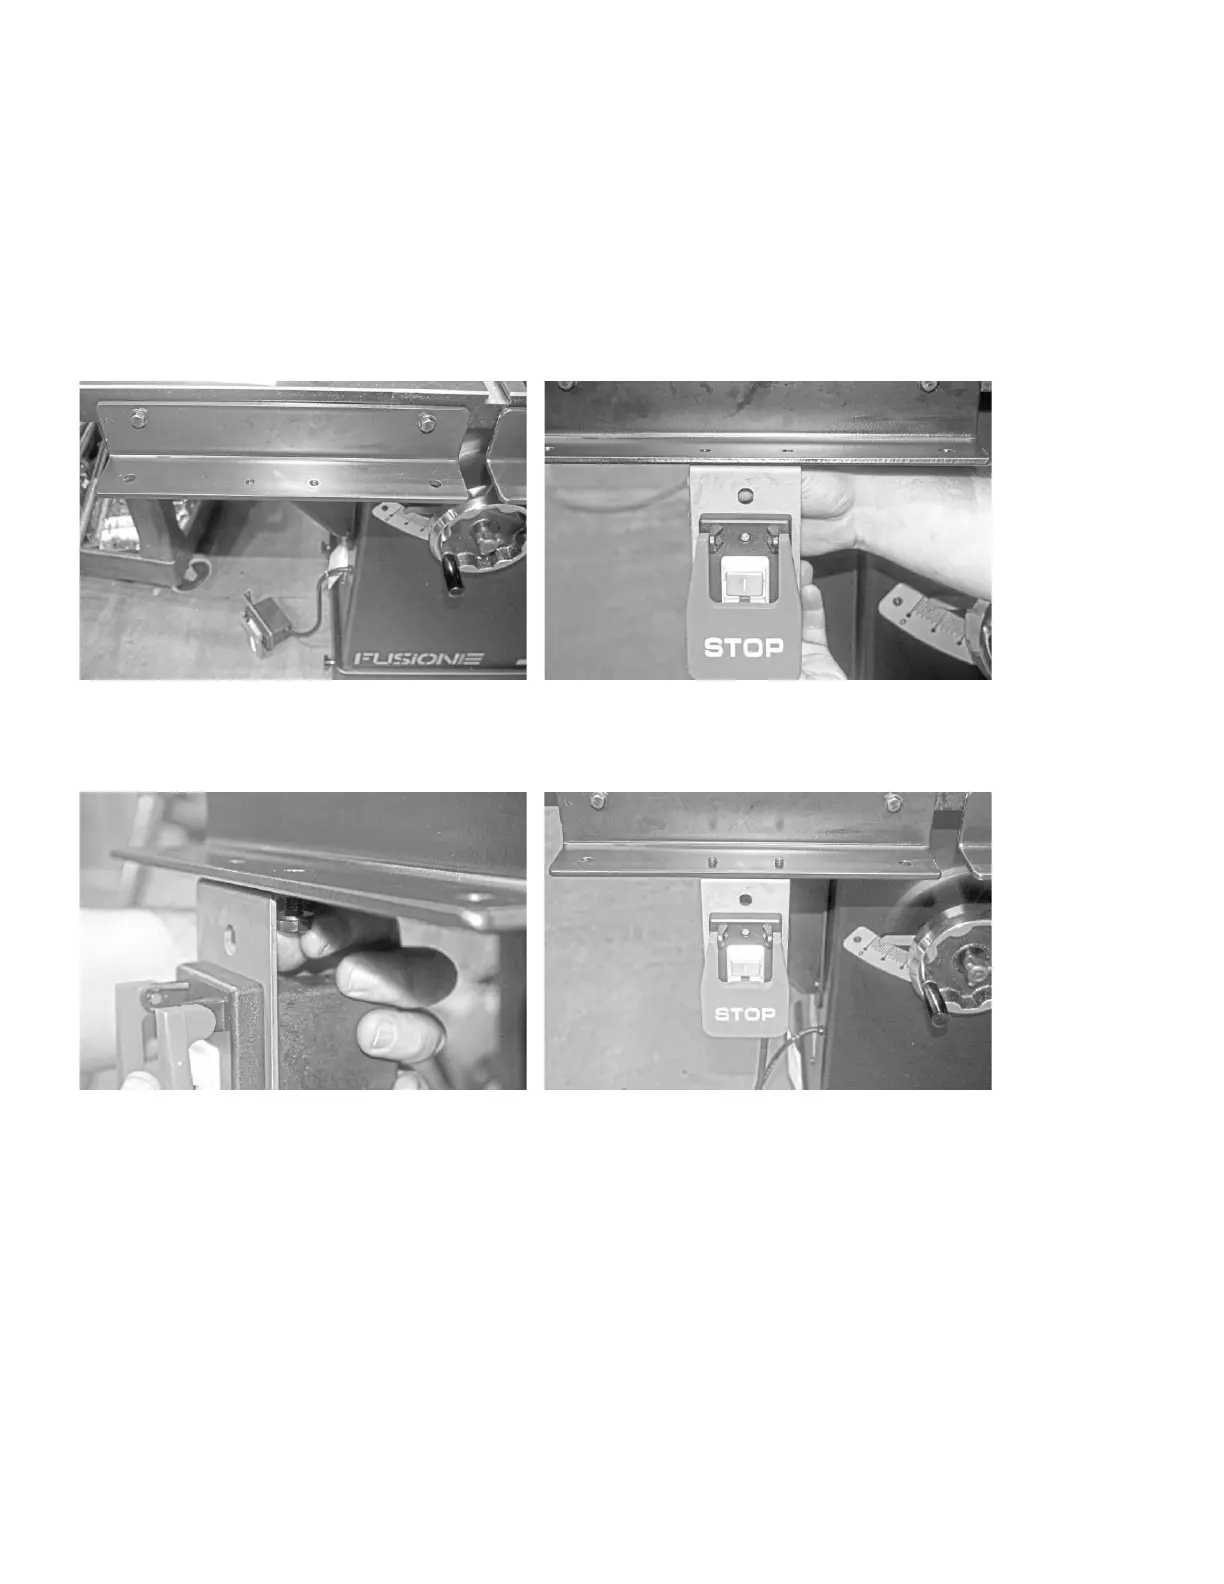
Control Switch correctly mounted. The expose bolts
will fit the through holes in the fence body
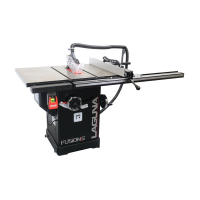
Mounting
the
Left Front Rail
Block
to
the Left Front Rail:
1.
Place the left front rail block on the left front rail bracket.
2.
Align the block’s outermost through holes with the bracket’s outermost through holes.
3.
Like mounting the control switch, thread the shorter hex bolts with flat washers from underneath the left front rail
bracket.
4.
Using either the general wrench or a socket wrench, tighten the bolts to secure the left front rail block to the left front rail
bracket.
 Loading...