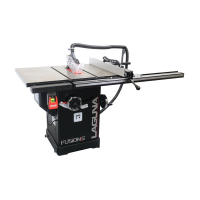
Fusion 3 Table Saw \ Setup \ Front Rail Pt.
2 & Control Switch
Pre-Installation
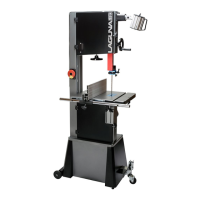
Attaching the left front rail body to the left front rail
using the shorter hex bolts and flat washers.
Mounting
the
Front
Rail
(with
Guide
Ruler):
1.
Place the front rail on the front rail bracket.
2.
Align the front rail’s bolt holes (located on the bottom of the front rail) with the front rail’s bolt holes.
3.
Thread shorter hex bolts with flat washer through each of the front rail’s bolt holes.
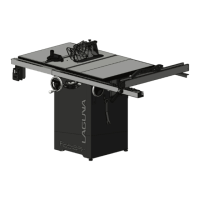
NOTICE!
Only hand-tighten the bolts
for now.
4.
Pull the rail out as far as it will allow first. This will allow space for the fence’s nylon slider to move through comfortably.
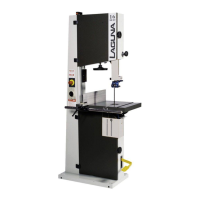
5.
Tighten each bolt using either the general wrench or a 13 mm socket wrench.
Front guide rail seated on front rail: Underside
View
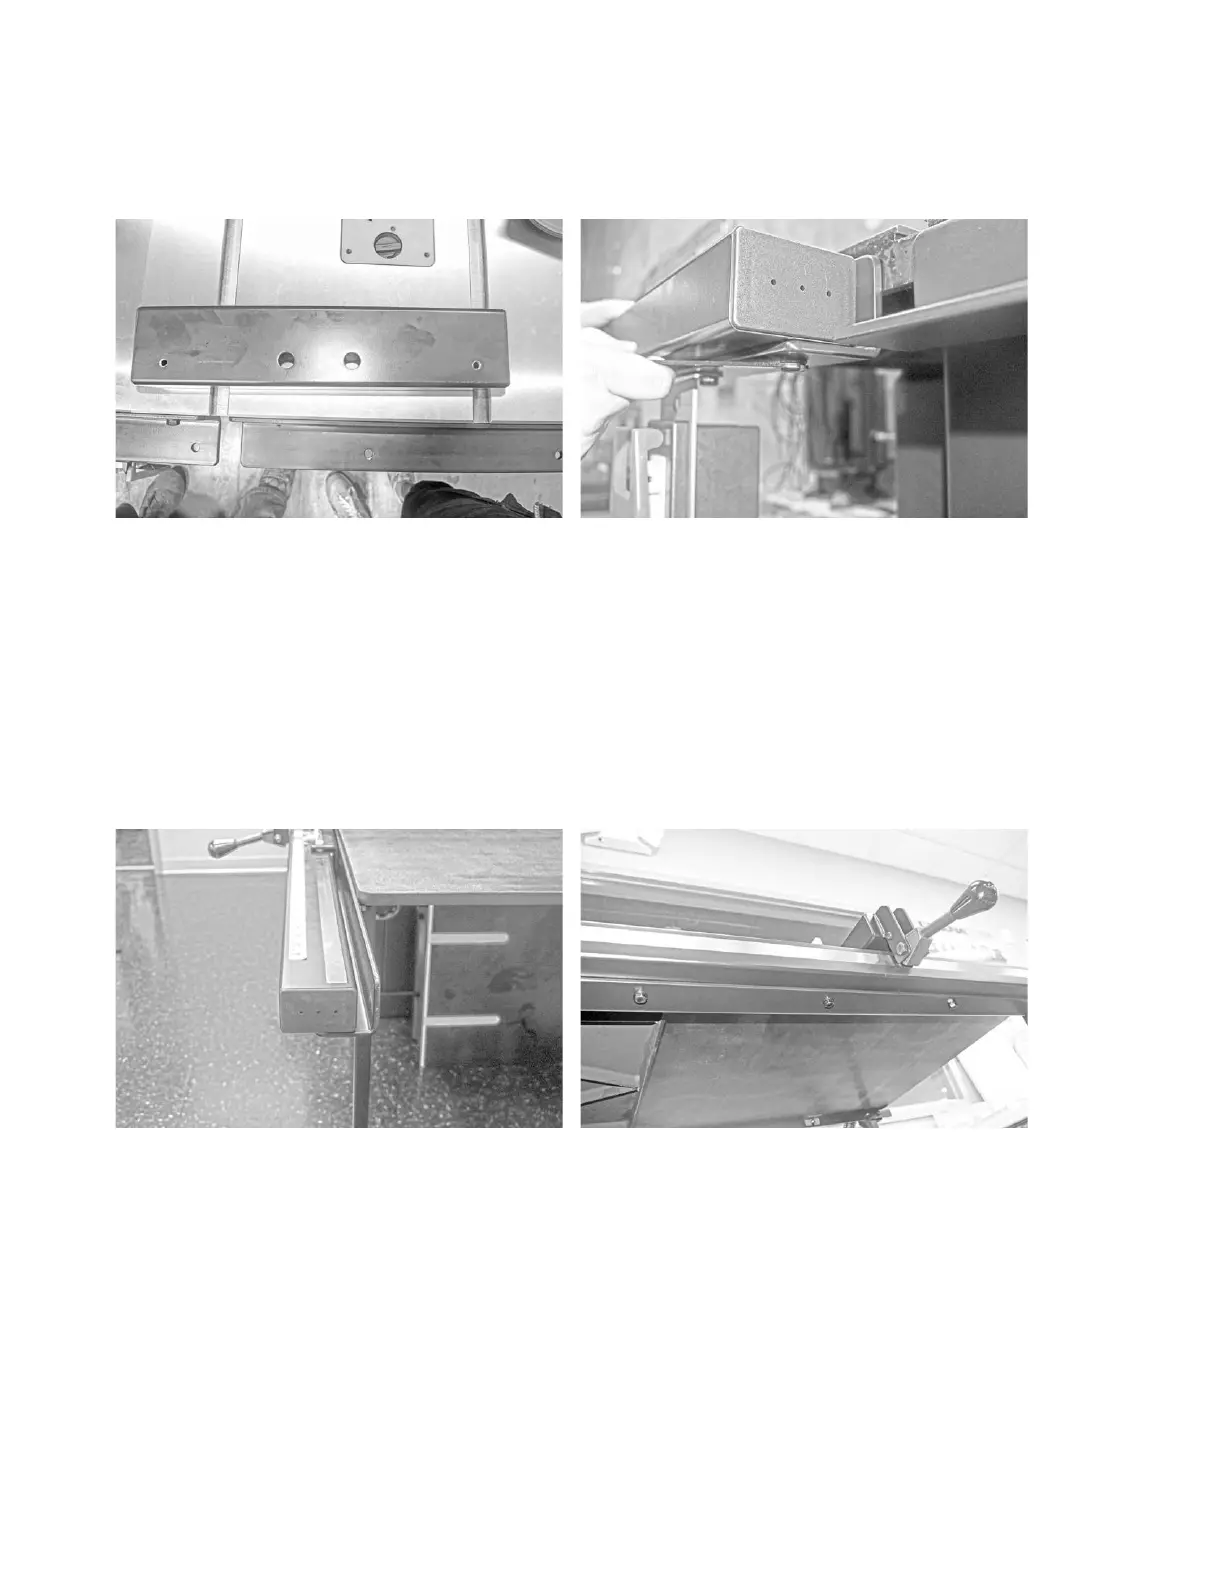
Fitting the Fence to the Table:
NOTICE! The table saw’s fence comes pre-assembled and will need no further assembly to put the unit together.
1.
Place the fence’s nylon sliders on the grooves between the front and back rails.
2.
Ensure that the fence’s locking gauge is placed over the edge of the front rail.
 Loading...