Fusion 3 Table Saw \ Setup \ Rear Extension Table
Rear
Extension
Table
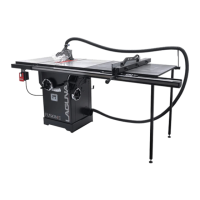
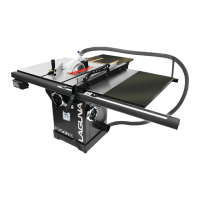
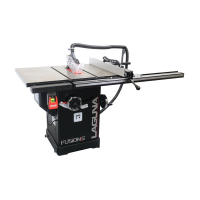
The Fusion F3 table saw’s rear extension table supports both the fence and the work piece. In conjunction with the rear rail,
the rear extension table provides an extra support table for the length of the wood piece being cut.
Add.
Required Tools:
Level
General Wrench
17mm socket wrench (optional)
Troubleshooting/Tips:
For easiest assembly, flip the rear extension table so that the
face is down. After the table has been flipped, attach the rear
extension legs to the table.
Rear Rail
Assembly,
F3 Table
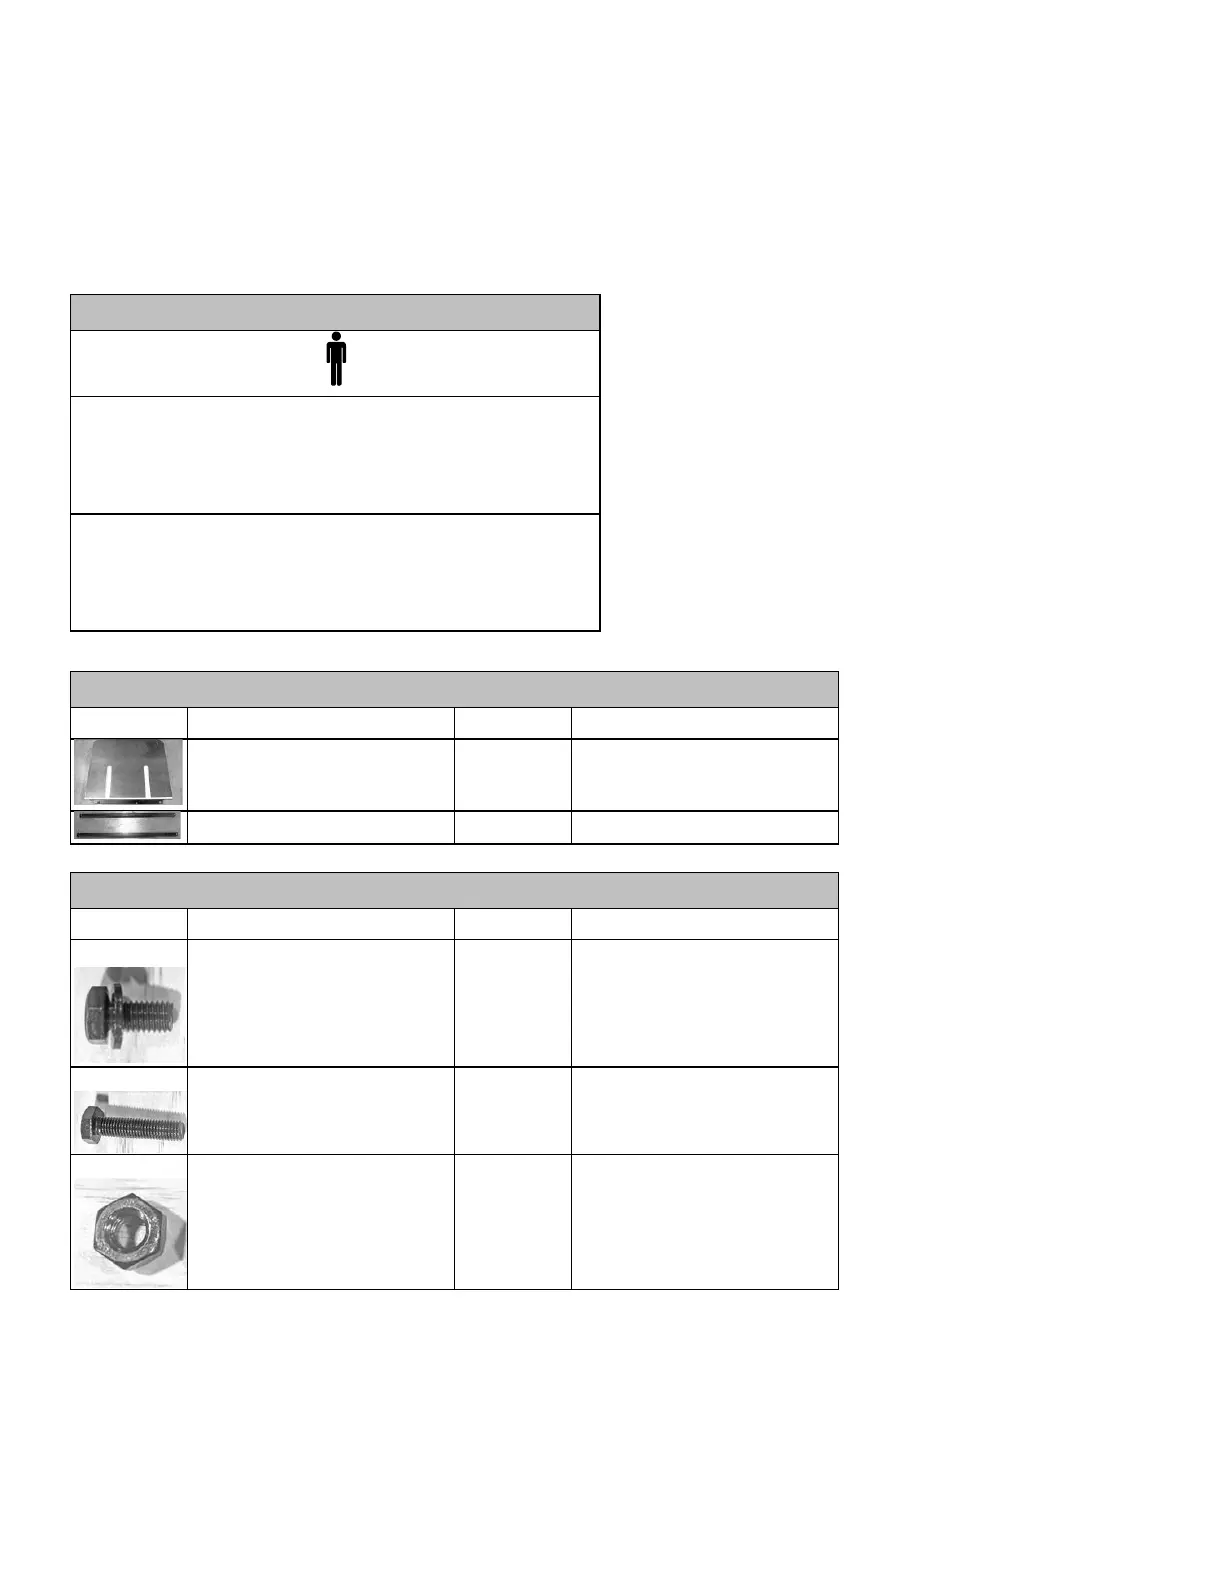
Rear Extension Table Legs
Hex Cap Screw w/ Flat Washer
(longer)
Rear Extension
Table,
F3 Table
Hex Cap Bolt (51mm)
use with Nylon Lock Nuts(H)
Rear Extension Table Legs,
Rear Extension table
Rear Extension Table Legs,
Rear Extension table
Attaching Legs to the Rear Extension Table:
1.
Flip the rear extension table so that the face is down.
2.
Place the rear extension legs between the metal L-brackets on either side of the table.
3.
Align the rear extension leg’s bolt holes with bracket’s bolt holes. Ensure that the rear extension leg’s bolt holes are
aligned with the last two bolt holes of the metal bracket.
 Loading...