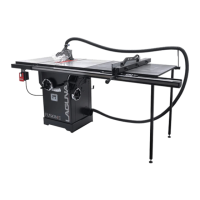
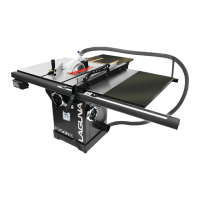
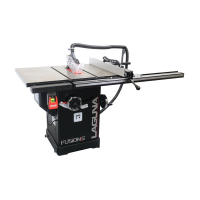
Fusion 3 Table Saw \ Setup \ Rear Extension Table
4.
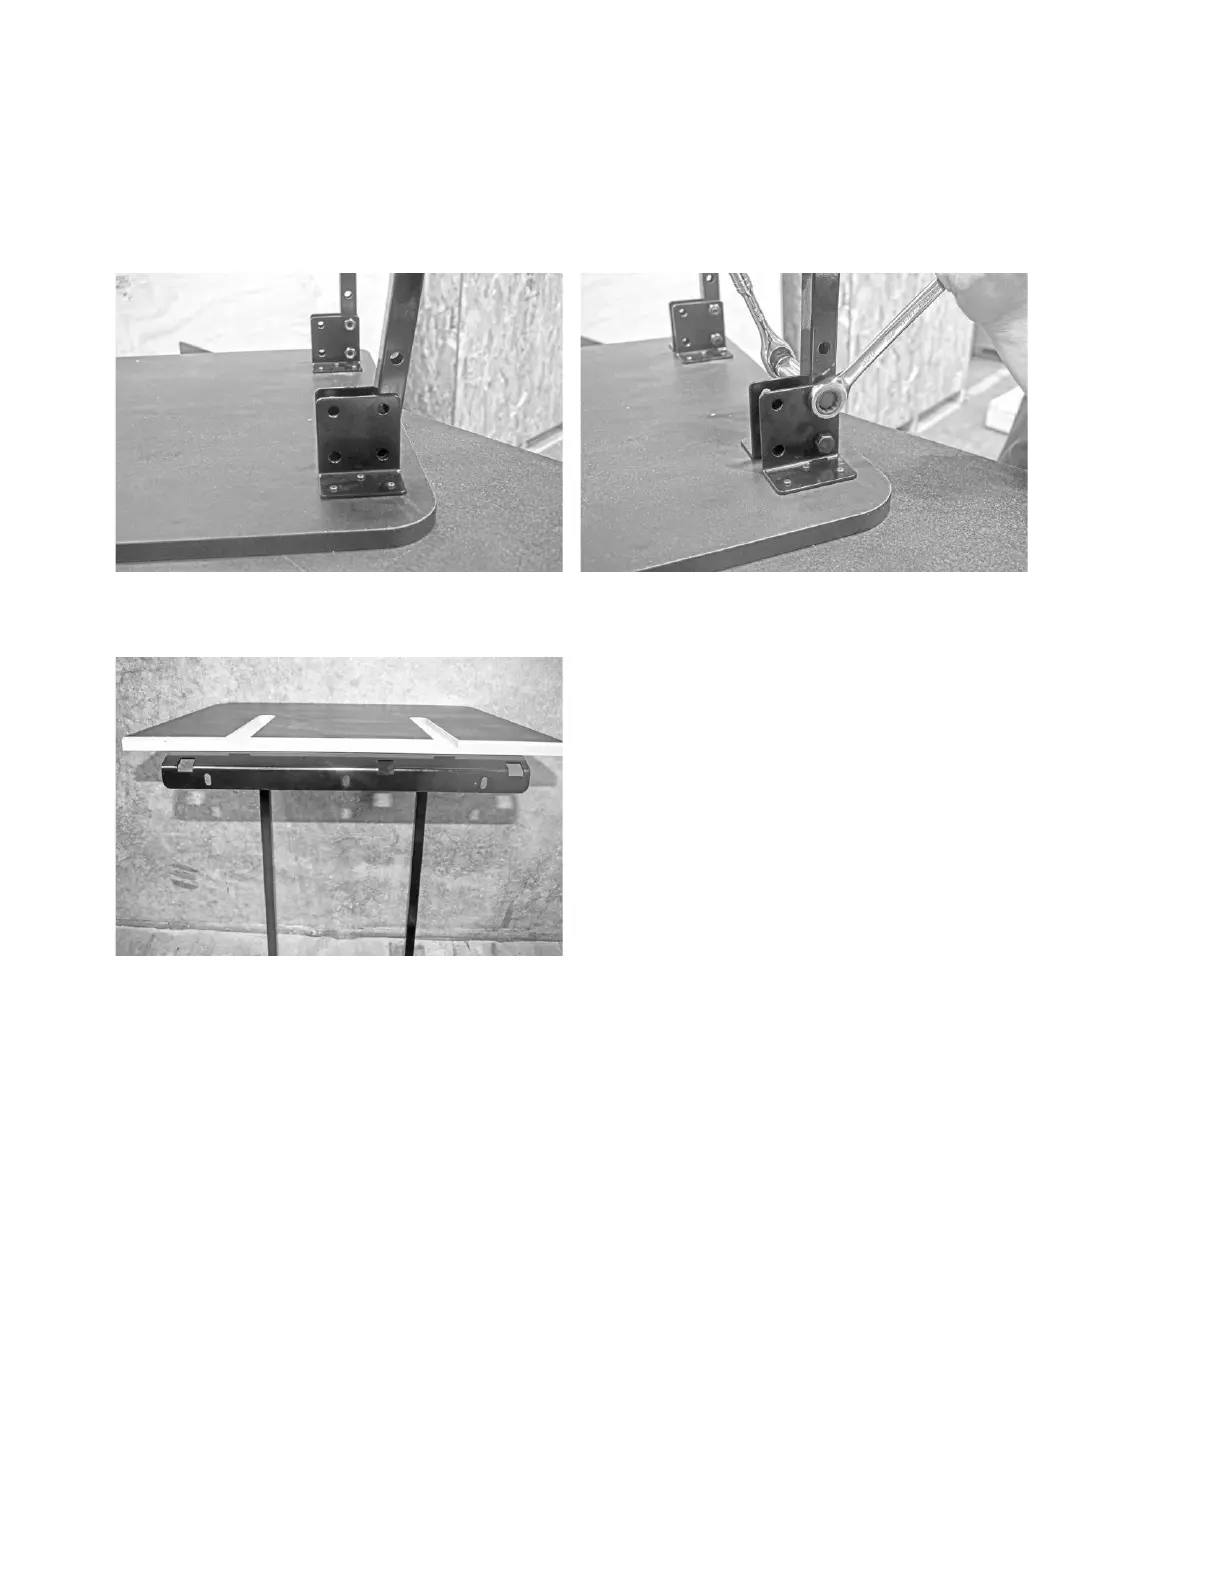
Thread the 51 mm hex bolts through the metal L-bracket.
5.
Thread nylon lock nuts on to the back of the hex bolts. Tighten with a wrench or a 17 mm socket wrench (optional).
Attaching legs to table:
Securing
Bolts
Installed
Legs
Attaching
the
Rear
Extension
Table
to
the
Table
Saw:
1.
Locate the three through holes on the back mounting bracket of the rear extension table.
2.
Align these three through holes with the three threaded holes on the rear support bracket.
3.
Thread one of the three (longer) Hex Bolt with Flat Washer through each of the threaded holes.
NOTICE! The height of the rear extension table’s legs can be adjusted as needed to level the table.
 Loading...