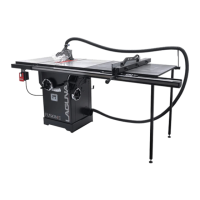
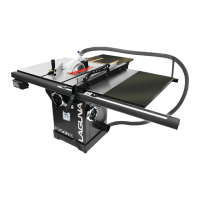
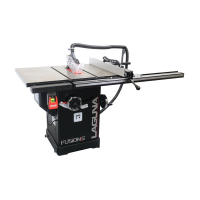
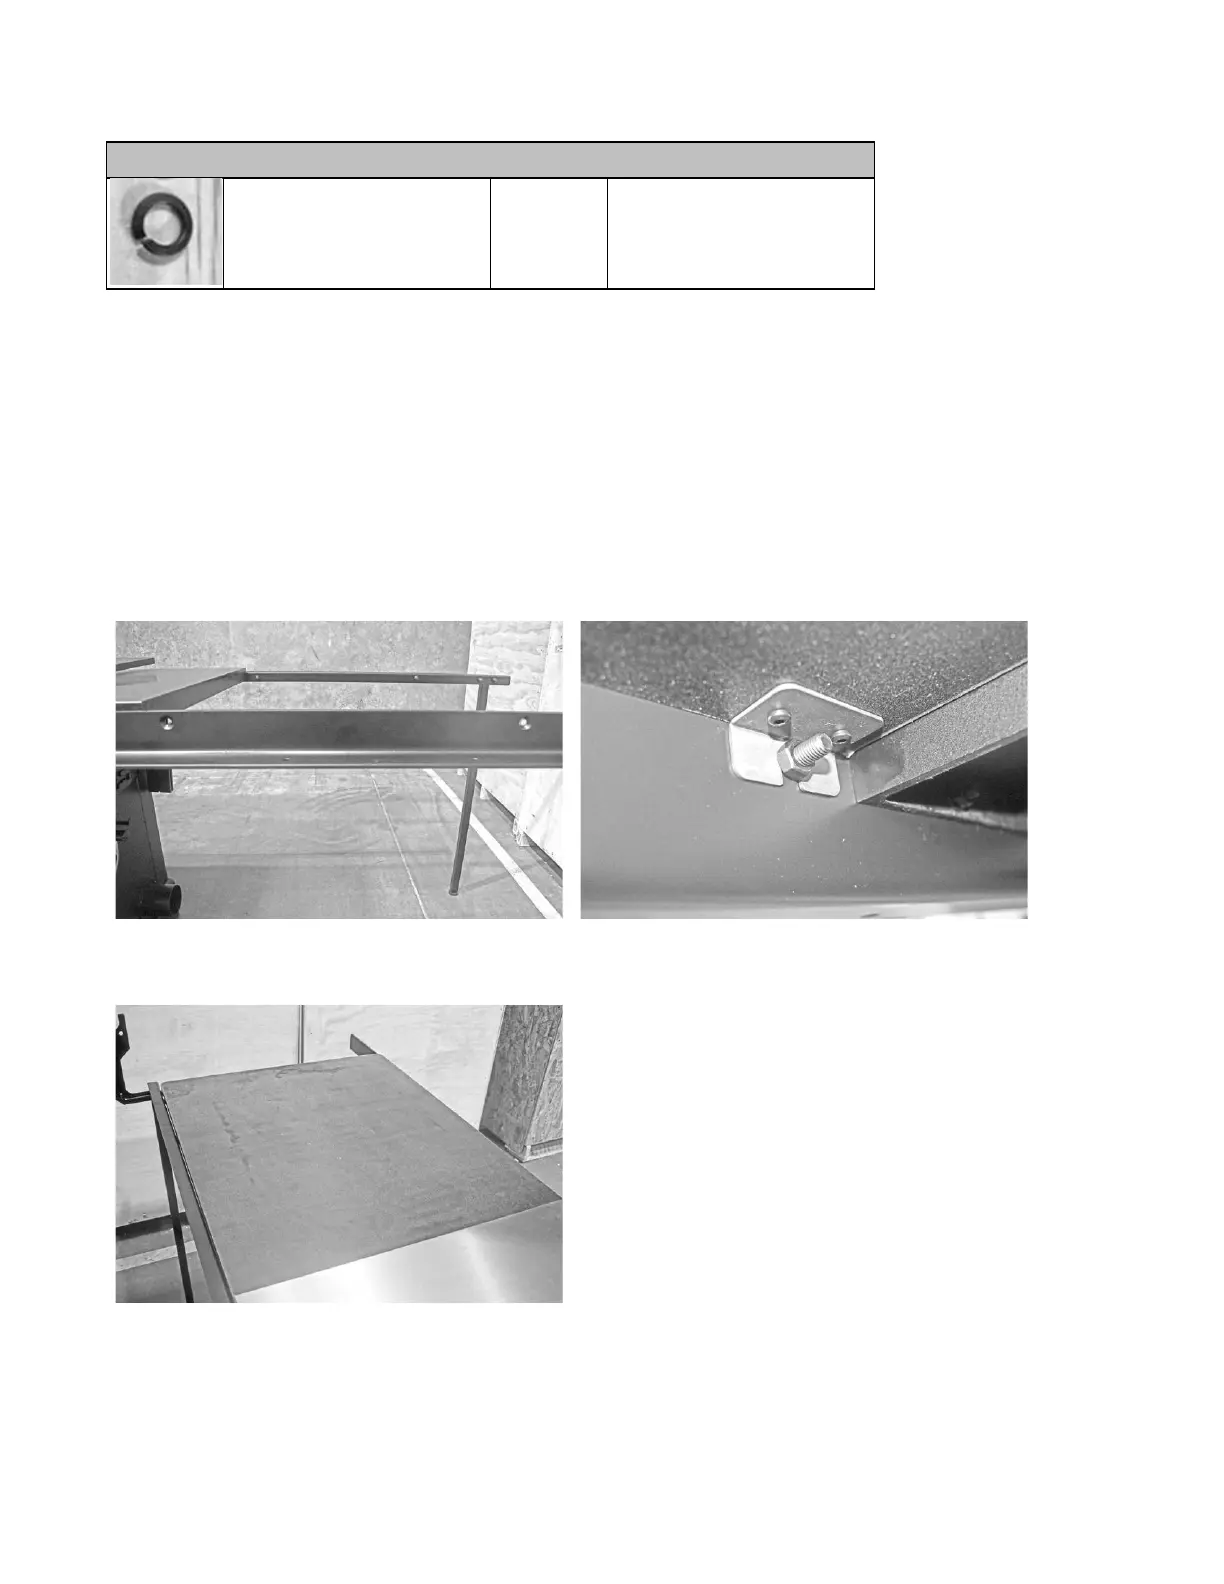
Fusion 3 Table Saw \ Setup \ Right Extension Table
Mounting the Table Extension:
1.
Thread two counter sunk bolts through the two available through holes on the front rail bracket.
2.
Thread two socket head cap screws through the available bolt holes on the right ear rail bracket.
3.
Place the right extension table’s grooves on top of the socket head and counter-sunk screws respectively. Ensure that
each of the four the grooves are securely rested on the threads of each of the exposed screws.
4.
Thread flat washers and hex nuts on the backs of each of the screws. Use the wrench to tighten the bolts and secure
the extension table to the front and rear rails.
Pre-Installation:
Underside Bracket (the picture does not show a flat
washer used, please use one)
Completed installation:
 Loading...