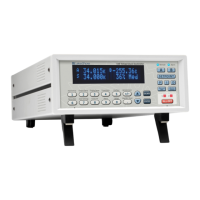
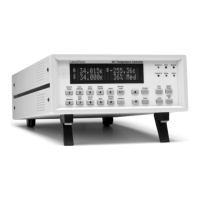
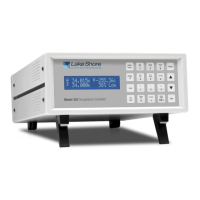
Lake Shore Model 332 Temperature Controller User’s Manual
4.2 TURNING POWER ON
After verifying line voltage (Paragraph 3.4), plug the instrument end of the line cord (included with the
connector kit) into the power and fuse assembly receptacle on the instrument rear. Plug the opposite
end of the line cord into a properly grounded, three-prong receptacle. Place the power switch, located
next to the line cord receptacle, to the On (
l) position. The instrument initiates the following power up
sequence: the instrument alarm sounds once; the display shows the following startup message.
Lake Shore Model 332
Temp. Controller
The normal reading display appears. If the instrument does not complete the sequence or if a general
error message displays, there may be a problem with the line power or the instrument. Individual
messages in a reading location normally indicate that input setup is required.
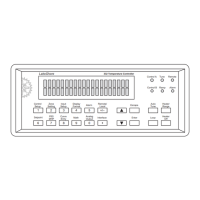
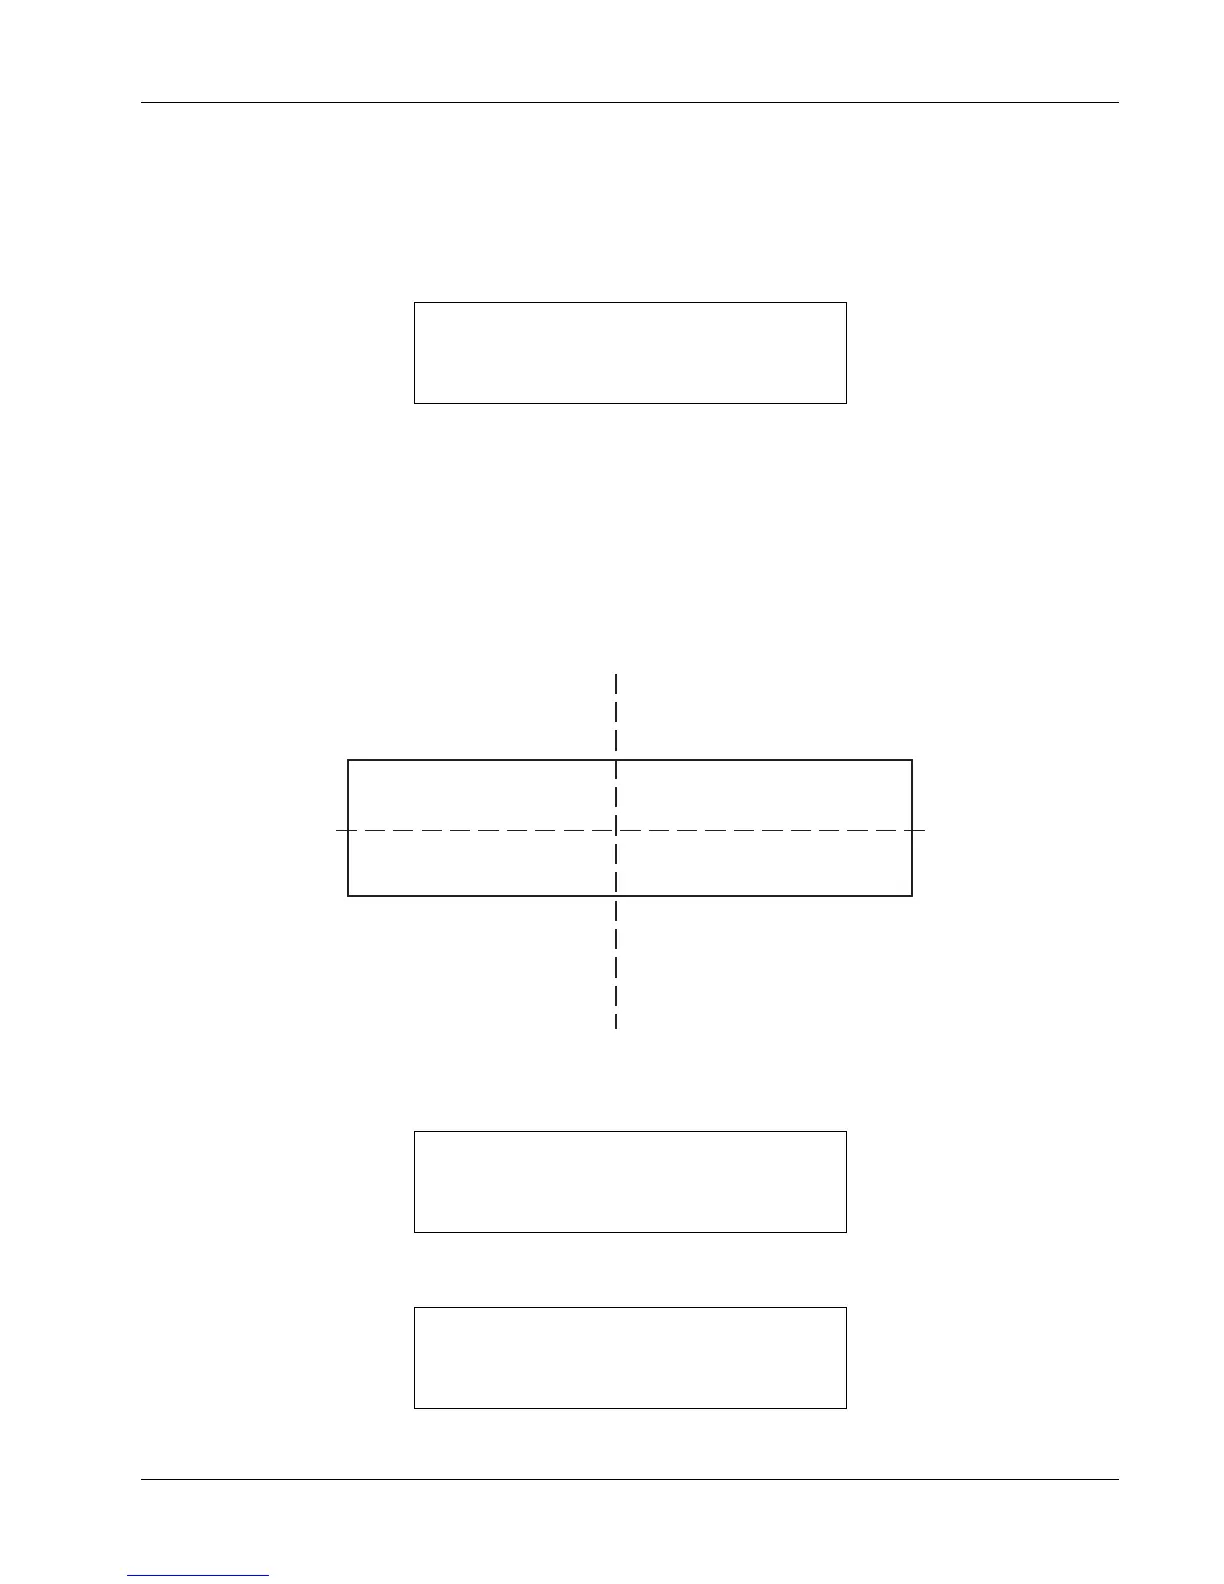
4.3 DISPLAY FORMAT AND SOURCE (UNITS) SELECTION
In the normal display, the display is divided into four user-configurable areas that can provide
temperature readings, setpoint display, and heater status. Figure 4-4 illustrates the display location
numbering and available selections for each location. To change Setpoint units and select Heater Out
Power or Current, refer to the description of
Control Setup in Paragraph 4.7. To change display
brightness, refer to Paragraph 4.18.
À 295.22½ Á 295.22½
 295.00½ 0% Off
Input A
Input B
None
Input A
Input B
None
Input A
Input B
Setpoint
None
Input A
Input B
Heater Out
Heater Bar
None
Display Location 1:
Display Location 2:
Display Location 3:
Display Location 4:
C-332-4-4.eps
Figure 4-4. Display Format Definition
To configure a display location, press the Display Format key to display the following screen.
Select With °®
Display Location 1
Use the s or t key to increment or decrement through Display Locations 1 thru 4. For this example,
select Display Location 1, then press the
Enter key. You will see the following display
Select for Disp 1 °®
Display Input A
Operation 4-5