Lake Shore Model 332 Temperature Controller User’s Manual
Ramp (Continued)
NOTE: When an incomplete ramp is shut off, the setpoint will remain on the most current
setting, i.e., the reading will not jump to the end of the ramp.
NOTE: If the input type or input curve is changed while a ramp is in progress, both ramping
and the heater are turned off.
NOTE: If Ramp is on and the setpoint is set to sensor units, the ramping function will remain on but
when another setpoint is entered, the setpoint goes directly to the new setpoint value. The
Ramp LED will stay on solid (no blinking).
To enable setpoint ramping, press the Control Setup key, then press the Enter key until you see the
following display.
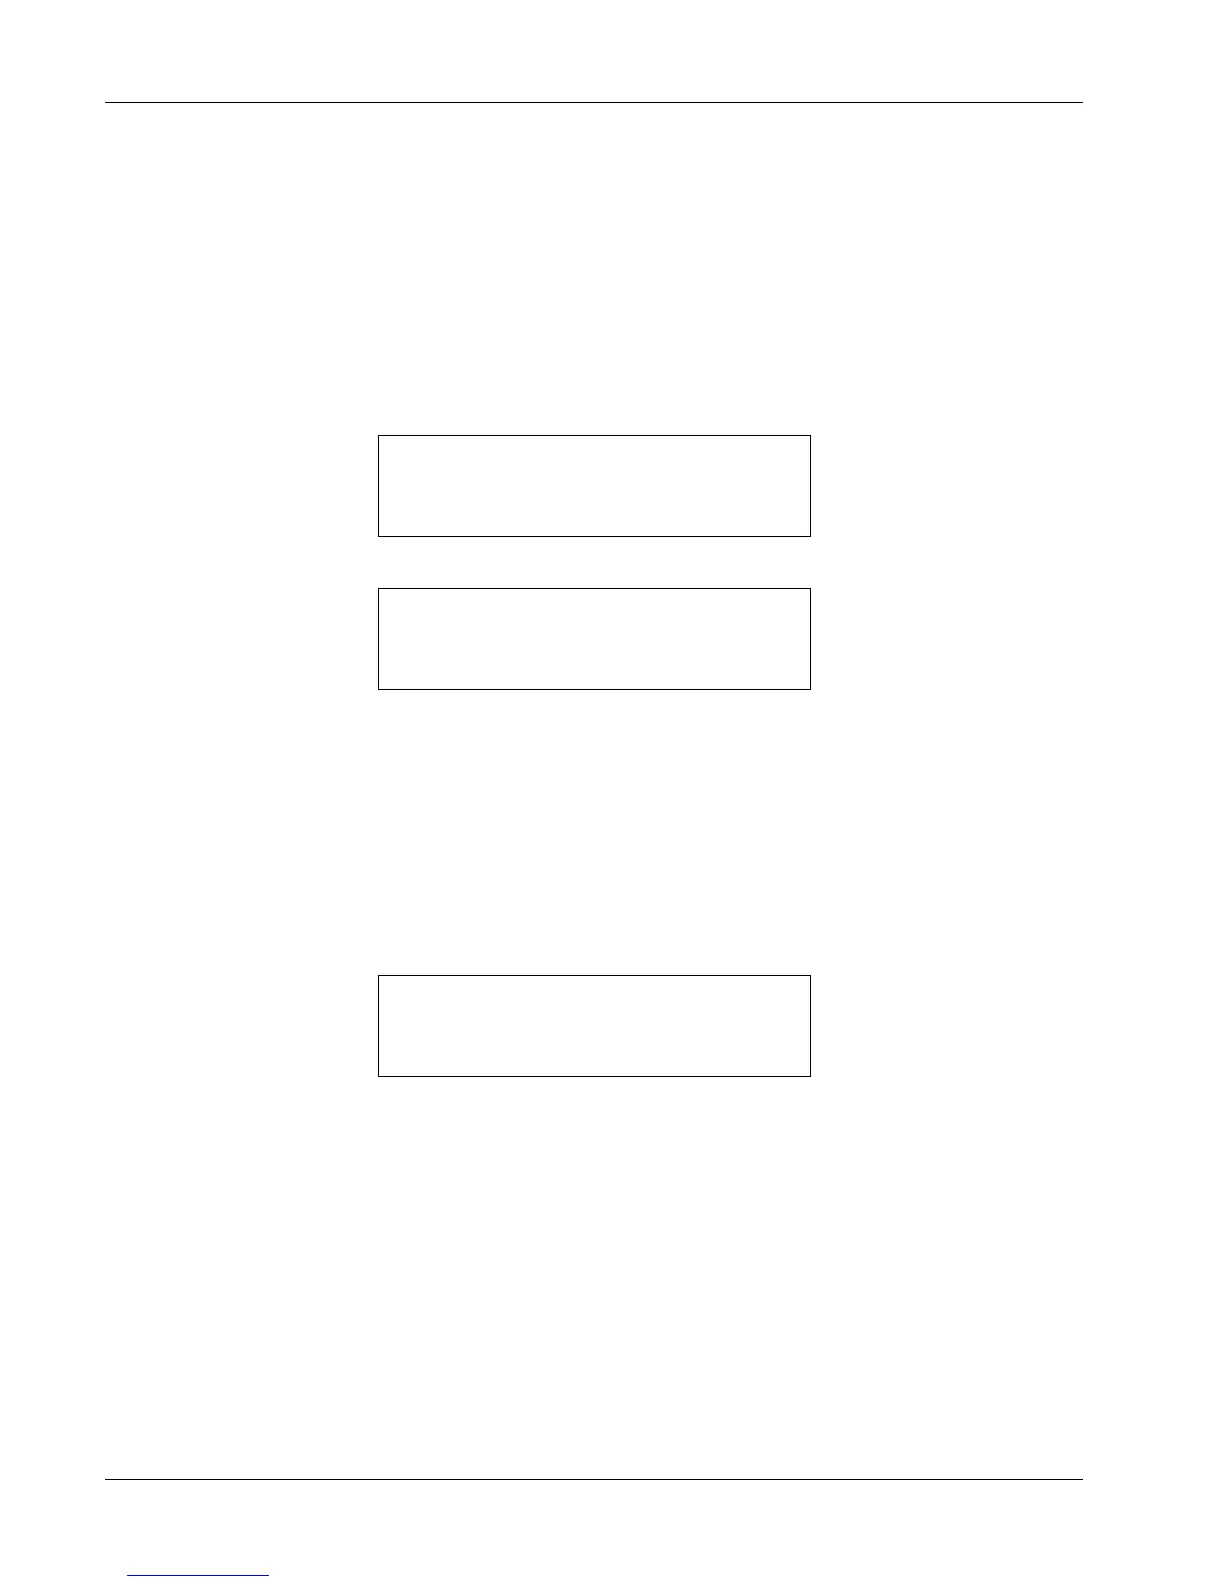
Select for Loop 1 °®
Setpoint Ramp On
Use the s or t key to select Setpoint Ramp On. Press the Enter key. You will see the following.
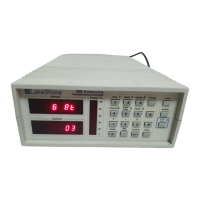
Enter for Loop 1
Ramp Rate 0.0 K/m
The ramp rate is entered using the numeric keypad, which includes the numbers 0 – 9 and decimal
point. The user can set a ramp rate in degrees per minute with a range of 0 to 100 and a resolution of
0.1. Ramp rate will be in the same units specified for the setpoint. Press the
Enter key. The front panel
Ramp LED will illuminate, indicating the ramp function is active. Any subsequent change in setpoint will
ramp at the specified rate and the
Ramp LED will blink while ramping is in progress.
If you wish to pause a ramp, press the Setpoint key then immediately press the Enter key. This stops
the ramp at the current setpoint but leaves the ramping function activated. Then to continue the ramp,
enter a new setpoint.
To turn the ramping feature off, press the Control Setup key, then press the Enter key until you see the
following screen.
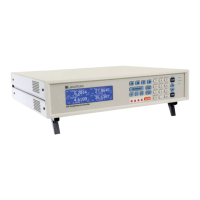
Select for Loop 1 °®
Setpoint Ramp Off
Use the s or t key to select Setpoint Ramp Off. Press the Enter key then the Escape key. The Ramp
LED will turn off.
4.13 HEATER RANGE AND HEATER OFF
Heater output for Loop 1 is a well-regulated variable DC current source. The Heater output is optically
isolated from other circuits to reduce interference and ground loops. The Heater output for the main
control loop (Loop 1) can provide up to 50 W of continuous power to a resistive heater load and
includes two lower ranges for systems with less cooling power. Heater output is short-circuit protected
to prevent instrument damage if the heater load is accidentally shorted.
A common error condition that may appear is “HTR Open.” This error message will appear when the
heater senses there is no load connected to the rear panel terminals. The user can correct this problem
by properly connecting a heater load. It could also indicate a malfunction internal to the Model 332,
such as a loose connection or a malfunctioning component, but this is much less likely. Other error
messages are summarized in Paragraph 8.9.
4-24 Operation