LAUNCH
22
1. VINSCAN enables you to access it more quickly. In this case, Camera Scan and Enter VIN are
available.
Camera Scan: Scan the VIN automatically.
Enter VIN: Input the vehicle VIN manually.
If the tablet successfully identifies the vehicle model, it will directly enter the diagnostic function
selection menu.
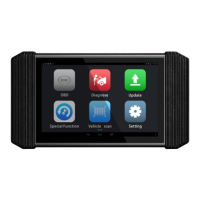
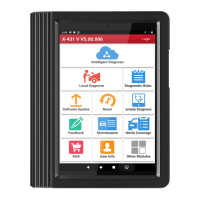
2. Tap a corresponding diagnostic software logo, and then follow the on-screen instruction to access the
diagnostic software.
Take Demo (V15.21) as an example to demonstrate how to diagnose a vehicle.
1). Select diagnostic software version: Tap the
DEMO
to go to Step 2.
On-screen Buttons:
Vehicle Coverage:
Tap to view the vehicle models that the current diagnostic software covers.
What’s new:
Tap to view the optimized items and enhancements.
Introduction:
Tap to check the software function list.
Note:
Tap to read some precautions on using the current diagnostic software.
OK:
Tap it to go to next step.
The diagnostics toolbar contains a number of buttons that enable various procedures. It is displayed at
the top of the vehicle diagnostic screen throughout the whole diagnostic session. Refer to the table
below for a brief description of the functions of the diagnostics toolbar buttons:
Return to the home screen.
Tap to print the selected screenshots out via external printer. The printer needs to be
configured separately. For details on printer setting, refer to Chapter 9.3.11.
Exit the diagnostic application.
2). Select vehicle model: Here we take
Ford
for example to demonstrate how to diagnose a vehicle.
3). Read vehicle information: After reading the vehicle information, double check if the vehicle
information is correct or not. If yes, tap
Yes
to continue.
4). Select test item: Select the desired test item to proceed.