18
3.7 Set Up
The following screen is displayed:
C O N T R A S T XXXXXXXX
A U T O P O W E R DOWN O N or O F F
R A N G I N G O N or O F F
L O W P A S S F I L T E R O N or O F F
P F D I S P L A Y
D E G or C O S ∅∅
S E L E C T C H A N G E
LOW PASS FILTER (ON) = -12dB / octave, F>100Hz
Default settings are shown in bold.
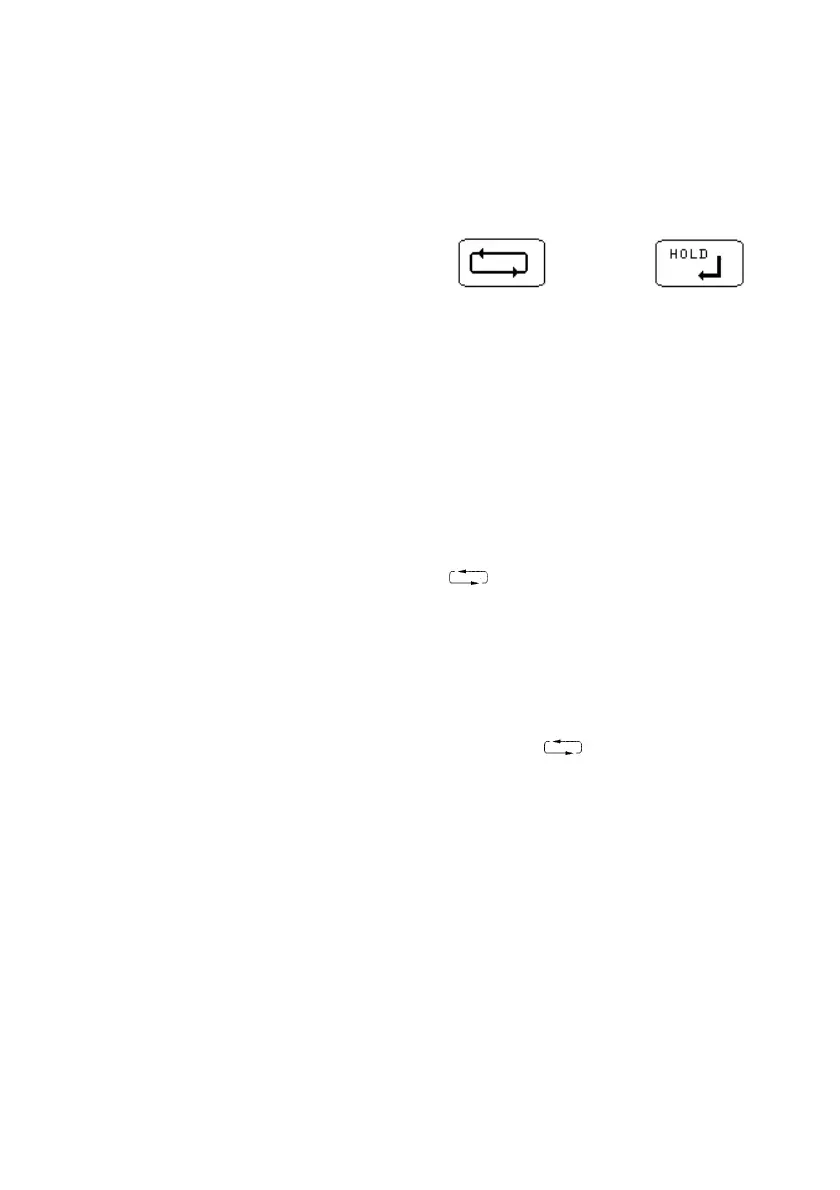
The keys are used to make selections from the menu.
3.8 Data Logging – Quick Start
3.8.1 Creating a data log
• Turn the rotary switch to LOG
• Select ENABLE LOG and change to ON
• Turn the rotary switch to either V, A, Hz, W, W3Ø
• Use key to select the required screen
• Logging will commence approximately 5 seconds
later
The instrument will now log all displayed parameters to
internal memory for 1 hour. The default interval between
logged readings is 10 seconds.
Logging can be stopped at any time by turning the rotary
switch or pressing the key to change the display.
3.8.2 Displaying logged data
• Turn the rotary switch to LOG
• Select Display Data
• Select the parameter to be displayed.
• A chart display shows variations in the measured
value with time together with MIN, MAX, AVE values
and the total logging period and logging interval.
To download data to a PC, or log continuously to a PC,
the WinLog software and interface accessory is required.