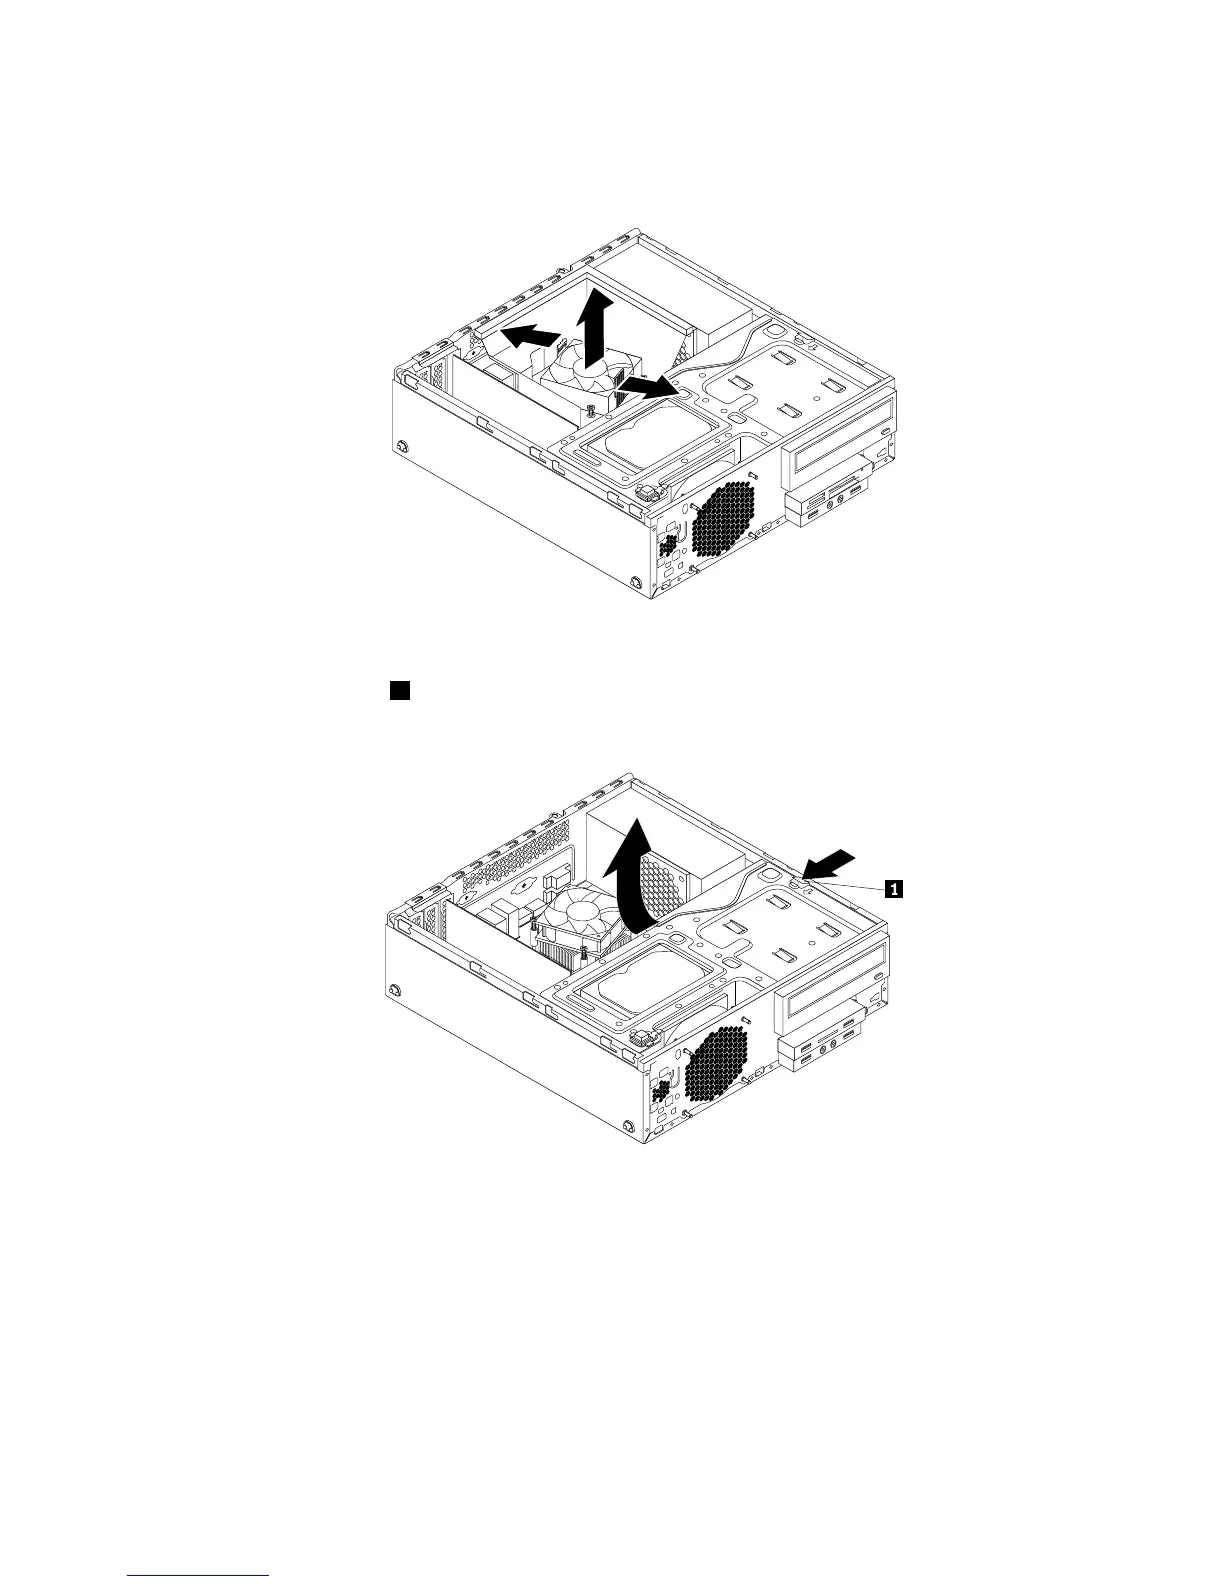
4.Gentlypivotthetwoplasticretainingclipsthatsecuretheheatsinkfanductoutward,andthenliftthe
heatsinkfanductoutofthechassis.
Figure56.Removingtheheatsinkfanduct
5.Presstheretainingclip1inthedirectionasshownandpivotthedrivebayassemblyupwardatthe
sametime.
Figure57.Pivotingthedrivebayassemblyupward
6.Recordthecableroutingandcableconnections.Then,disconnectthepowersupplyassemblycables
fromthesystemboardandalldrives.
7.Releasethepowersupplyassemblycablesfromanycableclipsortiesthatsecurethecablestothe
chassis.
Chapter5.Installingorreplacinghardware63