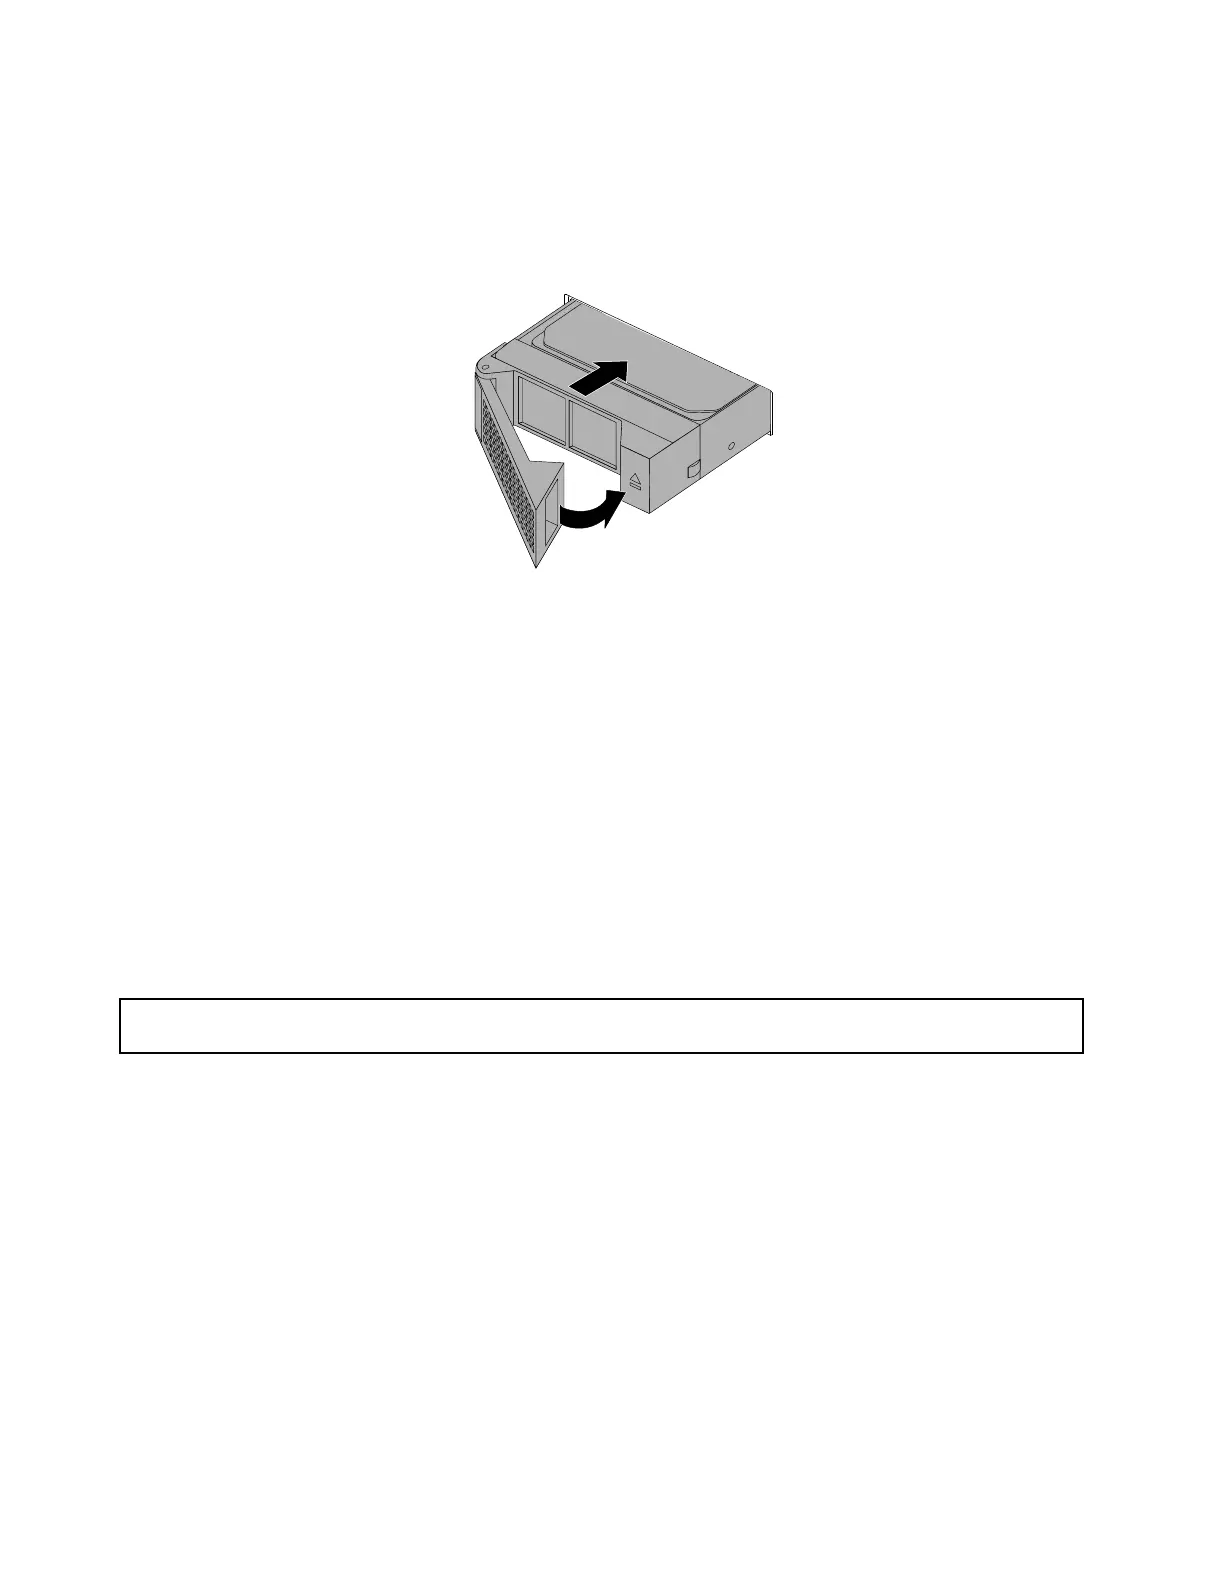
8.Slidethebracketwiththedriveintothedrivebayfromthefrontuntilitsnapsintopositionandthen
completelyclosethehandle.
Figure125.Installingthebracketwiththedrive
9.CheckthedrivestatusLEDstoensurethatthedriveisoperatingcorrectly.Youmighthavetorestartthe
serverforthenewlyinstalleddrivetoberecognized.See“Hot-swap-driveactivityandstatusLEDs”on
page46
.Ifthedriveisfaulty,reinstallorreplaceituntilitisoperatingcorrectly.
10.Savetheremoveddummytrayincasethatyoulaterremovethedriveandneedadummytrayto
coverthedrivebay.
Whattodonext:
•Toworkwithanotherpieceofhardware,gototheappropriatesection.
•ToconfigureRAID,goto“ConfiguringRAID”onpage58.
•Tocompletetheinstallation,goto“Completingthepartsreplacement”onpage178.
Replacingthehot-swap-drivebackplane
Attention:Donotopenyourserverorattemptanyrepairbeforereadingandunderstanding“Safetyinformation”
onpageiii
and“Guidelines”onpage63.
Beforeyoubegin,printalltherelatedinstructionsorensurethatyoucanviewthePDFversiononanother
computerforreference.
Notes:
•Thehot-swap-drivebackplaneissensitivetoESD.Ensurethatyoureadandunderstand“Handling
static-sensitivedevices”onpage64firstandcarefullyperformtheoperation.
•Thefollowingprocedureisbasedonthescenariothatyouwanttoreplacethebackplaneforuptoeight
3.5-inchdrives.Theprocedureissimilarifyourserverisinstalledwiththefollowingtypesofbackplanes:
–Backplaneforuptosixteen2.5-inchdrives
–Backplaneforuptoeight2.5-inchdrives
Toreplacethebackplane,dothefollowing:
146ThinkServerRD450UserGuideandHardwareMaintenanceManual