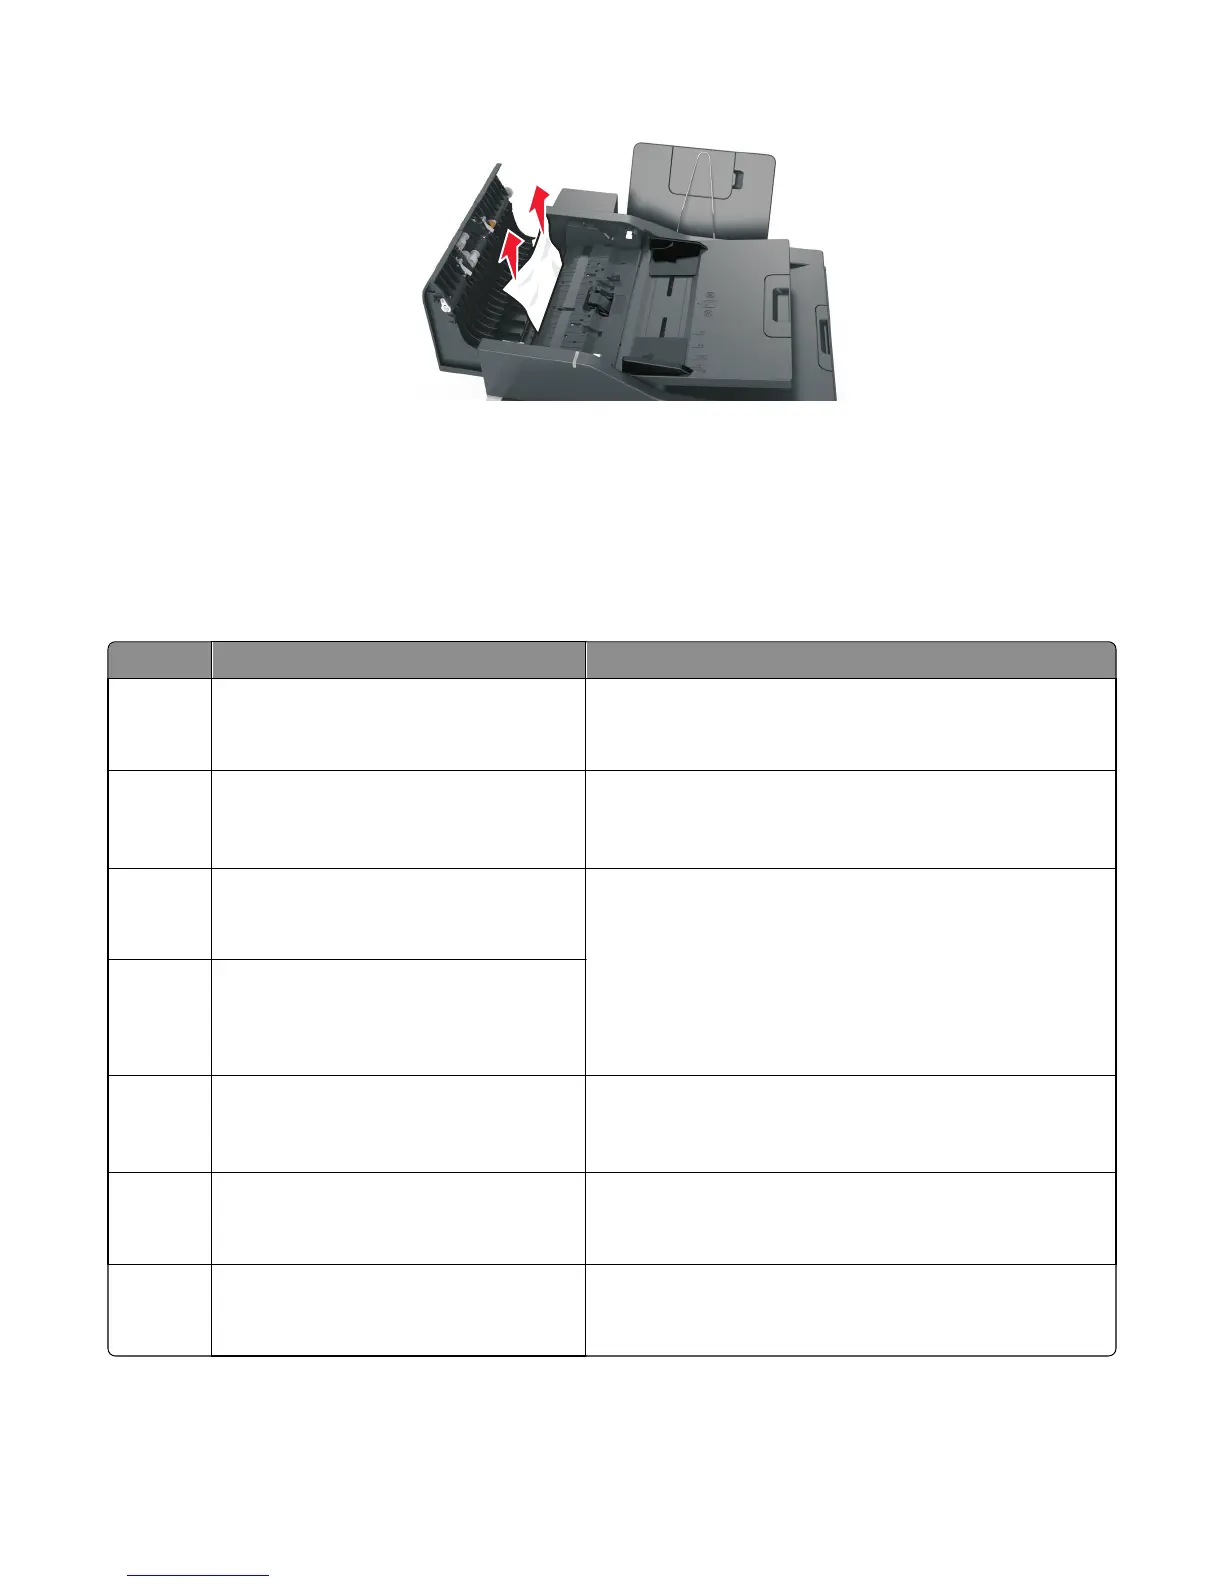
4 Close the ADF cover.
5 Straighten the edges of the original documents, then load the documents into the ADF, and then adjust the paper
guide.
6 From the printer control panel, touch the check mark to clear the message and continue printing. For
non‑touch‑screen printer models, select Next>OK>Clear the jam, press OK>OK
28x.xx paper jams
Error code Description Action
280.06 Paper Missing
Posted when paper is removed from input
tray after job is initiated.
Ensure that the ADF document sensor is in the proper position
and clear of dust and debris. Retry the job. If the error recurs,
then see “ADF paper jam service check” on page 139.
282.01 ADF Static Jam
Interval Sensor
Interval Sensor active at POR time.
Remove the sheet of paper from the ADF. Retry the job. If the
error recurs, then see “ADF paper jam service check” on
page 139.
282.03 ADF Pickup Jam
Leading edge of paper does not reach
Interval Sensor in time.
Remove the sheet of paper from the ADF. Check the media
weight, Heavier paper should not be used. Make the stack of
documents in the tray smaller. Ensure that the media is not being
shoved into the tray. Retry the job. If the error recurs, then see
“ADF paper jam service check” on page 139.
282.05 ADF Long Page
Trailing edge of paper never clears interval
sensor (but 1st Scan Sensor and Exit Sensor
are both active).
283.01 ADF Static Jam
1st Scan Sensor
1st Scan Sensor active at POR time.
Inspect the ADF paper path for paper fragments. Restart the
MFP. If the error recurs, then see “ADF paper jam service check”
on page 139.
283.03 ADF Feed Jam
Leading edge of paper does not reach 1st
Scan Sensor in time.
Remove the sheet of paper from the ADF. Retry the job. If the
error recurs, then see “ADF paper jam service check” on
page 139.
283.05 1st Scan Sensor Jam
Trailing edge of paper never clears 1st Scan
Sensor.
Remove the sheet of paper from the ADF. Retry the job. If the
error recurs, then see “ADF paper jam service check” on
page 139.
7527
Diagnostic information
64

 Loading...