EasyManuals Logo

Lexmark E210 Service Manual

Lexmark E210
74 pages
To Next Page IconTo Next Page
To Previous Page IconTo Previous Page
Page #57 background imageLoading...
Page #57 background image
Repair Information 3-21
4510-001
4. Release four snap-fits securing the sensor board and then
remove the input/exit sensor board.
Pre-Transfer LED Assembly (PTL)
1. Remove the transfer roller.
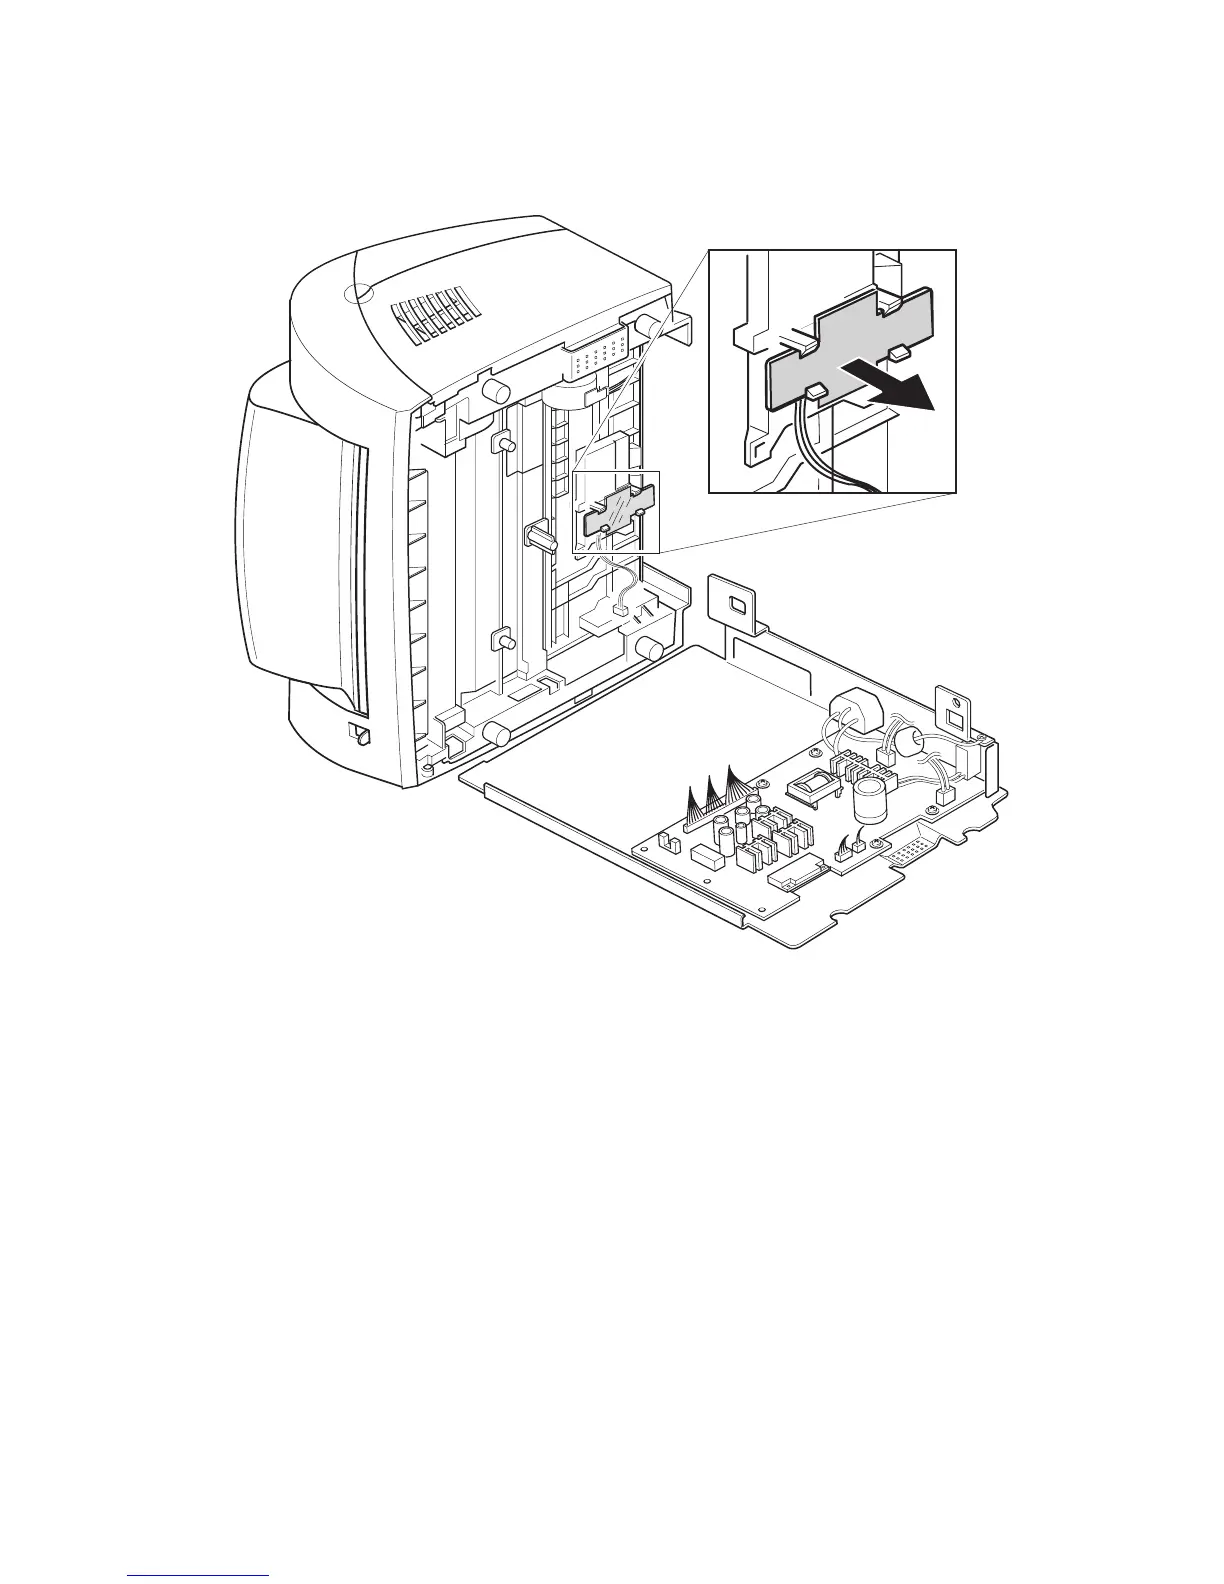
2. Remove the bottom metal cover and disconnect CN6 on the
main board.
3. Remove the four screws securing the printhead plate.
4. Slide the printhead plate left to disengage the pick roller from
the pick roller shaft.
5. Remove the two screws securing the PTL cover plate.
6. Remove the PTL.

Other manuals for Lexmark E210

Questions and Answers:

Question and Answer IconNeed help?

Do you have a question about the Lexmark E210 and is the answer not in the manual?

Lexmark E210 Specifications

General IconGeneral
BrandLexmark
ModelE210
CategoryPrinter
LanguageEnglish

Related product manuals