Repair information 4-19
4513-630, -63W, -6EW
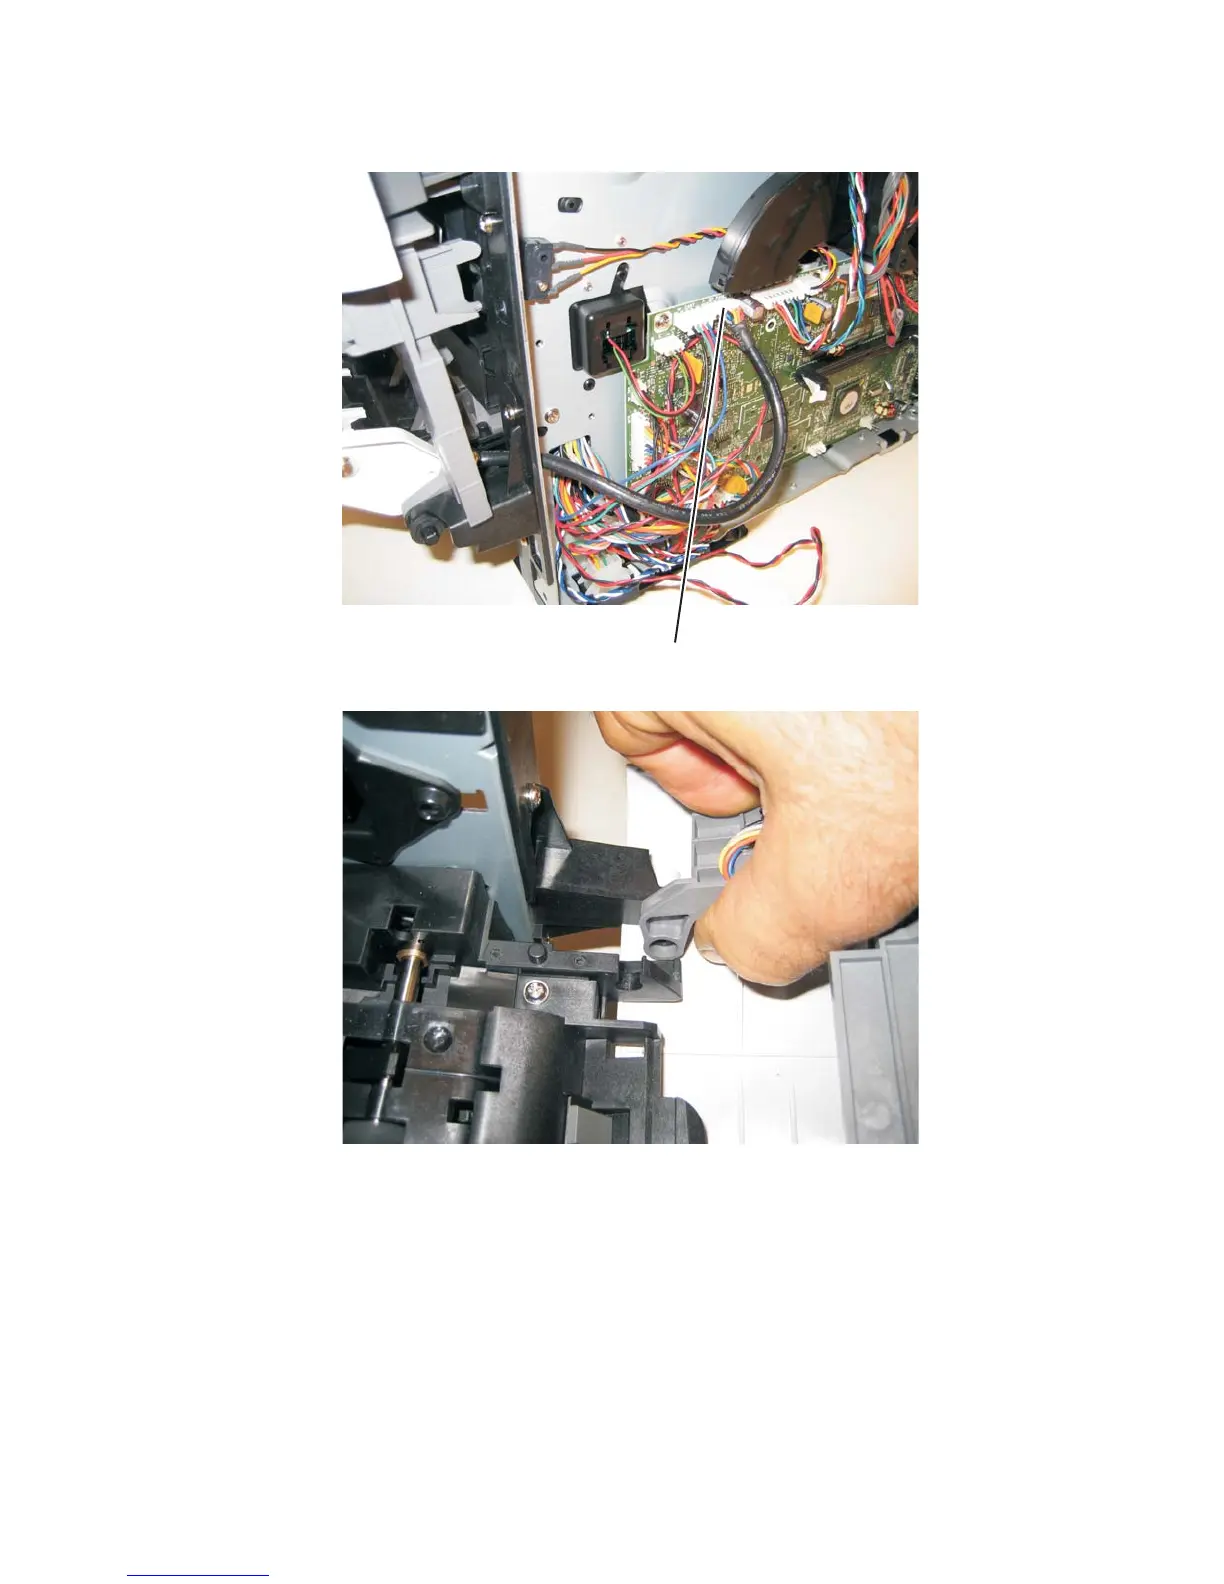
8. Disconnect the front access door cable (B), and pull it through the opening to clear the side frame.
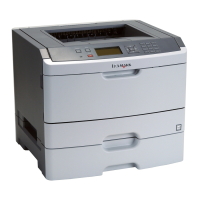
9. Disconnect the front access door from its hinges, and remove.
Installation note:
a. Install a new front access door at its hinges.
b. Push the cable (C) through the side frame and into the controller board area.
c. Connect the fuser link.
d. Remove the two screws (D).
e. Slide the latch to the left to free it, and then rest it on the door. Keep the spring in place.
f. Remove the two screws (E), and lift off the cable cover.
g. Connect the operator panel to the cable, and pull the cable through the front access door until the
operator panel can be held lightly with the four screws (F).
Note: Do not over pull the cable.