4-20
4513-630, -63W, -6EW
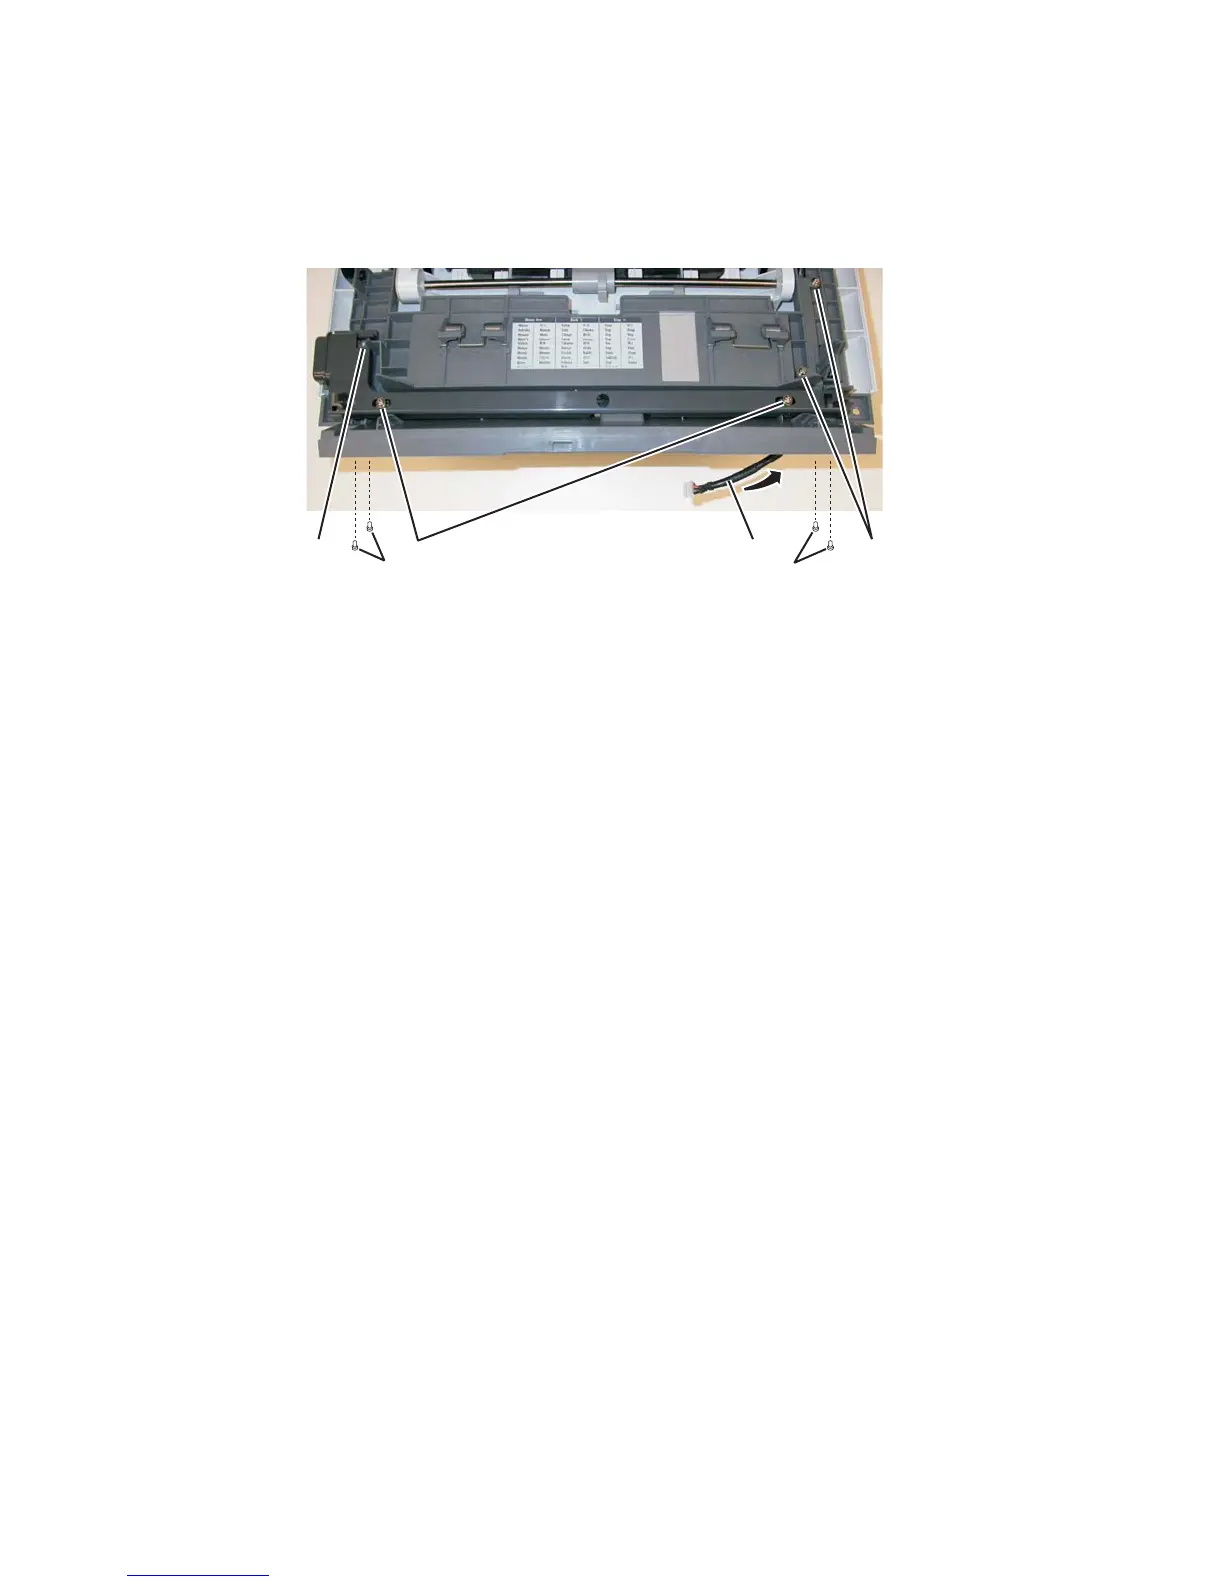
h. Reinstall the cable cover and latch, assuring that the tab (G) is in place.
i. Pull all the excess cable through the frame opening at the hinge and into the controller board area.
j. Connect the cable to the controller board and loop it so that the closing and opening of the front
access door does not cause bending.
k. Finish tightening the screws (F), and reinstall the remaining parts.