Scanning multiple pages or images
Scanning multiple pages using the Automatic Document Feeder
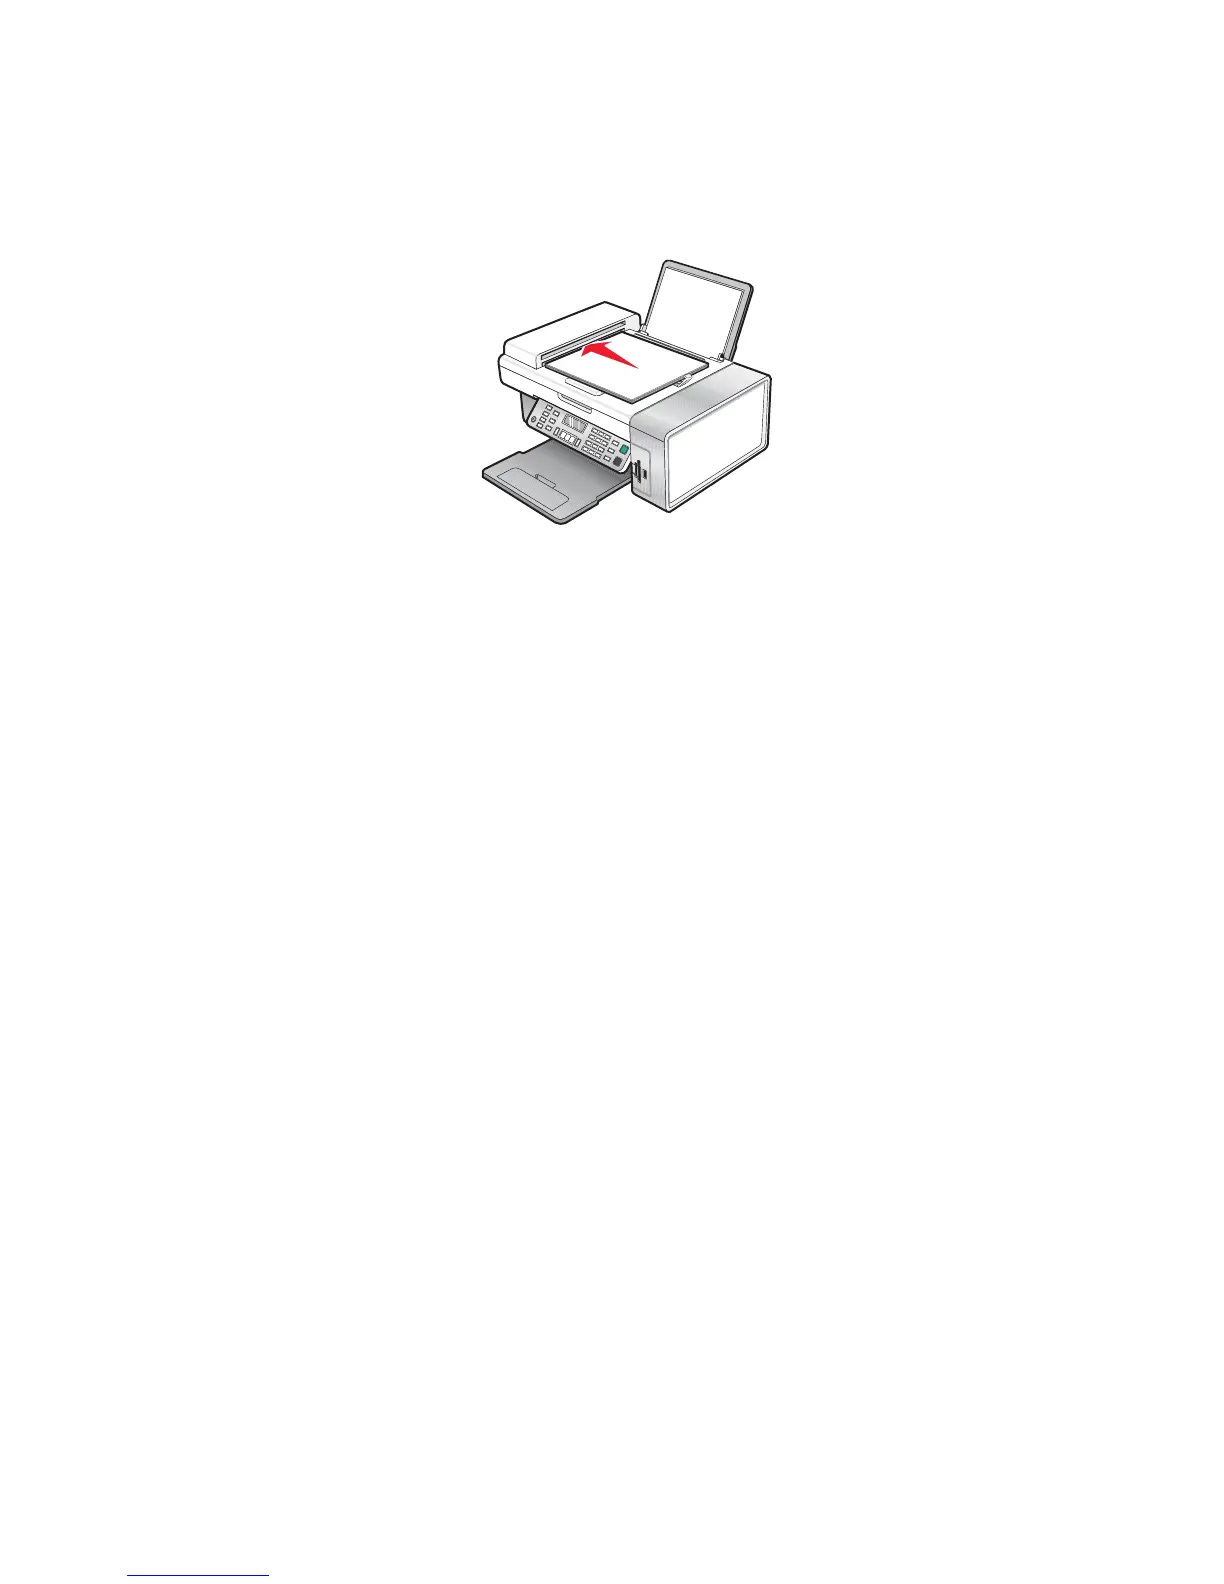
1 Load an original document facedown into the Automatic Document Feeder (ADF).
Note: Do not load postcards, photos, small items, transparencies, photo paper, or thin media (such as magazine
clippings) into the ADF. Place these items on the scanner glass.
2 From the Finder desktop, double-click the Lexmark 5400 Series folder.
3 Double-click the Lexmark 5400 Series Center icon.
4 Select Prompt for multiple pages.
5 Click Scan.
6 In the Save dialog, enter a file name for your scan job.
7 From the Where pop-up menu, choose a destination for the scanned items.
8 From the Format pop-up menu, choose a file type.
9 Click Save.
Scanning automatically stops when all pages on the ADF are scanned.
Notes:
• You can also select Prompt to name each page if you want to save each scanned item under a different file
name. Otherwise, scanned items will be given the file name you specified and numbered accordingly.
• When a scan job is saved as a PDF, the Save dialog will only prompt once. All scanned pages are saved to only
one file since PDF supports multiple-page scanning.
• Preview is not supported when using the Automatic Document Feeder. You can preview one page at a time
when using the scanner.
Related topics:
• “Loading original documents on the scanner glass” on page 20
• “Loading original documents into the Automatic Document Feeder” on page 21
Scanning
33