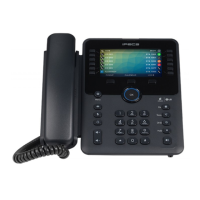
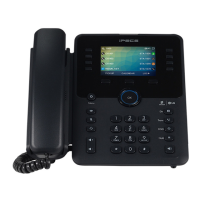
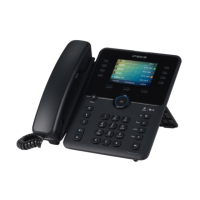
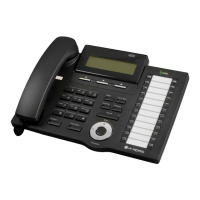
1000i Series IP Phone (SMB)
User Guide Issue 1.0
49
9 Display Menu
9.1 Menu Overview
The Display Menu permits access to the Phone settings and the Network Configuration for the phone. In
addition, the menu includes alternative methods for handling Conference Rooms and Short Text Messages,
and configuring the Flexible buttons on your phone. If you are the Attendant, access to special Attendant
features are available through the menu.
Note that the BACK Softkey can be used to move back one menu step.
The 1010i / 1020i use the symbol ( ) softkey for OK button, and the Volume for Navigation.
9.2 Using the Menu
The Display Menu is activated using the Menu button. Use the Navigation keys to scroll the menu choices;
items are selected using the OK button or softkey, or dialing the digit associated with the selection. The Menu
includes the six sub-menus as shown below.
To activate the Display Menu:
✓ Press the MENU button and Scroll the list with the Navigation or Volume up/down keys then select an
item with the OK button or softkey or dial the menu digit.
1. PHONE SETTING
2. CONFERENCE ROOM PGM
3. ICM SMS
4. NETWORK CONFIG
5. BUTTON PROGRAM
0. ATTENDANT
NOTE)
The “0. Attendant” selection will only display on the System Attendant phone.
9.2.1 Phone Setting
The Phone Settings allow you to control several aspects of your phone as shown in the Phone Settings menu
below.
To configure the Phone Settings:
✓ Press the MENU button and select the Phone Setting sub-menu and then the following menu displays.
1. STATION NAME PROGRAM
2. ICM RING
3. CO RING
4. PASSWORD PROGRAM
5. LANGUAGE PROGRAM
6. STA RING DOWNLOAD