17
Camera Control Menu
The Camera Control menu has several submenus.
All of these main menus are divided into submenus.
Camera Control menu overview
Main Menu Sub Menu Page
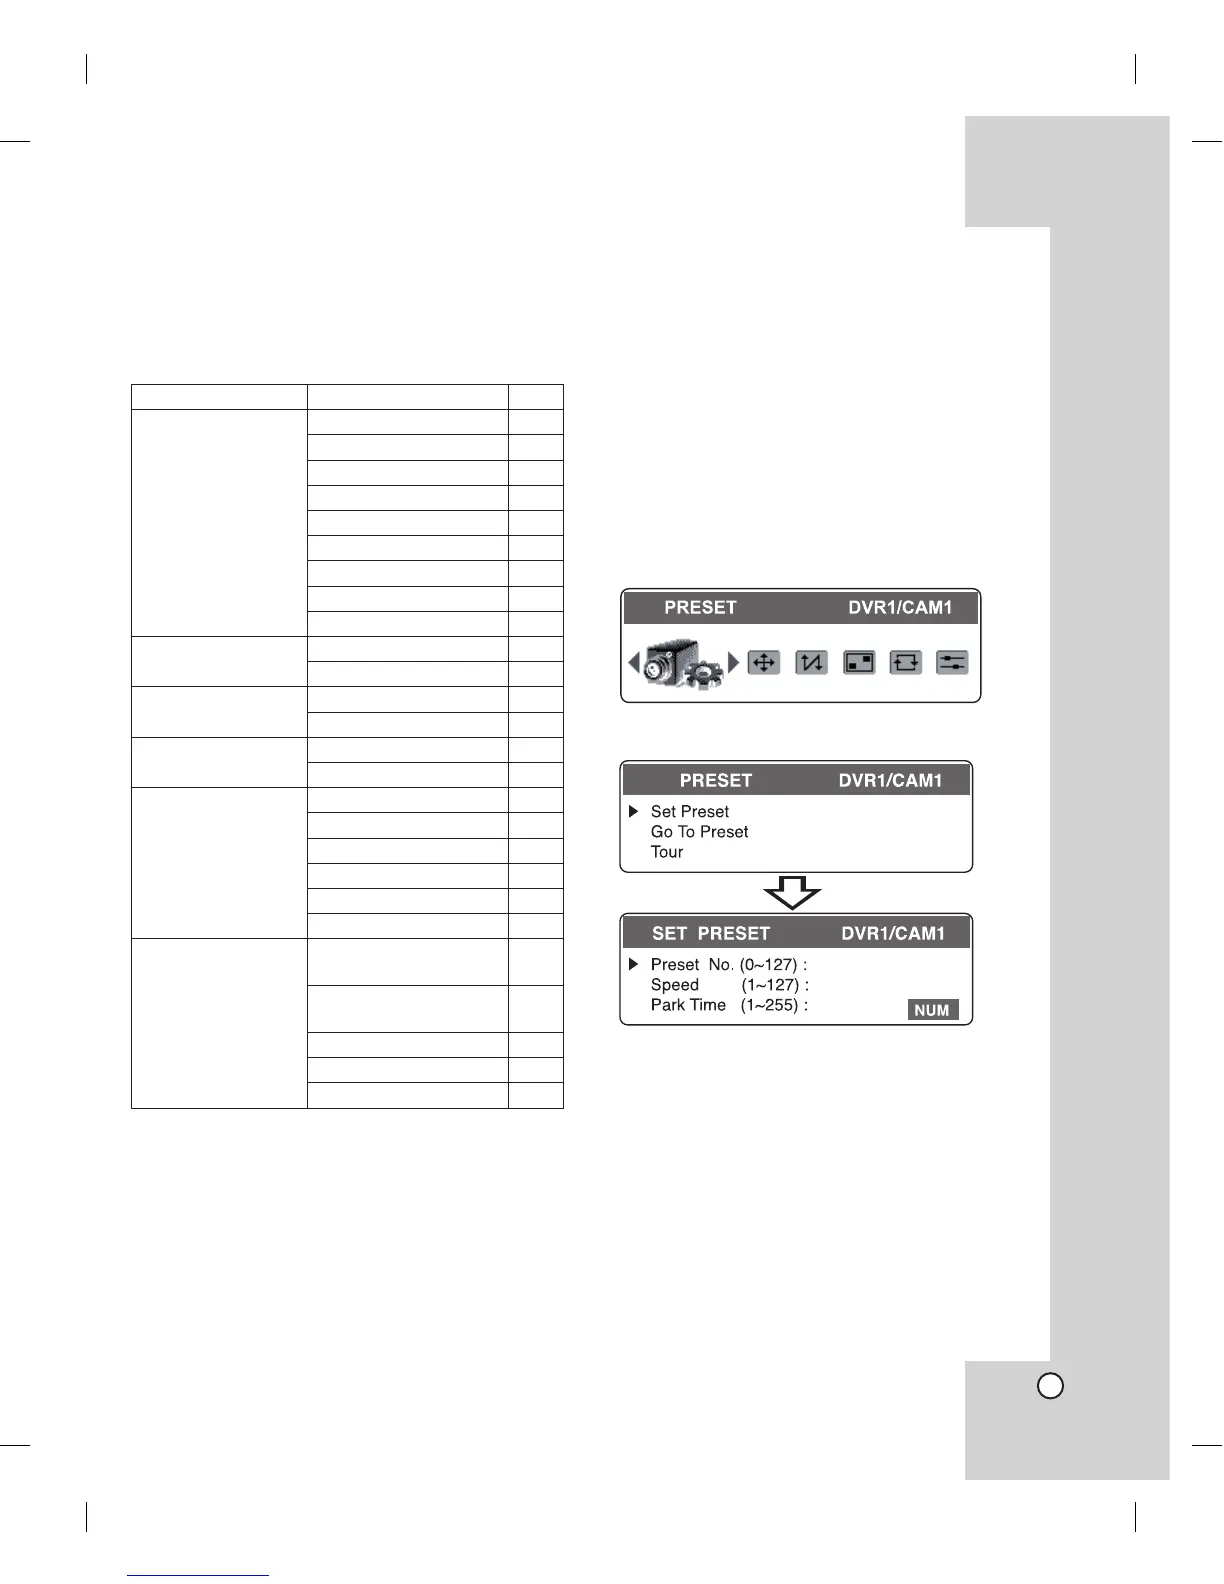
PRESET
Set Preset 17
Go To Preset 18
Tour 18
Edit Group 19
Group Tour 20
Clear Preset 21
Clear All Preset 21
Set Alarm Input 22
Set Alarm Output 22
AUTO PANNING
Set Auto Panning 23
Run Auto Panning 24
PATTERN
Record Pattern 24
Play Pattern 25
PRIVACY ZONE
Set Zone Area 25
Display Zone Area 26
COMMUNICATION
Protocol 26
Baudrate 27
Parity Bit 27
Data Bit 28
Stop Bit 28
Sync Communication 28
CAMERA SETUP
Set Manual Focus
Speed
29
Go To PTZ Home
Position
29
Periodic PTZ Reset 30
PTZ Reset 30
Factory Reset 31
Notes:
The pictures used in the camera control menu are
based on DVR-camera menu.
Depending on protocol, some functions are not
activated. See page 33 for more details.
•
•
Preset Settings
Preset is the function to register camera monitoring
positions (pan, tilt and zoom positions) associated
with position numbers.
By entering the position numbers, you can set cam-
eras to the preset positions.
Note:
To activate this function, you need to register the pre-
set positions of camera.
To register preset positions
1. Select the [PRESET] icon and press ENTER.
The sub menu will appear.
2. Select [Set Preset] option then press ENTER.
The sub menu will appear.
3. By moving the joystick, move the camera to a
point you want.
4. Enter a [Preset No.] (0 to 127) you want to reg-
ister by pressing the numeric buttons then press
ENTER.
5. Enter a [Speed] (1 to 127) to move to the preset
position. Then press ENTER.
6. Enter a [Park Time] (holding time) (1 to 255).
Then press ENTER.
The position and its number are memorized for
later recall.
7. Repeat steps 3 to 6 to add additional position.
8. Press CLR to return to the previous menu.
 Loading...