8
Chapter 3: Connecting the PTZ Internet Camera
Overview
Wireless-G PTZ Internet Camera with Audio
Chapter 3: Connecting the PTZ Internet Camera
Overview
Before you set up the Camera, connect it to a wired or wireless network. Proceed to the appropriate section for
your setup.
If you need to move the Camera from a wired network to a wireless network, or vice versa, go to this section,
“Moving the Camera to a Different Network.”
Connection to a Wired Network for Setup
1. Attach the antenna.
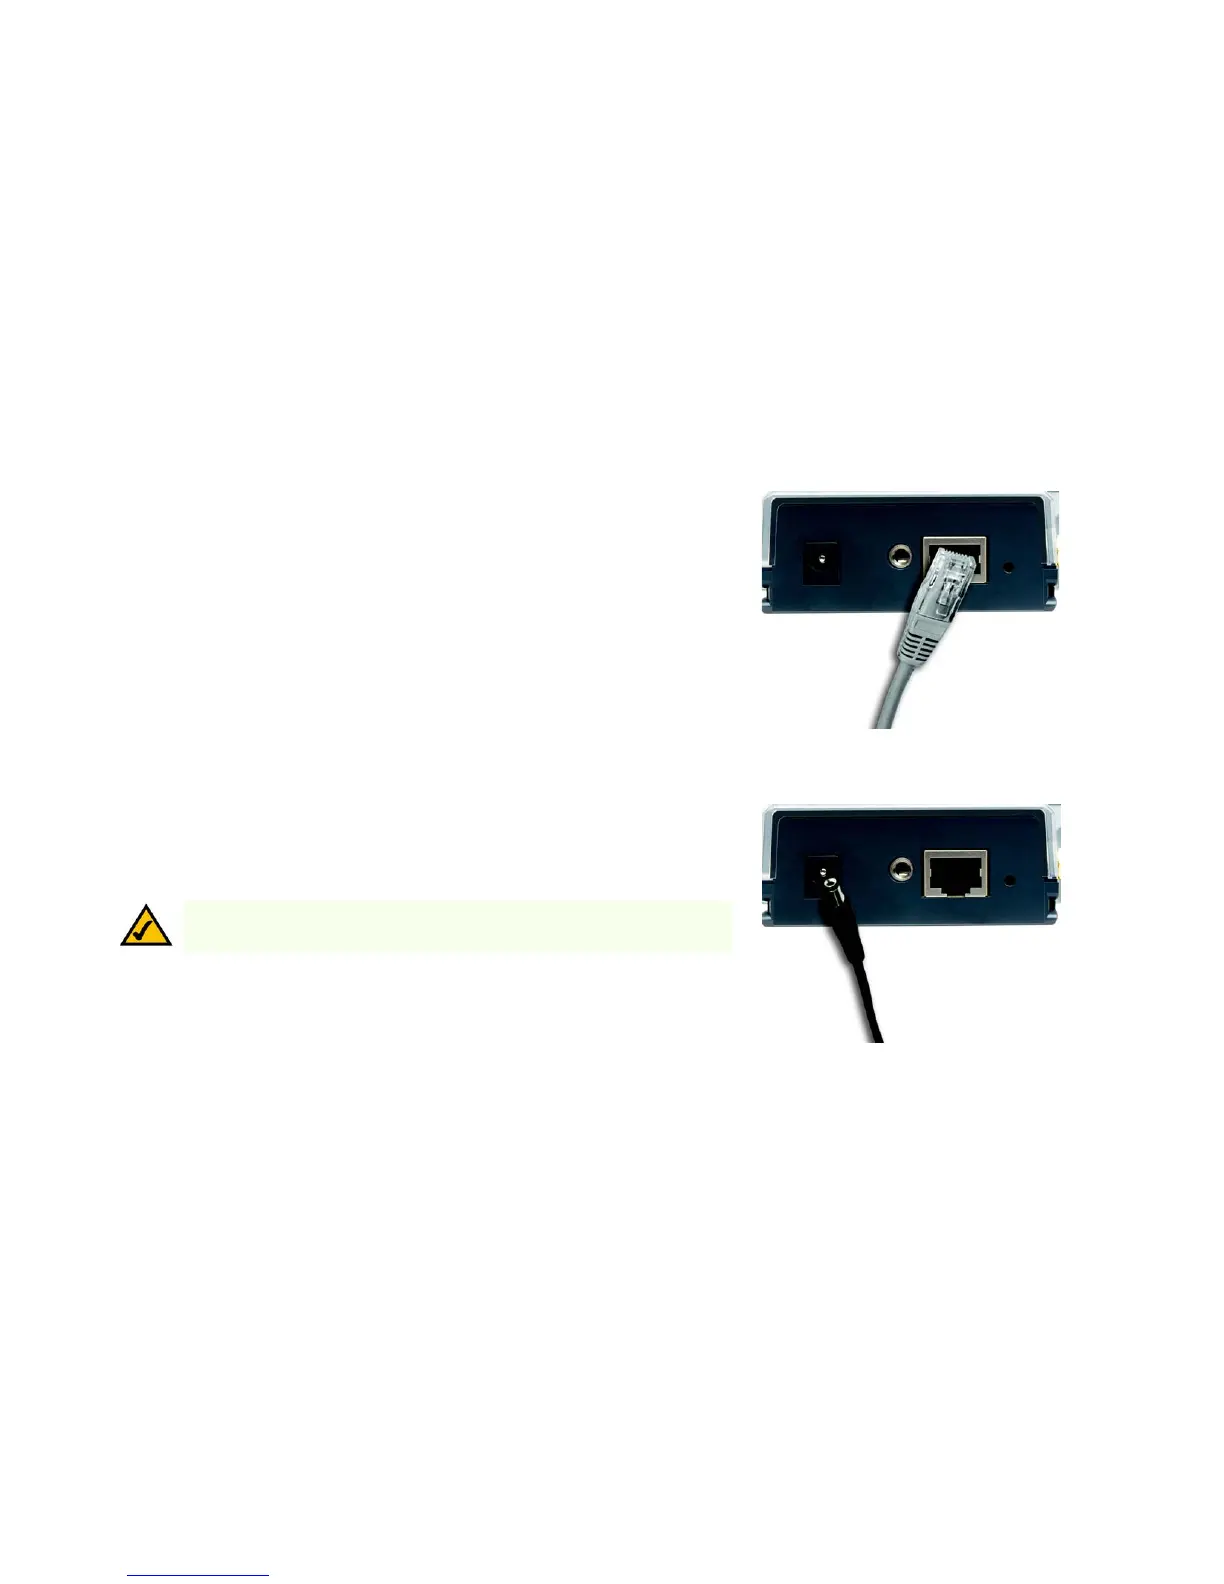
2. Connect the Ethernet network cable to your network switch or router.
3. Connect the other end of the cable to the Ethernet port on the Camera.
4. Connect the power adapter to the Power port on the Camera.
5. Plug the power adapter into an electrical outlet.
The Camera’s Ready LED flashes while the Camera is initializing. The Camera is ready for use when the Ready
and Ethernet LEDs are solidly lit.
Proceed to “Chapter 5: Setting up and Mounting the Wireless-G Internet Camera.”
NOTE: You MUST connect the Camera to a PC, router, or switch using the Ethernet network
cable BEFORE powering on the Camera. Otherwise, the Camera will not function.
Figure 3-2: Connect the Power Adapter
Figure 3-1: Connect the Ethernet Network Cable
 Loading...