25
Chapter 5: Installing and Using the Internet Camera Viewer & Recorder Utility
Setting Up the Camera
Wireless-G PTZ Internet Camera with Audio
Setting Up the Camera
The Camera’s setup functions are performed by clicking the Setup button on the Main screen. This will open the
Setup screen.
Several setup options appear on the left-hand side of the screen. They are Camera Setup, Recording Schedule,
and Preferences. Each of these options is described below.
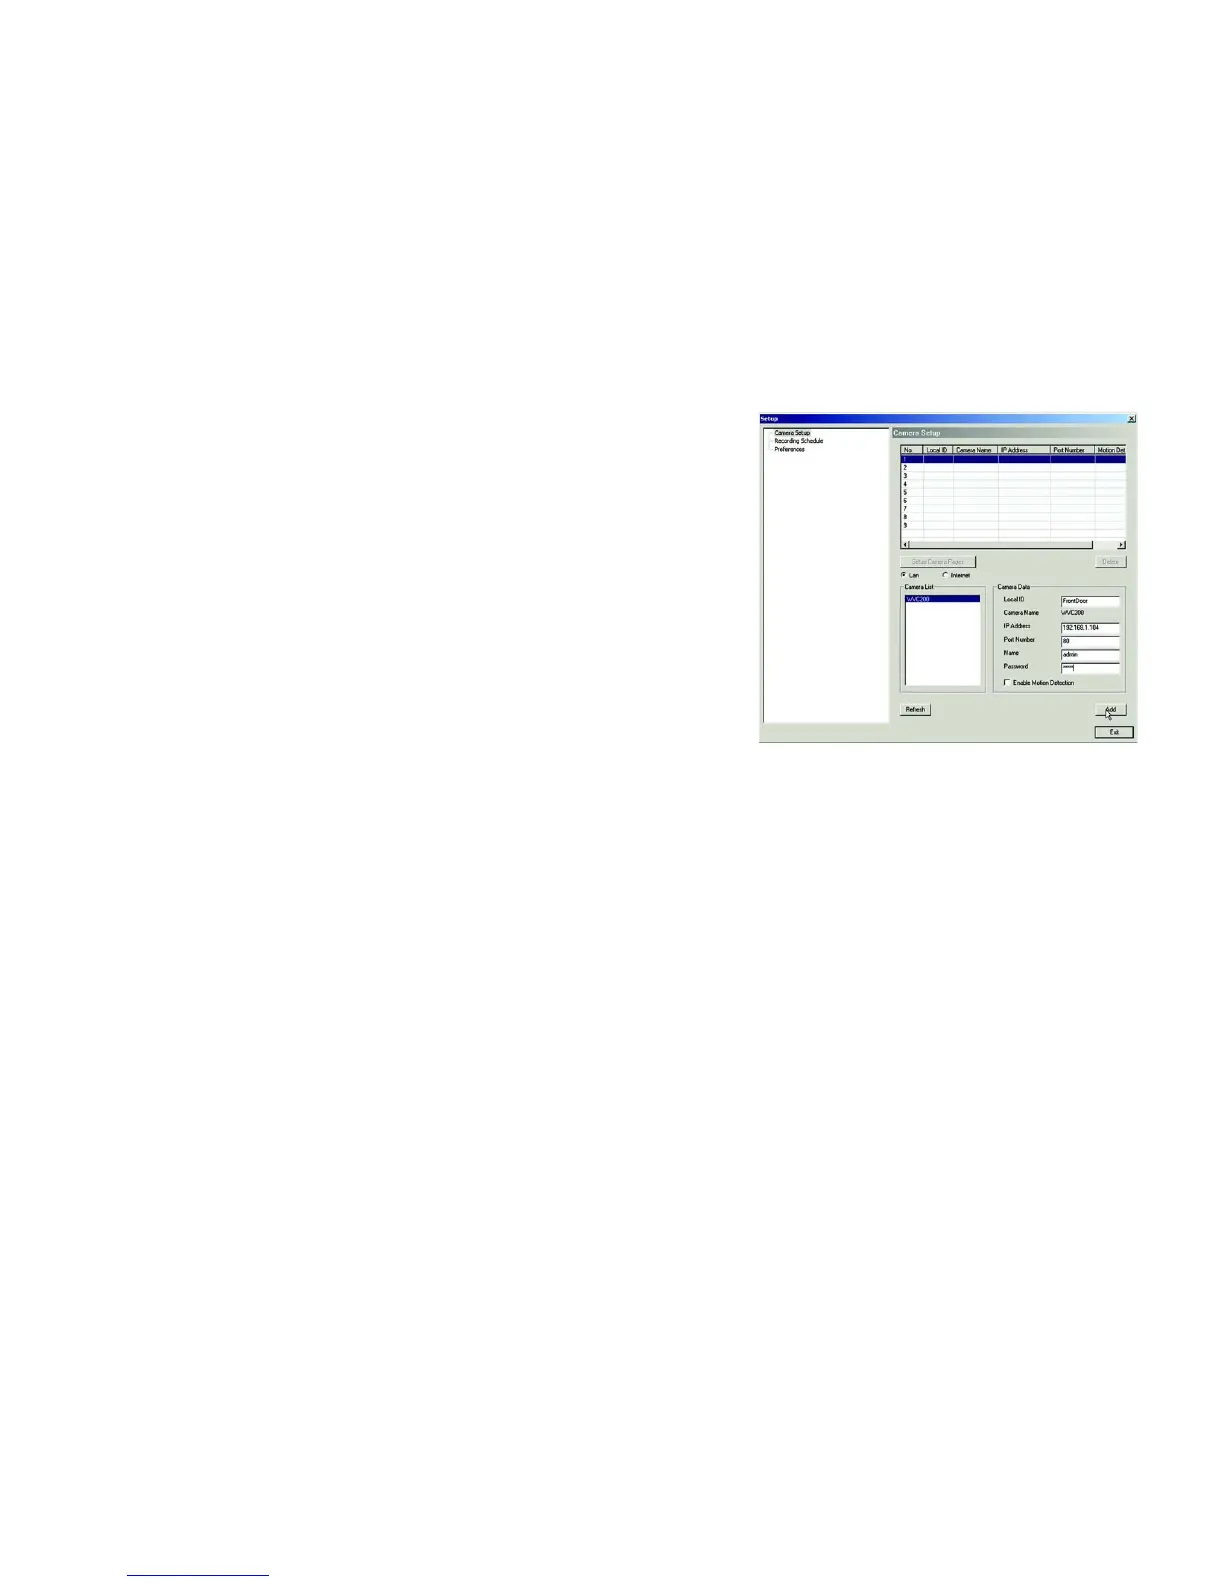
Camera Setup
Adding a Camera
You can add one of the nine cameras displayed from the Main screen by doing the following:
1. Select the LAN or Internet radio buttons, depending on if this camera is situated on your local network or
accessed over the Internet
2. Enter the camera’s data into the Camera Data fields:
Local ID. Enter a name for the camera (this name will be included in the name of recorded video files).
IP Address. Enter the camera’s IP Address here.
Port Number. Enter the port number assigned to this camera.
User (Name). Enter the user name set to this camera when it was setup.
Password. Enter the password set to this camera when it was setup.
3. Select Enable Motion Detection if you wish this to be enabled.
4. Click the line you wish to assign to the camera in the box at the top of the screen. After the camera has been
added, you can view it by clicking its assigned number on the Main screen.
5. Click the Add button to add the camera.
Deleting a Camera
You can delete any of the nine cameras displayed from the Setup screen by doing the following:
1. Select the camera you want to delete from the list in the box at the top of the screen.
2. Click the Delete button.
Figure 5-10: Camera Setup Screen
 Loading...