50
3. Use the log turner accessory when rolling a log
onto the log bed. Centre the log on the log bed and
roll it towards the log supports. Check the position
of the log on the log bed. To ensure the log is cut
fully in half, the end must not lie beyond the last
crossbar.
4. Rotate the log into a position that gives the best
sawing yield.
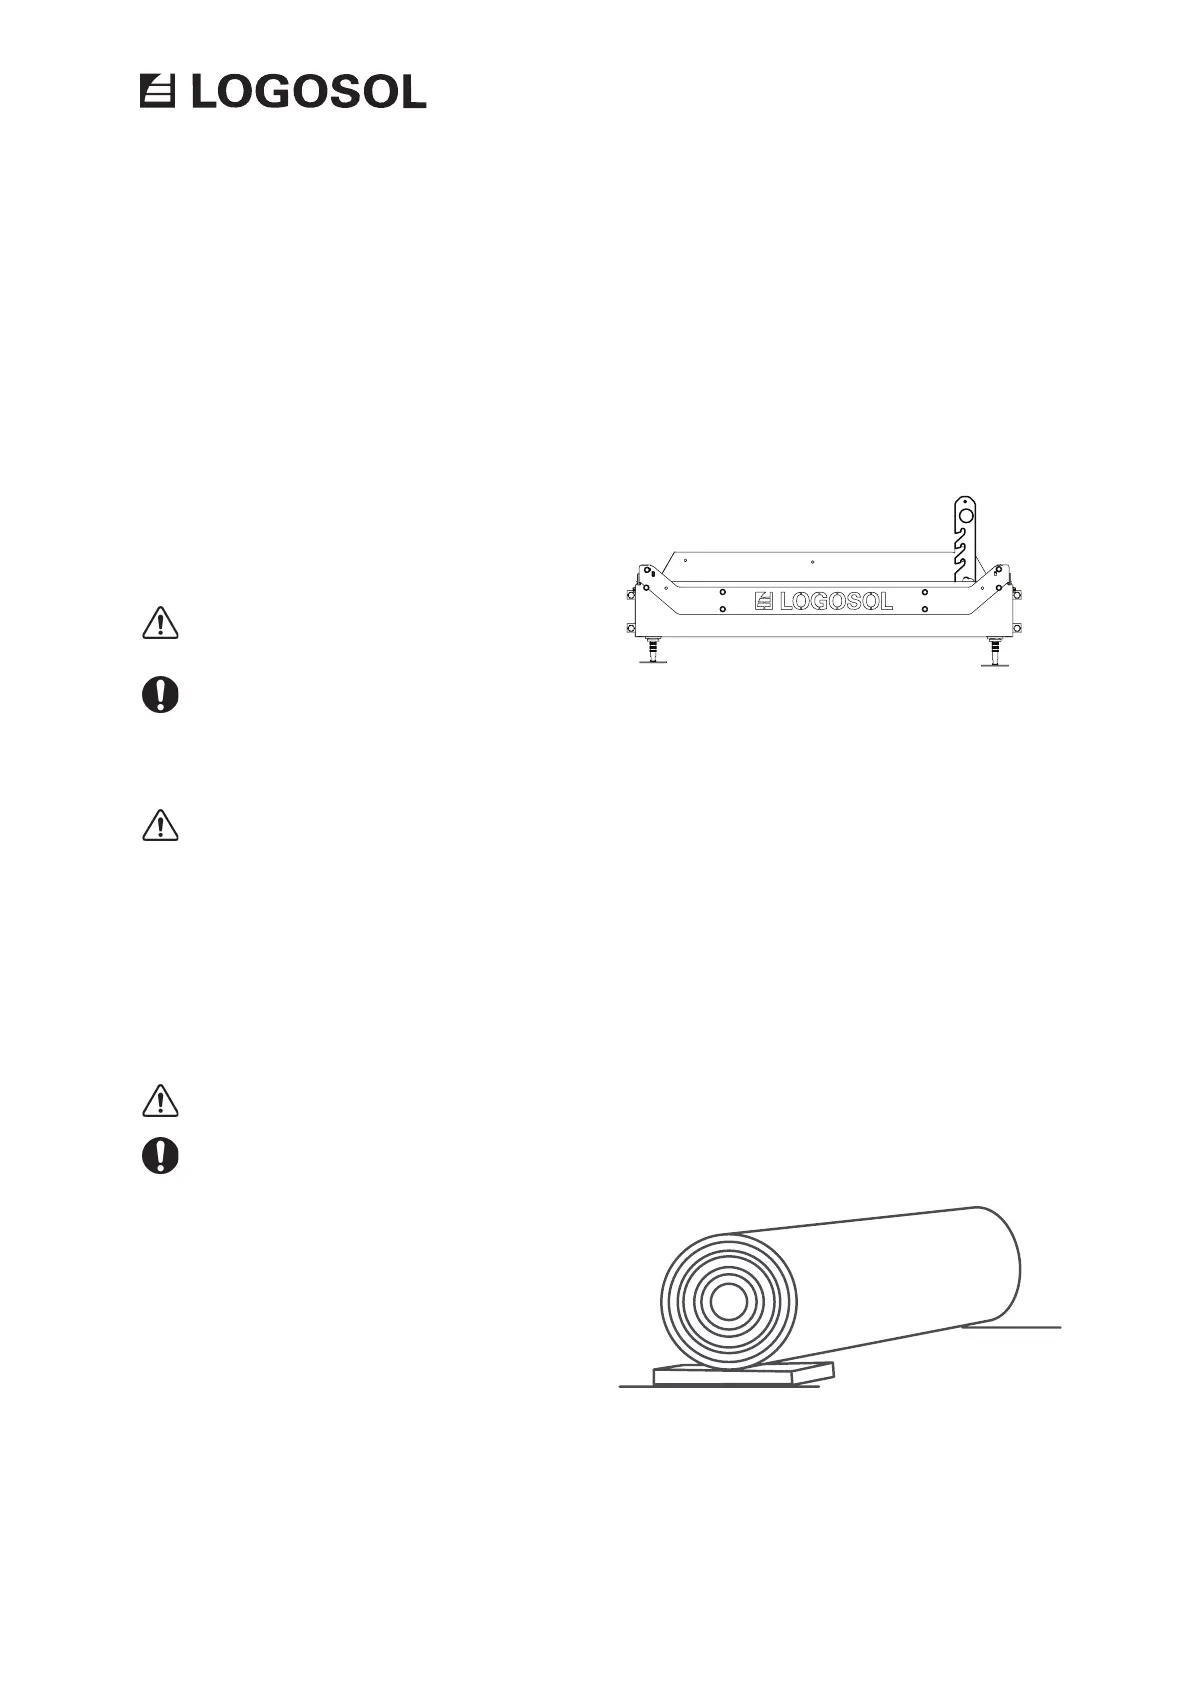
5. If the log clearly tapers from one end to the other,
it is necessary to compensate for this in order to
achieve the best possible results. You should always
try to saw parallel to the centre line of the log. Place
a spacer between the crossbar of the log bed and
the narrow end of the log.
SAWING
WARNING! Cutting tools:
Always stand behind the saw carriage
and keep both hands on the handle when
operating the machine. Never stand in front
of the saw carriage or saw blade. Never pull
the saw carriage back through a kerf.
WARNING! Read through and follow all safety
instructions described under Before each saw
kerf in the Safety instructions section.
1. Perform all the checks described under Before
each use in the Safety Instructions section before
using the sawmill.
2. Raise the log supports by unhooking them and
placing them at the preferred height.
WARNING! Risk of entrapment.
Watch your fingers when the log supports
are lowered. Check that the log supports are
pushed down properly into the fixed positions.
ADJUSTING THE SAW KERF
The position of the saw head can be adjusted in
increments to set the depth of the cut. The B751
PRO band sawmill comes equipped with 1”, 1 1/2”,
1 3/4” and 2” gauges with saw kerf compensation
as standard. The cutting depth is set using the crank
on the saw head. Crank down until the mark on the
selected gauge is level with the pointer.
Using a spacer.
OPERATING INSTRUCTIONS